Activity History Forms
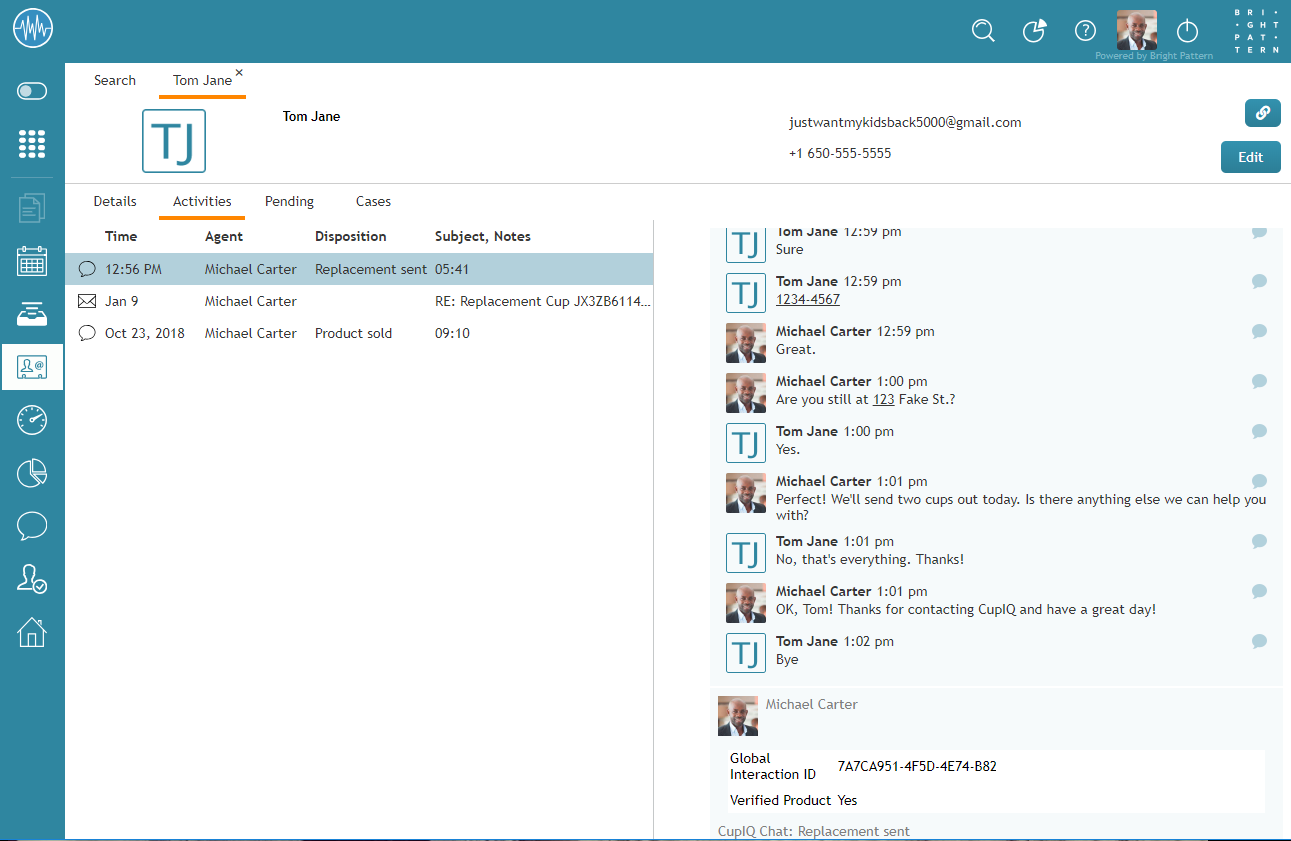
Activity History forms are used to pull specific information from the activity forms agents fill out during interactions; this information is then saved to the case and contact history corresponding to the interaction. This information is accessible in Agent Desktop, section Search & Preview Records.
Activity History forms are configured by service type (i.e., voice, chat, email) and may contain custom fields, including custom Activity History fields. You can configure multiple Activity History forms, and forms can be set as either default or service-specific. Note: In Agent Desktop, Activity History forms are always read only (i.e., they are never editable).
For more information, see the Form Builder Reference Guide, section How to Configure Activity History Forms.
Note: Some service configuration changes that affect agent behavior are not picked up dynamically by Agent Desktop. Thus, after making any changes to activity history forms, we recommend that all affected logged-in agents refresh their browser pages.
Working with Activity History Forms
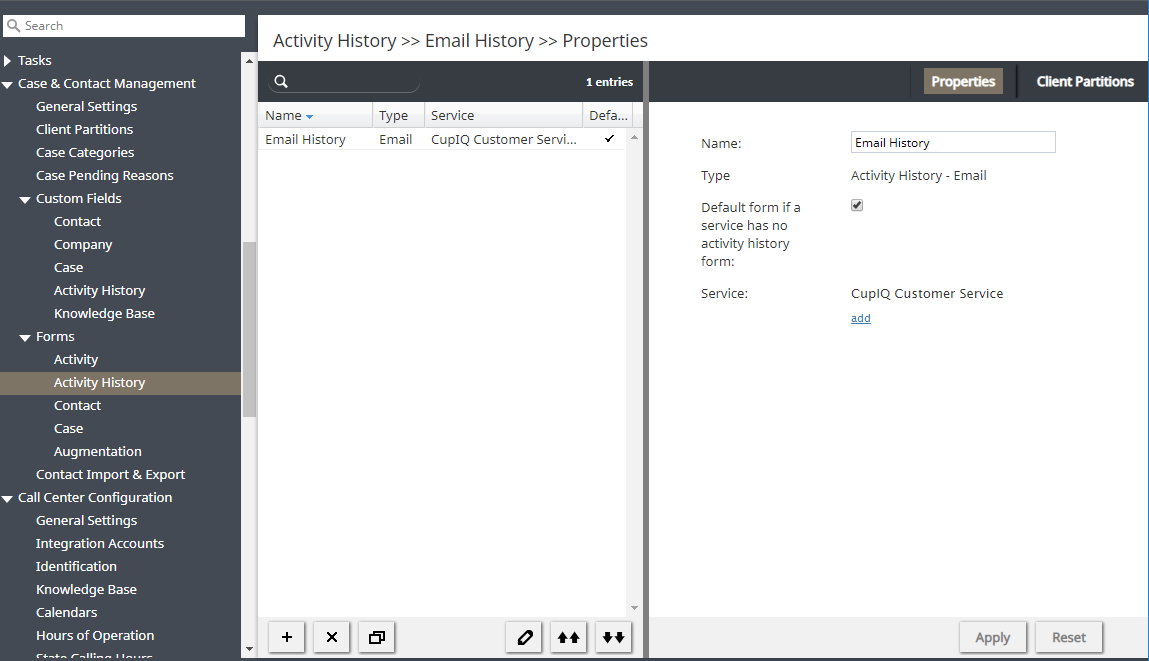
To create or edit an Activity History form, navigate to Forms in the root menu and select the Activity History option. The list in the left pane will list the existing forms. For general information about creating forms, see the Form Builder Reference Guide.
How to Add a Form
- Click the Add new form
button.
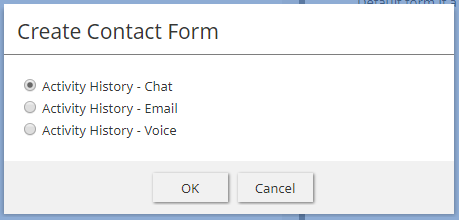
- The Create Contact Form window will pop and you will select the appropriate service type (i.e., chat, email, or voice).
- In the Form Builder application that opens, customize the form by dragging controls onto the form canvas and editing their properties.
How to Edit a Form
- Select a form in the list of forms that appears.
- Click the Edit
button.
- In the Form Builder application that opens, customize the form by dragging controls onto the form canvas and editing their properties.
How to Delete a Form
How to Clone a Form
- In the list of forms that appears, select the form you wish to duplicate.
- Click the Clone form
button.
- The duplicated form will appear in the list with name "Clone of <Name of Original Form>".
How to Import a Form
- Click the Import form
button.
- In the dialog that appears, enter the name of the form you wish to import, browse for the file, and click Upload.
- The imported form will appear in the list.
How to Export a Form
- In the list of forms that appears, select the form you wish to export.
- Click the Export form
button.
- The form will be downloaded immediately.
Properties Tab
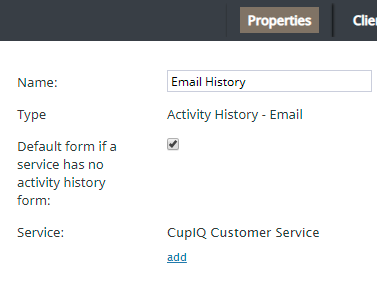
The Activity History form properties are described as follows.
Name
Name is the name of the selected form. You can change the name of a form either here or in the Form Builder application.
Type
Type is the type of service associated with the form (i.e., chat, email, or voice).
Default form if a service has no activity history form
When selected, this checkbox allows you to specify an Activity History form as a default for a given service.
Service
Click add to assign the configured form to a specific, configured service.


