Report Templates
Bright Pattern Contact Center provides a number of reports for evaluating the performance of agents and agent teams as well as assessing the efficiency of contact center services and scenarios. These reports are developed using Jaspersoft reporting tools. They can be generated and viewed directly in the Contact Center Administrator application. For detailed information about the metrics provided in these reports, see the corresponding sections of the Bright Pattern Contact Center Reporting Reference Guide.
If these predefined reports do not completely cover the reporting needs of your contact center, you can create custom reports. To create such reports, refer to the detailed descriptions of the historical data that is collected and stored in the Bright Pattern Contact Center Reporting Database, which are found in the Bright Pattern Contact Center Reporting Database Specification.
Any SQL-based reporting application can be used to create, generate, and view custom reports. However, using the TIBCO Jaspersoft Studio application to create your custom reports enables you to (1) reuse the predefined report templates making modifications where necessary, and (2) generate and view such reports directly in the Contact Center Administrator application in the same way that you generate and view the predefined reports. You can find detailed instructions on how to configure Jaspersoft Studio for creating custom report templates in the Custom Reporting Tutorial.
Note: Jaspersoft has two different tools for report development, iReport Designer and Jaspersoft Studio. Only Jaspersoft Studio is supported as the tool for the creation of custom report templates for your Bright Pattern Contact Center solution.
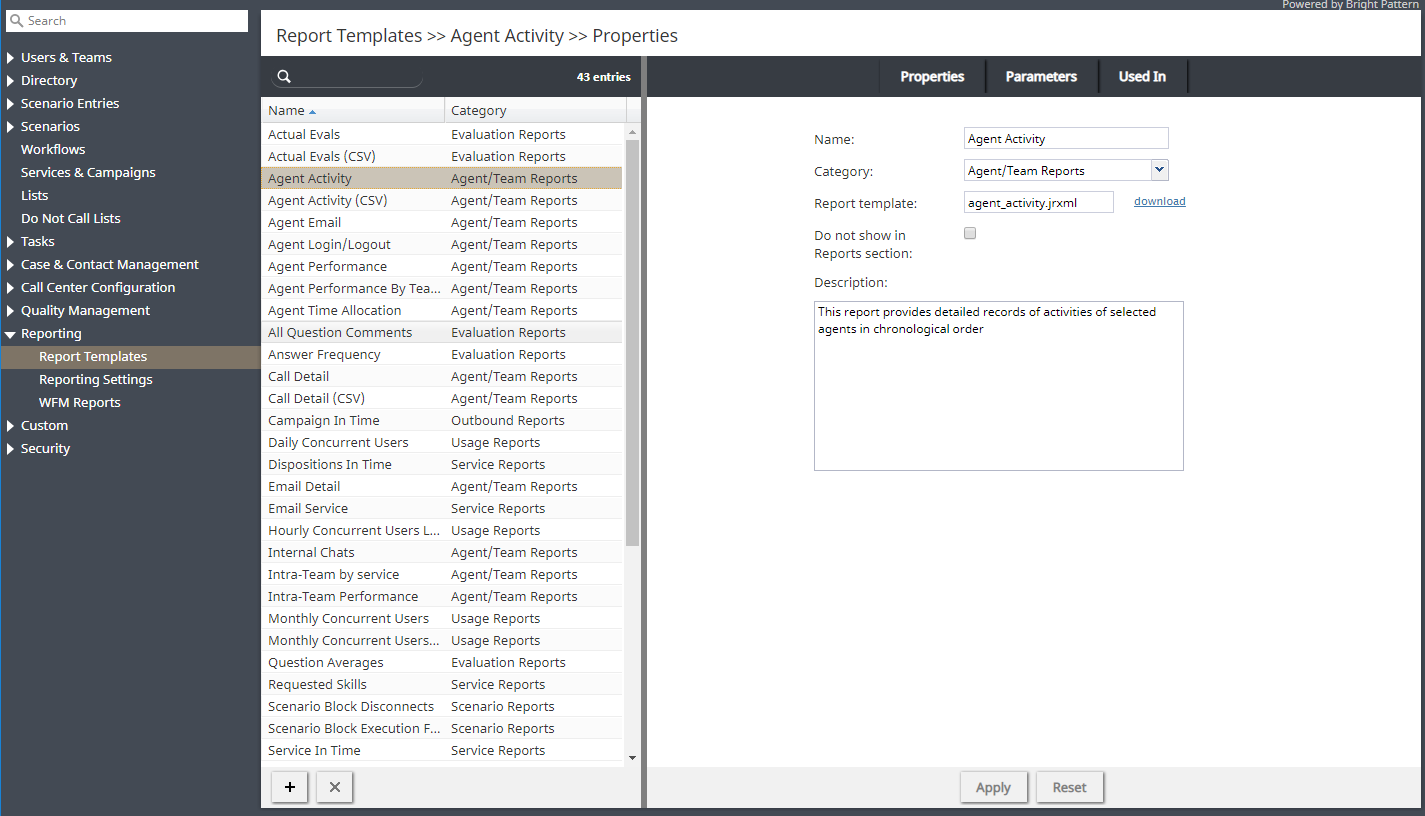
To work with the predefined- and Jaspersoft Studio-based custom report templates, select the Report Templates option from the Reporting menu. Both the predefined and the previously uploaded custom report templates will appear in the list view. Click the button with the “+” sign to define and upload a new report template.
Screen Properties
The Report Templates screen properties are organized into three tabs, and they are described as follows.
Properties tab
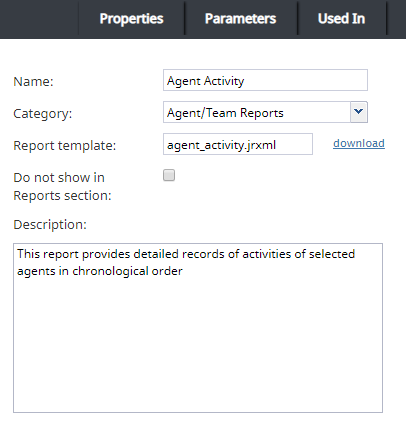
Name
Assign a name to this report template. The Name parameter is mandatory.
Category
Select the report category. The Category parameter is mandatory. If your custom report does not logically fit in any of the available categories, you can define a new category by selecting the Manage categories option.
Report template
Upload
To define a new report template, click upload.
Files that you upload must have a file extension of .jrxml or .bpxml.
JRXML report templates are created and modified in the TIBCO Jaspersoft Studio application. If your report is based on several jrxml files, they must be packaged into a zip file for upload, and the master file that links all other files into a single report template must have the suffix _master.
Download
To download a report template, click download.
Files that you download are available with either the .jrxml or .bpxml file extension. Only CSV reports have the .bpxml file extension. For more information on creating custom CSV reports in BPXML format, see the Custom Reporting Tutorial.
If you wish to create a new custom report via the modification of an existing template, you can export the desired template by selecting it from the list and clicking download. If the desired existing template consists of several files, they will be downloaded in a zip file, and the master file that links all other files into a single report template will have the suffix _master.
Do not show in Reports section
This property indicates whether this report shall appear in the menu of reports available for generating and viewing in the Contact Center Administrator application. You can select this option if the given report is only intended for scheduled generation and distribution. See section Scheduled Reports for more information.
Description
Use the Description field to provide additional information about this report (e.g., its main purpose and intended audience).
Parameters tab
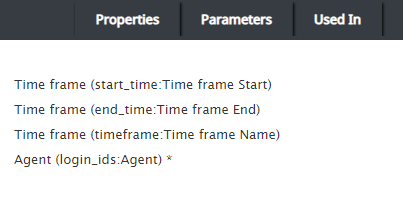
List of report parameters
The List of report parameters must be specified for the generation of this report. These are read-only.
Used In tab
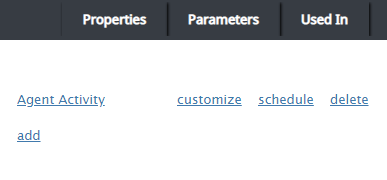
The Used In tab displays what reports a report template is being used in. Additionally, you may configure the following from this tab.
List of reports
The list of reports displays the names of the reports that the report template is used in.
Customize
Selecting customize launches the Report Customizer application. From here, you may make changes to the report columns, including rearranging them, resizing them, deleting them, and so forth.
Schedule
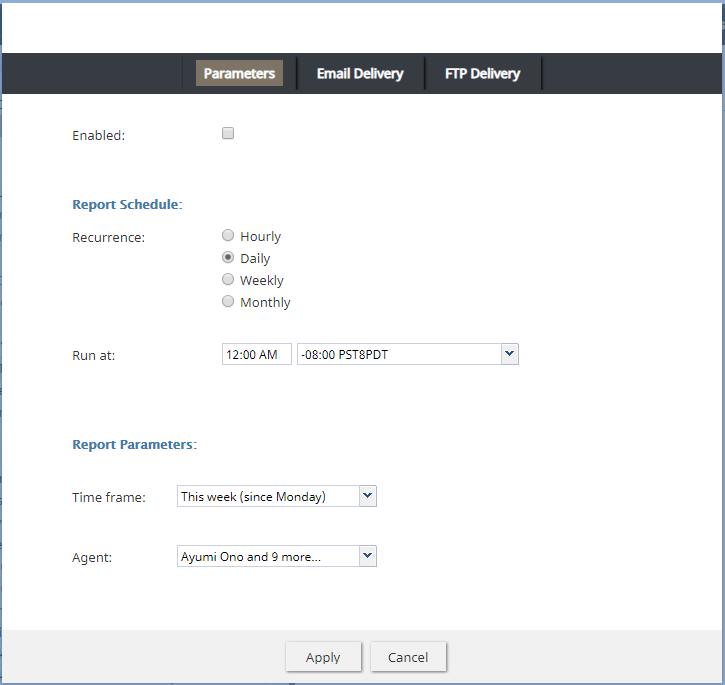
When selected, schedule pops a window that allows you to configure specific dates and times your report will run, as well as delivery options.
Parameters tab
When the Enabled option is selected, the Parameters tab allows you to configure both a report generation schedule (e.g., recurrence and run at time) and report generation parameters (e.g., a set time frame like "This week" and other details).
Email Delivery tab
When the Deliver report via email option is selected, the Email Delivery tab allows the system to automatically email scheduled reports; report formats include PDF, Excel, CSV, and text. Additionally, variables of the $(varname) format may be used in the Subject field and Message field. Note that in order for your email to be sent, you will need to configure SMTP settings.
FTP Delivery tab
When the Deliver report va FTP/SFTP option is selected, the FTP Delivery tab allows the system to automatically deliver scheduled reports to your FTP/SFTP server; report formats include PDF, Excel, CSV, and text. Additionally, variables of the $(varname) format may be used in the Destination folder and file name field.
Delete
When selected, the delete option deletes the report associated with the report template. Note that a confirmation window will pop before the report is deleted.
Add
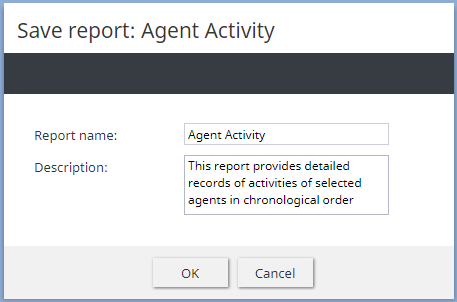
The add option allows you to create a new report from this report template. After clicking add, a dialog window will pop and you will name and describe the new report.

