Survey Form Editor Overview
Survey forms are designed to be sent to your customers via email after interactions are completed. Email interactions are not dictated by scenario, so while it is not possible to utilize the interactive survey features associated with chat or voice scenarios, survey forms provide you an opportunity to request satisfaction input.
Survey forms are created and edited in the Survey Form Editor application and can be distributed by post-transaction workflows. Additionally, a single survey form may be configured in any number of languages you need. Note that survey forms are associated with the quality management features of Bright Pattern Contact Center software and are different from the forms configured in the Form Builder application.
User Interface
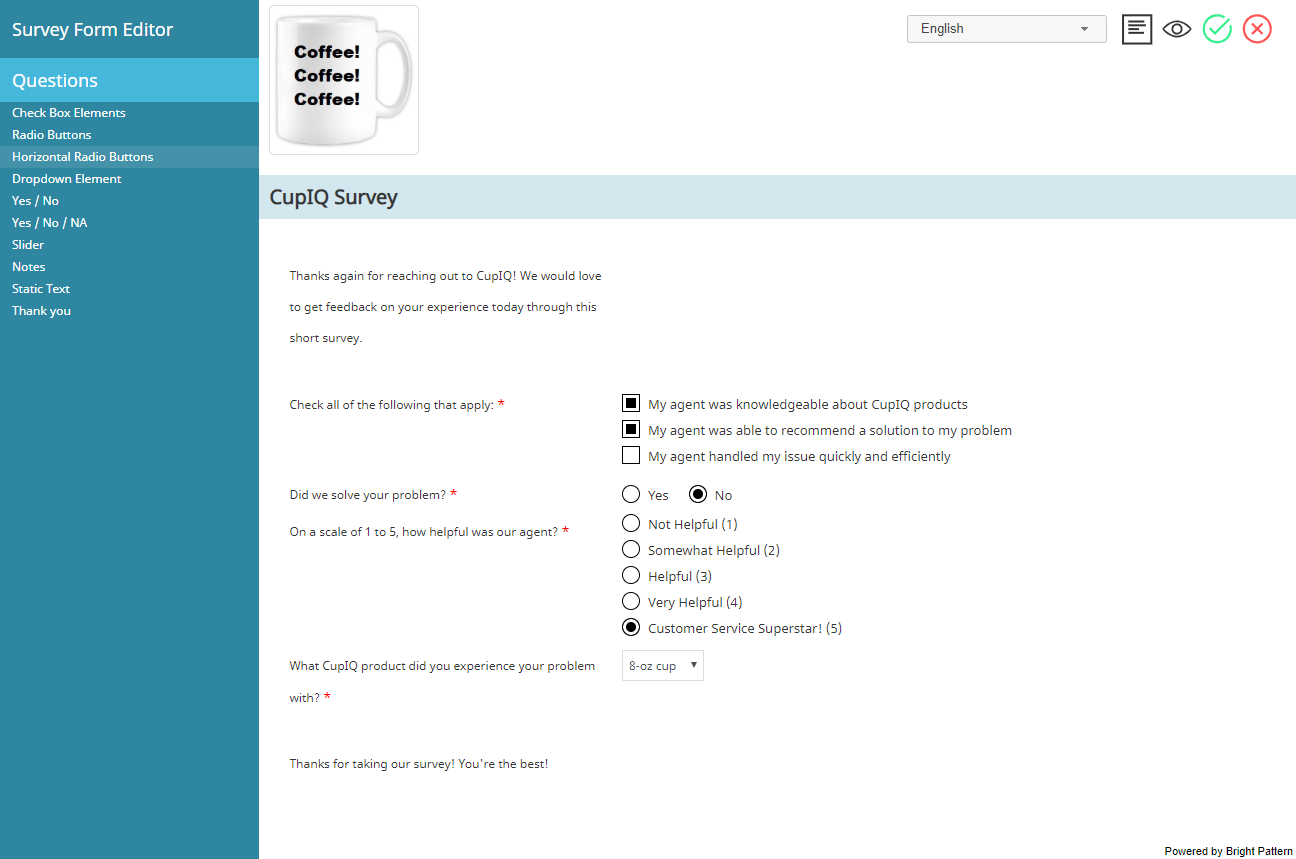
The Survey Form Editor's interface is divided into the following sections:
- Form controls, shown at the top of the screen
- Form canvas (where the form is built and edited), shown in the middle of the screen
- Questions controls, shown on the left-hand side of the screen
To define new questions for your form, select the corresponding control from the control palette, drag it to the desired location on the canvas, and specify its settings in the properties editor.
Form Controls
The Survey Form Editor's form controls affect the look of the form, including displayed language, associated image, and so forth.
Image Control
The image control allows you to add an image to your form. To add or change an image, mouse over the image control and select the edit icon. To remove an image, select the delete
icon.
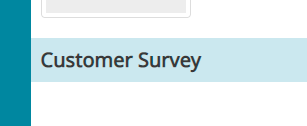
Title Bar
The title bar allows you to create a title or enter text at the top of your form; note that this can be different from the name your form is saved as. To edit the form title, mouse over the survey title area, click the edit icon, and enter the desired text in the pop-out window.
Language Selector
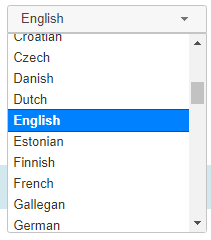
The language selector allows you to create additional versions of a single form per language. Note that the default language of your form is the default language of your contact center and is listed first; all other languages are listed in alphabetical order.
To create a version of a current form in another language, select the new language in the drop-down menu, make the appropriate changes to your form, and select the save button. For more information about how to save a form in multiple languages, see How to Configure Survey Forms.
Edit Form
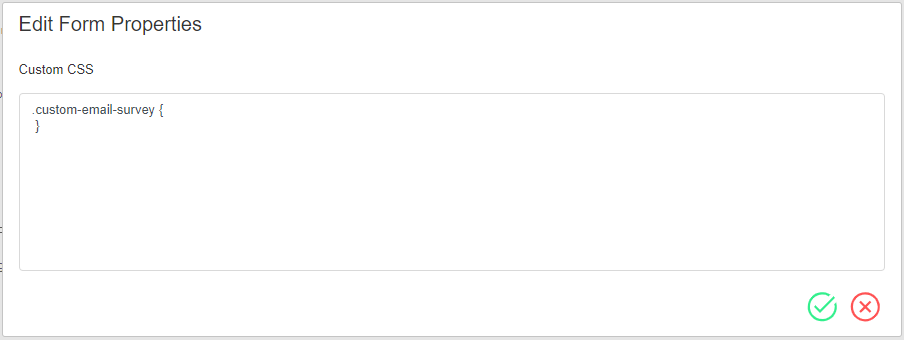
This button allows you to edit the look of your form by using custom CSS. To launch the CSS editor, click the Edit form properties icon. To preview your form, select the Preview icon.
Preview
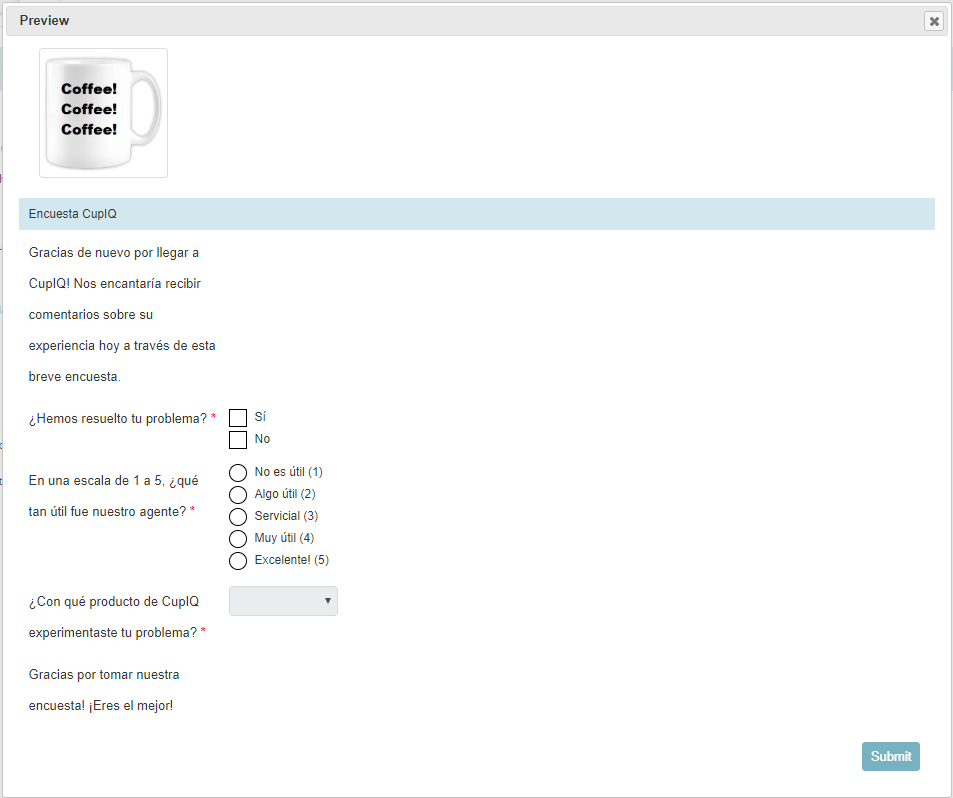
This button allows you to see how your final form will be displayed. To preview a form, select the Preview icon; your form will pop in a preview window. To close the window, click the close
button.
Save
Selecting the Save icon allows you to save your form. When saving a form for the first time, you will be prompted to name your form in a pop-out window.
Cancel
Selecting the Cancel icon cancels any changes you made to your form.
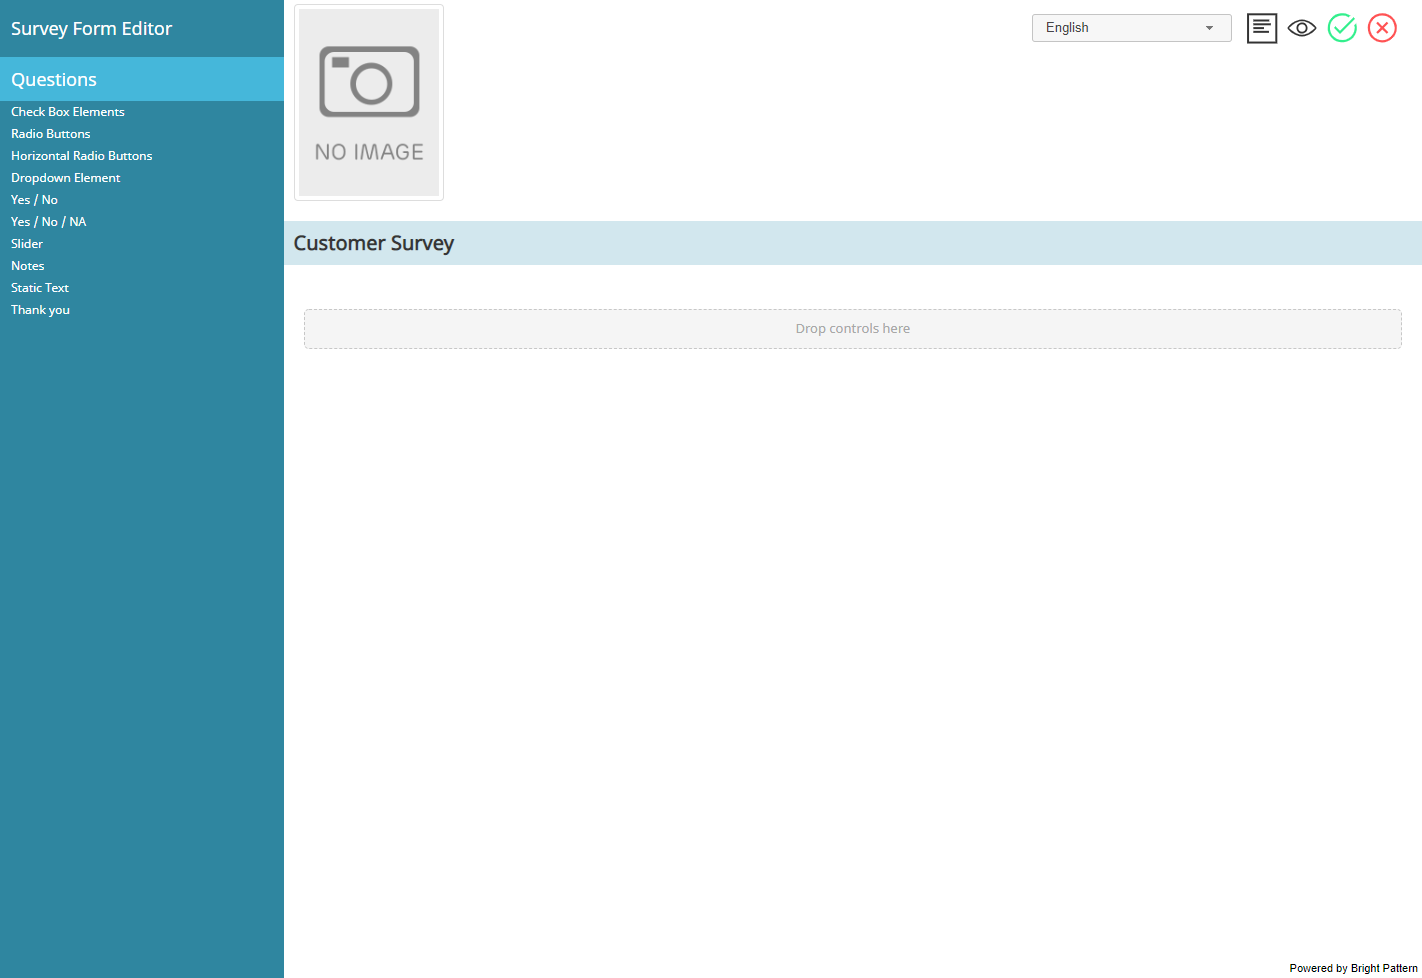
Form Canvas
The form canvas is the area where you design your form by dragging and dropping the questions controls. When working with a new form, you will see the Drop controls here message in the middle of the canvas. To add questions to your form, click on the question name, drag it over the canvas, and drop it where you want.
Note that when attempting to add new controls to a form where multiple controls are present, a thick black bar will indicate the position of where the new control will go.
Copy
The copy feature allows you to create copies of questions already on your form. To create a copy of a question, mouse over the control, then select the copy icon; the copied question will appear below the original.
Questions Controls
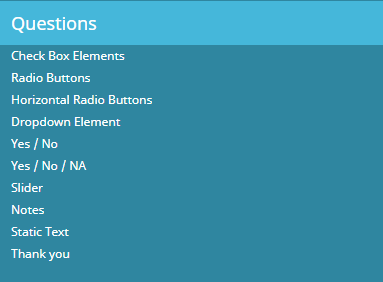
The Questions controls are the editable elements you can drag and drop onto your form. The controls are located in the left pane of the editor and include the following elements:
- Check Box Element
- Radio Buttons
- Horizontal Radio Buttons
- Dropdown Element
- Yes / No
- Yes / No / NA
- Slider
- Notes
- Static Text
- Thank You

