Activity
Bright Pattern Contact Center enables your contact center to define data forms for interaction handling. If a form is defined for a particular service, it will be displayed by the Agent Desktop application when a corresponding interaction is distributed to the agent. Activity forms can be prefilled with data from third-party databases (via scenarios) and from calling lists.
Activity forms associated with outbound campaigns can also be used for new data entry during active interaction handling and/or after-call work (ACW). Filled-out forms can be transferred between agents working on the same interactions. The data collected via editable forms can be stored as part of the campaign results and is available for off-line processing.
Note: Some service configuration changes that affect agent behavior are not picked up dynamically by Agent Desktop. Thus, after making any changes to activity forms, we recommend that all affected logged-in agents refresh their browser page.
Working with Activity Forms
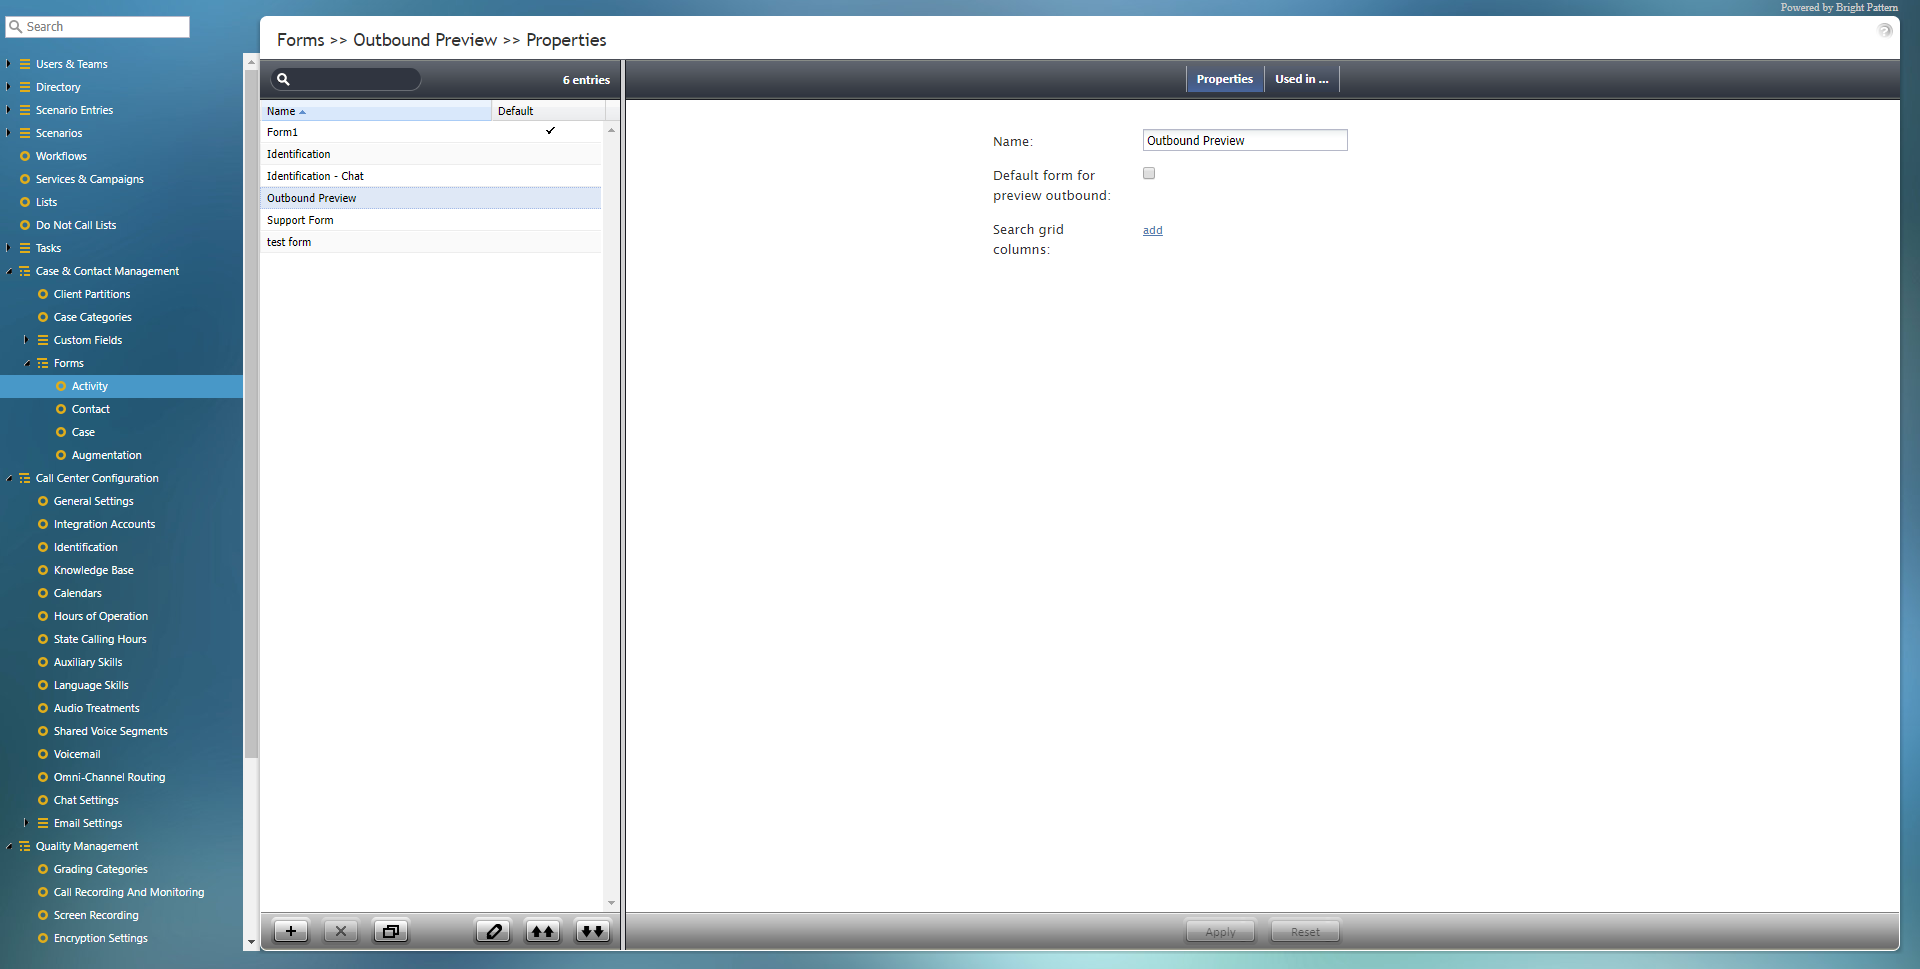
To create or edit an activity form, navigate to Forms in the root menu and select the Activity option. The list in the left pane will list the existing forms.
For more information about creating forms, see the Form Builder Reference Guide.
How to Add a Form
- Click the Add new form (+) button.
- In the Form Builder application that opens, customize the form by dragging controls onto the form canvas and editing their properties.
How to Edit a Form
- Select a form in the list of forms that appears.
- Click the Edit
 button.
 - In the Form Builder application that opens, customize the form by dragging controls onto the form canvas and editing their properties.
How to Delete a Form
- In the list of forms that appears, select the form you wish to remove.
- Click the Delete button (X).
How to Clone a Form
- In the list of forms that appears, select the form you wish to duplicate.
- Click the Clone form
 button.
 - The duplicated form will appear in the list with name "Clone of <Name of Original Form>".
How to Import a Form
- Click the Import form
 button.
 - In the dialog that appears, enter the name of the form you wish to import, browse for the file, and click Upload.
- The imported form will appear in the list.
How to Export a Form
- In the list of forms that appears, select the form you wish to export.
- Click the Export form
 button.
 - The form will be downloaded immediately.
Properties
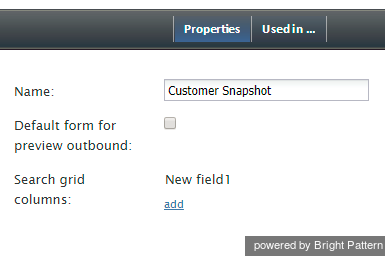
Activity form properties are edited in the Properties tab.
Name
Name is the unique name given to this activity form.
Default form for preview outbound
The Default form for preview outbound checkbox is selected when this activity form is to be used as default for preview outbound campaigns.
Search grid columns
Search grid columns allows you to designate specific form fields as searchable within a screenpop activity form in Agent Desktop. With this setting, it is possible to have calling list columns shown as search results. In order to make calling list columns searchable, you must make calling list columns searchable when importing a list. Additionally, you must map the form field to the calling list column in section Services & Campaigns > Activities tab. For more information, see the Form Builder Reference Guide, section How to Display Searchable Call List Columns in Activity Forms.
To add a form field, click add. In the dialog window that opens, select the Field and Sorting options to be placed on the form. The Field options displayed are the labels (i.e., names) of the various controls used in your created form. The Sorting options allow you to customize the display of searched grid columns; the options include the following:
- Disabled - No sorting
- ASC - Sort in ascending order
- DESC - Sort in descending order
Used in...
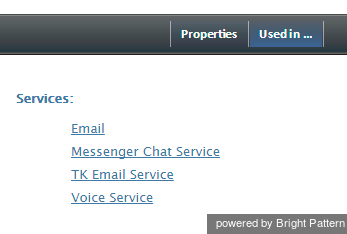
The Used in... tab displays the services that use the selected activity form. This area is where you associate a form with a campaign or service.


