How to Display Searchable Call List Columns in Activity Forms
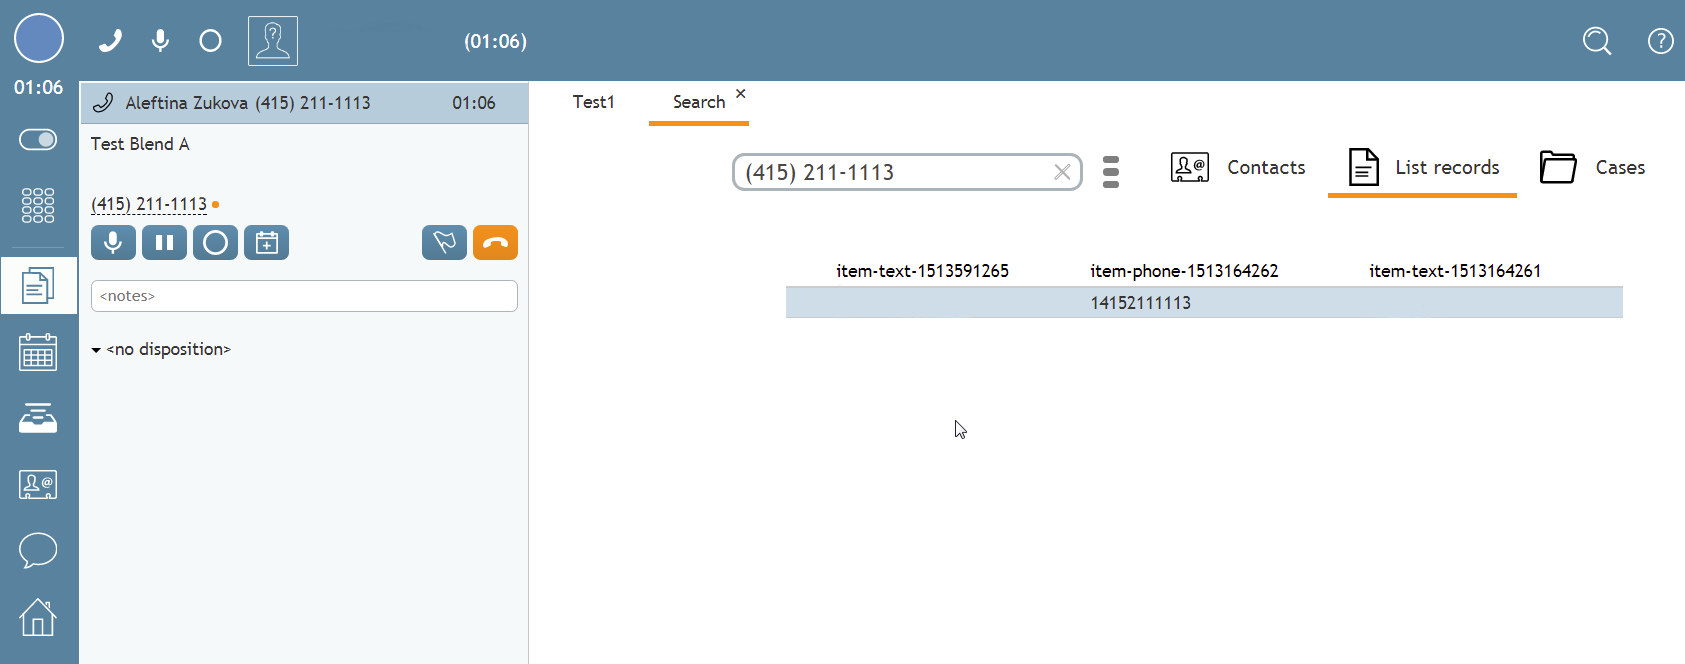
For call centers that conduct calling campaigns, it is often desirable to display some of the data from calling list records in the agents’ screenpop activity form. In this article, you will learn how to display searchable calling list columns in activity forms in Agent Desktop
Prerequisites
Note that you should have familiarity with configuring forms. For more information, see the Form Builder Guide, section Form Builder Overview. Additionally, you should have familiarity with the Scenario Builder application, as this article describes screenpop functionality; in order for screenpop to work, your campaign's voice scenario must include the Web Screen Pop block.
Procedure
Step 1: Create a Call List with Searchable Fields
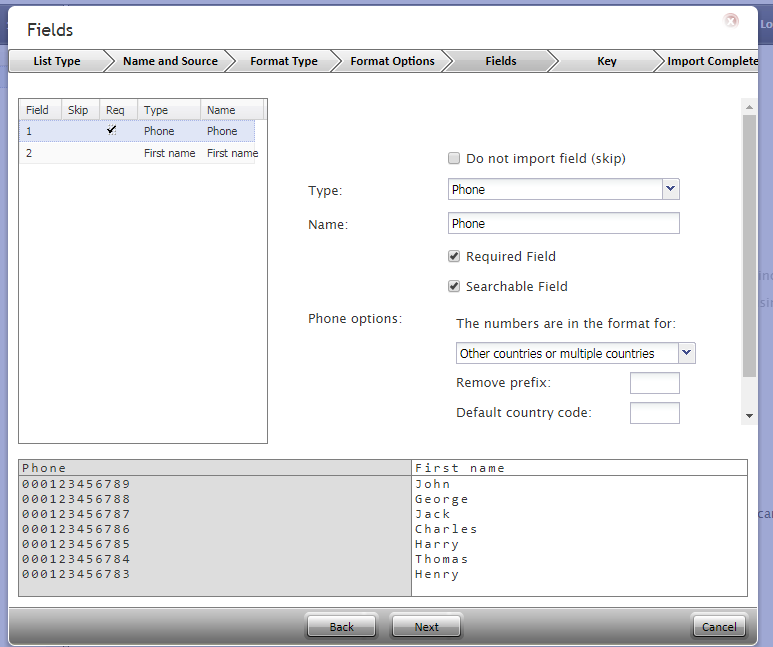
To begin, you will need to create and upload a calling list in section Lists. In the list import wizard, Fields screen, list columns must be marked as searchable. Note: Call list fields cannot be marked as searchable after they have been uploaded, so it is very important not to miss this step!
Step 2: Connect the Call List to a Campaign
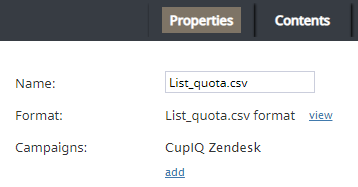
After creating your call list, you will need to associate it with a campaign. This can be done in section Lists by clicking add in the Campaigns setting.
Step 3: Create Custom Activity History Fields
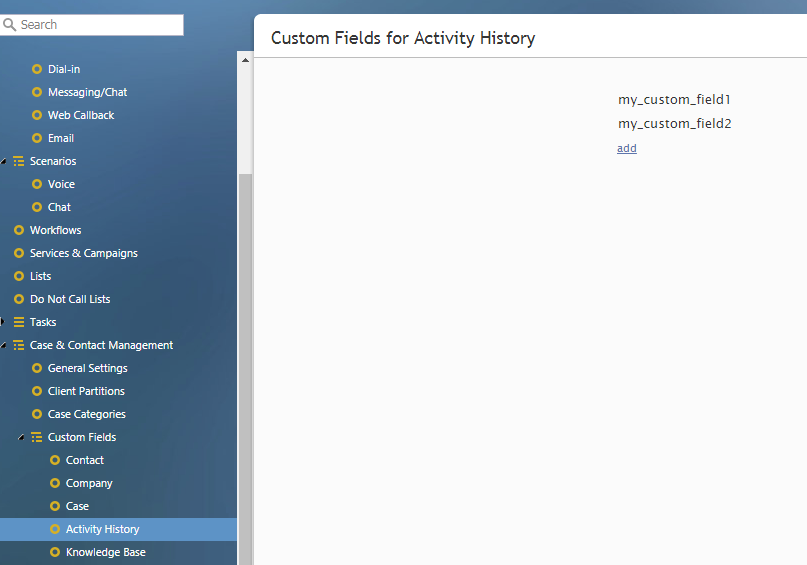
Next, you will need to create custom Activity History fields. This is done in section Custom Fields > Activity History. Note: When configuring your custom fields, make sure to mark them as searchable, otherwise they will not show up in a search.
Step 4: Create an Activity Form Containing the Custom Activity History Fields
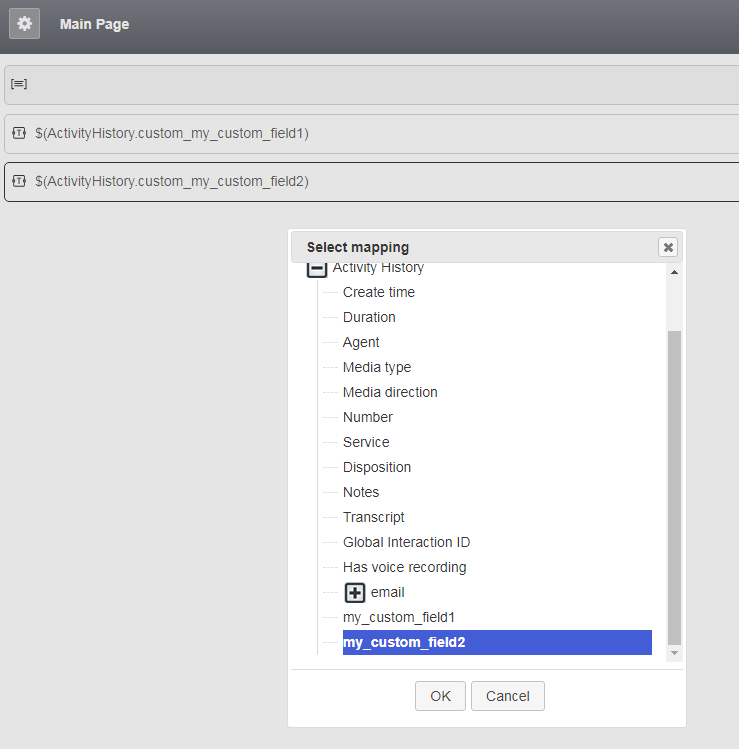
Next, you will need to create an activity form that includes the custom Activity History fields. To do this, add a control to a form that contains the data field configuration option (e.g., text, phone number, checkbox, etc.). From the data field, you can select the custom Activity History field; taking this action maps the custom Activity History fields to the activity form fields the agents will work with.
Step 5: Define Search Grid Columns
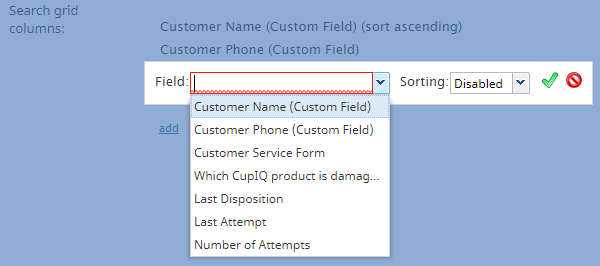
Back in section Forms > Activity, you will need to configure "Search grid columns"; this setting is where you define what activity form fields are searchable when the activity form pops. Additionally, you may choose how the search results are displayed (e.g., ascending, descending, etc.).
Step 6: Enable Screenpop for the Activity Form
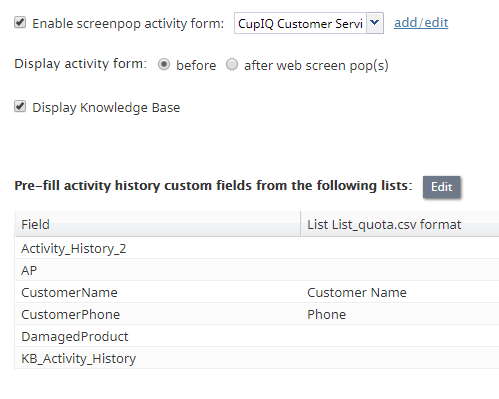
In section Services & Campaigns > Activity tab, you will need to configure the setting "Enable screenpop activity form". Click the add/edit button to select the activity form you created. This setting allows the form you created to pop to the agent during an interaction.
As a reminder, the voice scenario associated with this campaign must contain the Web Screen Pop block in order for the activity form to pop to the agent.
Step 7: Map the Custom Activity History Fields to the Call List Fields
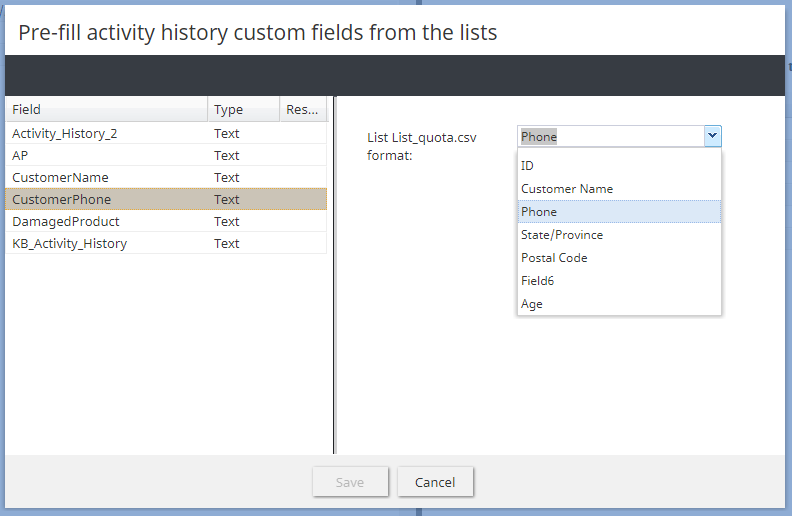
The final step in the procedure is the most important: connect the call list fields to the custom Activity History fields. Also located in section Services & Campaigns > Activity tab, you will configure the setting "Pre-fill activity history custom fields from the following lists". Clicking the Edit button opens a menu where you can map the call list columns to the custom Activity History fields.

