From Bright Pattern Documentation
< 5.19:Agent-guide | Tutorials | Cases
(Updated via BpDeleteTranslateTags script) |
|||
| (6 intermediate revisions by 4 users not shown) | |||
| Line 1: | Line 1: | ||
| − | + | = How to Transfer an Email= | |
| − | A transfer is sending an email to another resource within your contact center for further processing. As mentioned in the [[ | + | ---- |
| + | A transfer is sending an email to another resource within your contact center for further processing. As mentioned in the [[Agent-guide/HowtoChangeanAssignedEmailService|How to Change an Assigned Email Service]] section, the most likely reason you may need to transfer an email is when you are not sure how to process it. | ||
| − | + | {{Image650 | New Email.PNG | New Email}} | |
| − | |||
| − | To transfer the email | + | To transfer the email: |
| − | # | + | # Click '''Open''' to open the email |
# Click the '''Transfer''' button [[File:Transfer-Button-50.png|26px]]. | # Click the '''Transfer''' button [[File:Transfer-Button-50.png|26px]]. | ||
# In the dialog window that appears, select the desired service, person, or team. | # In the dialog window that appears, select the desired service, person, or team. | ||
| Line 13: | Line 13: | ||
# Click '''Transfer''' to confirm the assignment. | # Click '''Transfer''' to confirm the assignment. | ||
| − | |||
| + | {{LightBulb | Use the notes editor to include notes when transferring an email to reduce the need for the other agent to ask for clarification or context about the transferred email. Notes help the other agent see the reason for the transfer and better understand what action is required.}} | ||
| − | + | {{Image450 | Email Transfer.PNG | Transfer an Email}} | |
| − | |||
| − | |||
| − | |||
| − | |||
| − | |||
| − | |||
| − | |||
| − | |||
| − | |||
| − | |||
| − | |||
| − | |||
| − | |||
| − | |||
| − | |||
| − | |||
| − | |||
| − | |||
| − | |||
| − | |||
Latest revision as of 04:00, 29 May 2024
How to Transfer an Email
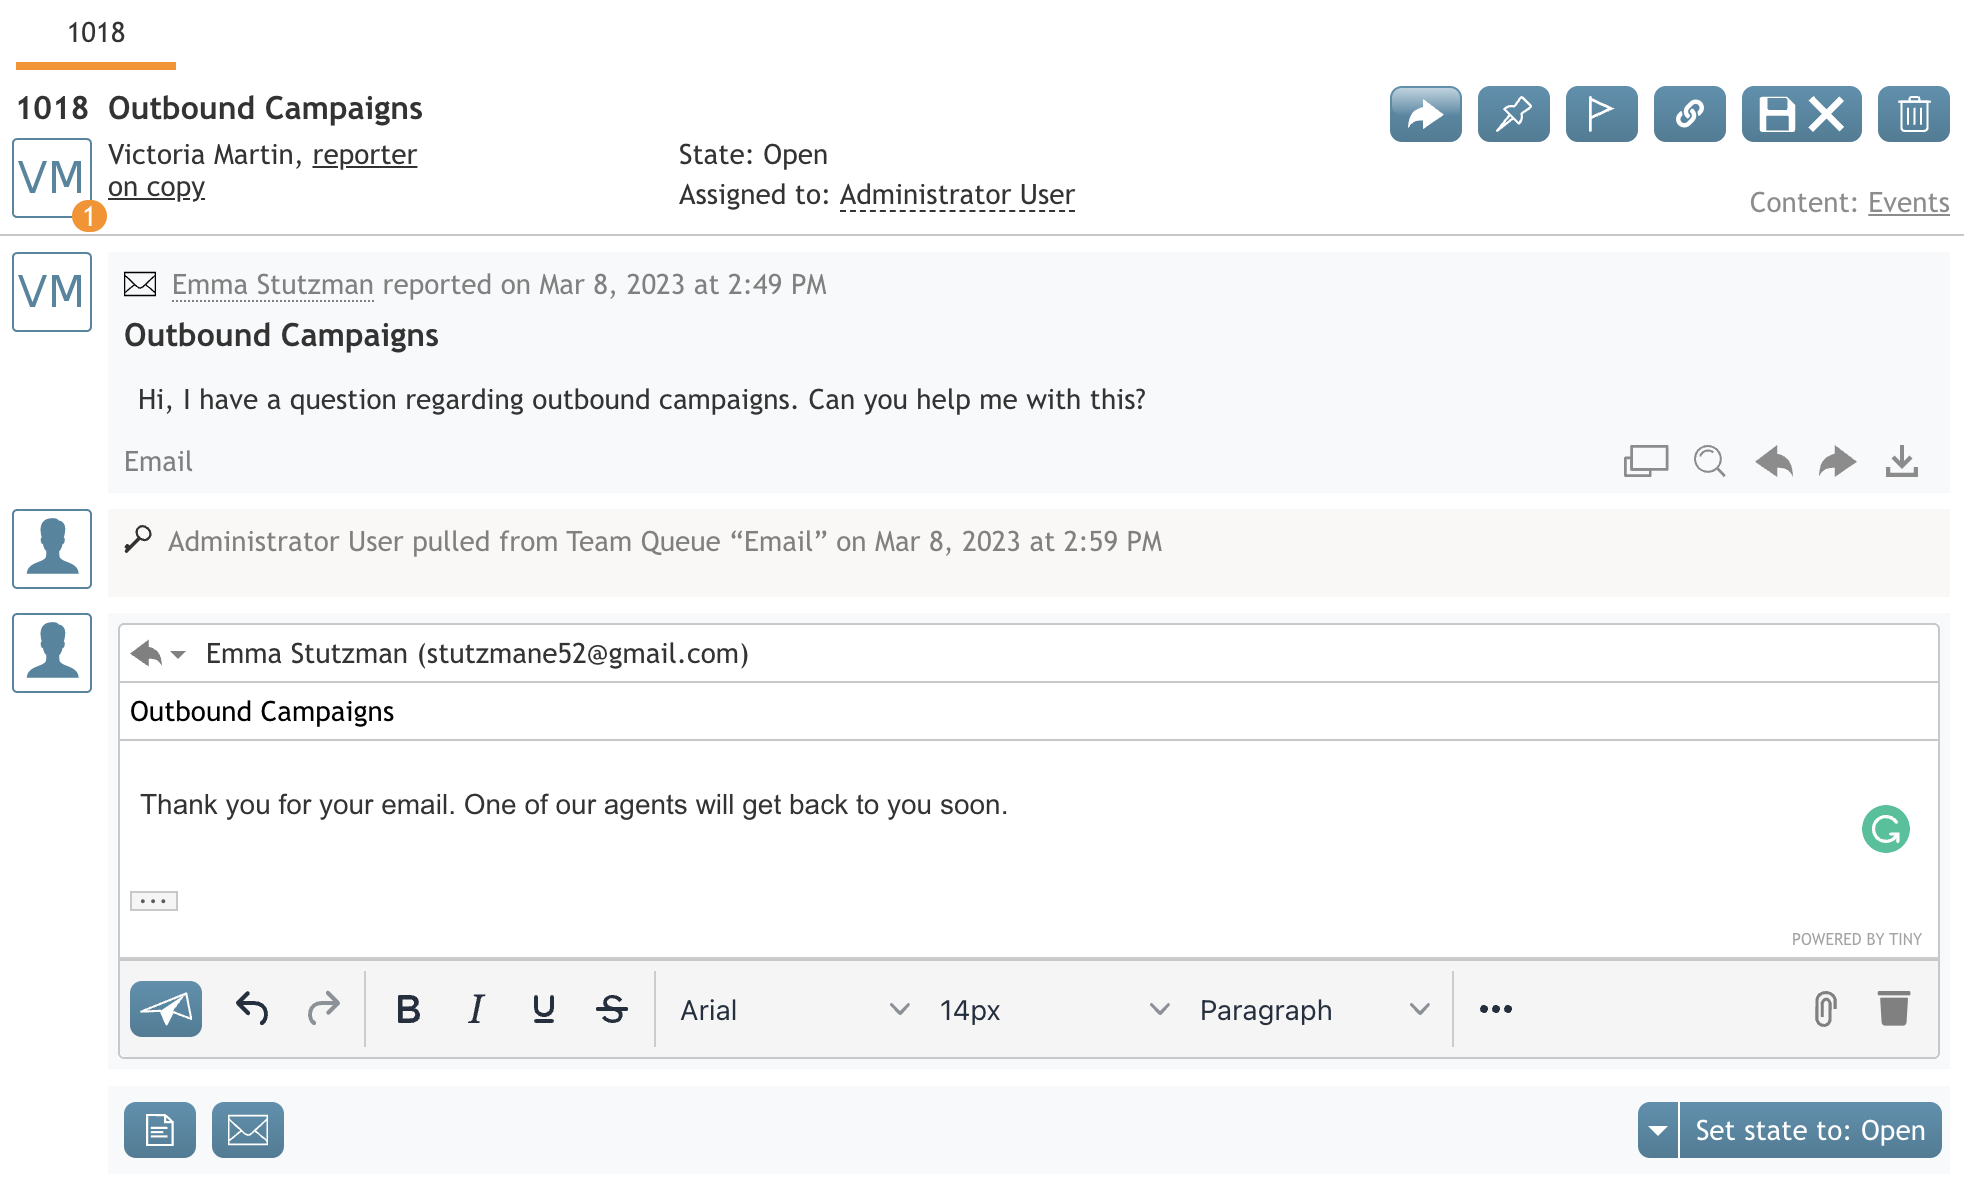
A transfer is sending an email to another resource within your contact center for further processing. As mentioned in the How to Change an Assigned Email Service section, the most likely reason you may need to transfer an email is when you are not sure how to process it.
To transfer the email:
- Click Open to open the email
- Click the Transfer button
 .
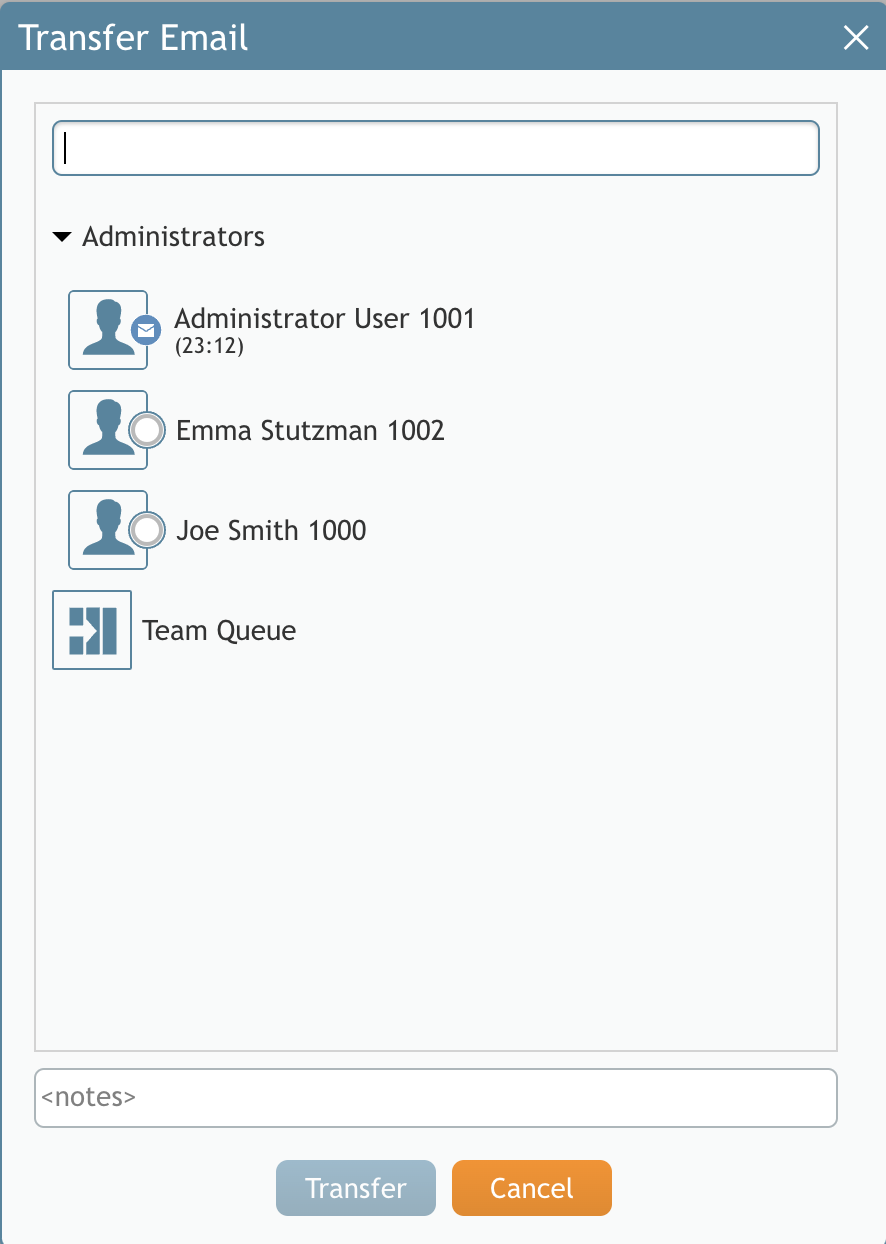
. - In the dialog window that appears, select the desired service, person, or team.
- If you do not see the desired selection on the screen but you know its name, you can enter it in the Search field.
- Click Transfer to confirm the assignment.


