提供: Bright Pattern Documentation
(Created page with "==== スーパーバイザー自身のカレンダーからのアクセス ==== # 自身のカレンダーを通じてエージェントのカレンダーを表示するには...") |
|||
| Line 11: | Line 11: | ||
<div class="mw-translate-fuzzy"> | <div class="mw-translate-fuzzy"> | ||
==== スーパーバイザー自身のカレンダーからのアクセス ==== | ==== スーパーバイザー自身のカレンダーからのアクセス ==== | ||
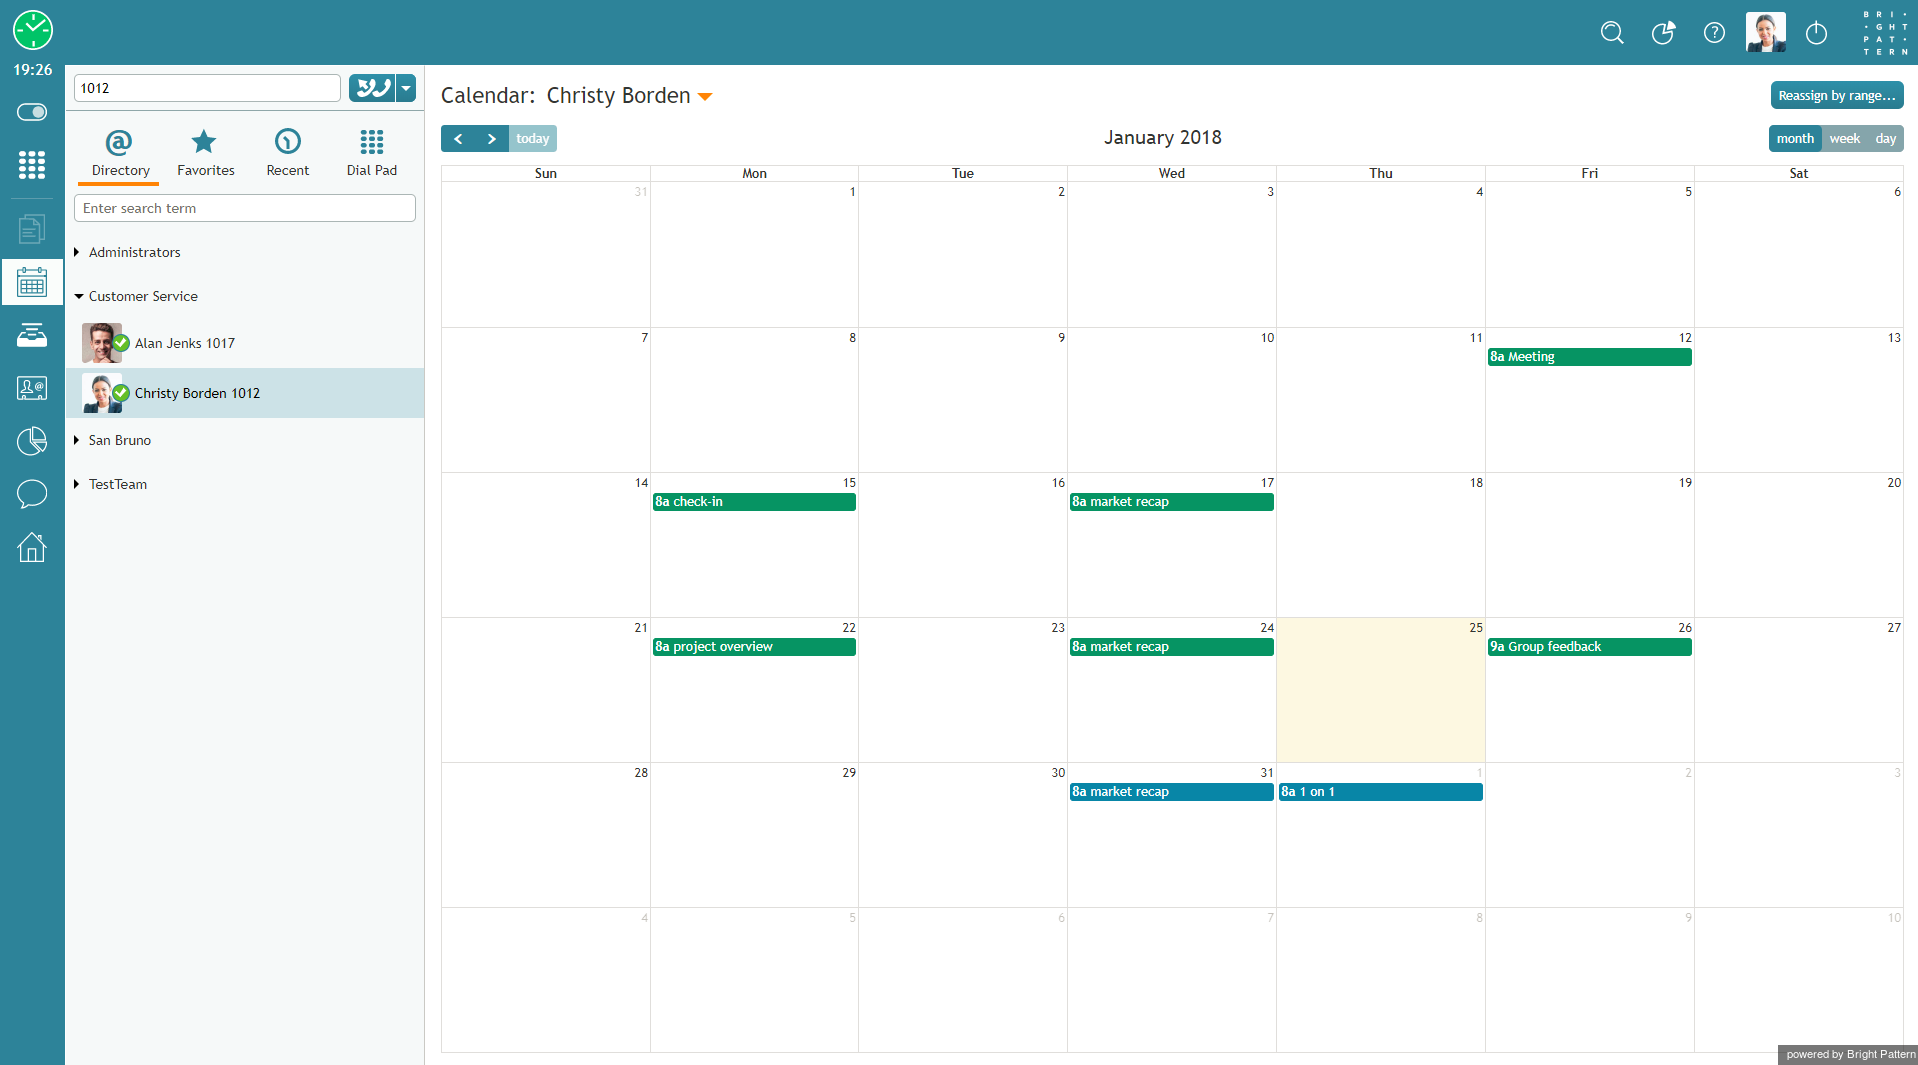
| − | # | + | # 自身のカレンダーを使ってエージェントのカレンダーを表示するには 、エージェントデスクトップのメインメニュにある'''カレンダー''' アイコン[[File:AD-Calendar-50.png|26px]] をクリックします。スーパーバイザーのカレンダーはコンテキスト情報エリアに表示されます。[[File:Supervisor-Calendar-50.png|800px|thumbnail|center|カレンダー]] |
# カレンダーの上部かつ名前の右側にある下矢印をクリックし、ディレクトリ内のユーザーのドロップダウンリストを表示します。[[File:Calendar-Switch-User-50.png | 450px | thumbnail | center] |ディレクトリからユーザーを選択する]] | # カレンダーの上部かつ名前の右側にある下矢印をクリックし、ディレクトリ内のユーザーのドロップダウンリストを表示します。[[File:Calendar-Switch-User-50.png | 450px | thumbnail | center] |ディレクトリからユーザーを選択する]] | ||
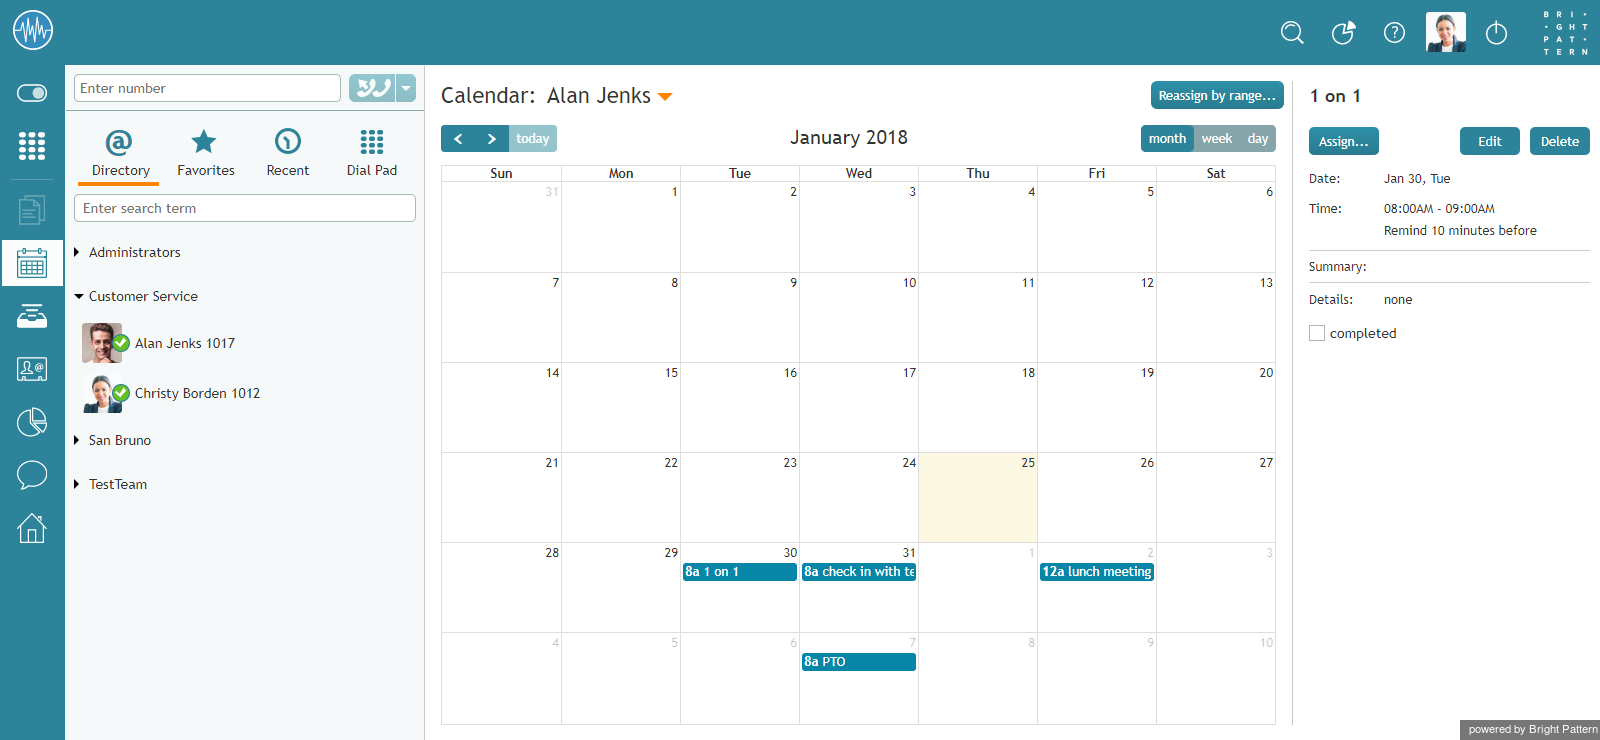
# カレンダーを表示したいエージェントの名前を選択します。 エージェントのカレンダーはコンテキスト情報エリアに表示されます。 カレンダーの上部に表示されている名前を見れば、誰のカレンダーを表示しているかわかります[[File:Agents-Calendar-View-50.png | 800px | thumbnail | center |エージェントカレンダーの表示]]。 | # カレンダーを表示したいエージェントの名前を選択します。 エージェントのカレンダーはコンテキスト情報エリアに表示されます。 カレンダーの上部に表示されている名前を見れば、誰のカレンダーを表示しているかわかります[[File:Agents-Calendar-View-50.png | 800px | thumbnail | center |エージェントカレンダーの表示]]。 | ||
Revision as of 16:21, 10 July 2019
• English
カレンダーイベントの管理
エージェントデスクトップアプリケーションにはカレンダーがあり、エージェントはそれを、お客様へのフォローアップコールなど、業務に関連する様々なタスクやイベントをスケジューリングするために使用できます。 カレンダーに関する一般的な情報については、Bright Pattern コンタクトセンターのエージェントガイドのカレンダーの利用をご覧ください。
エージェントカレンダーを操作する
スーパーバイザーは自身のカレンダーをイベントのスケジューリングのために使用できる他、担当するチームのメンバーのカレンダーを見てスケジュールされたタスクを他のエージェントに再度割り当てすることができます。
エージェントカレンダーを表示する
チームのエージェントのカレンダーを表示する方法は2つあります。 先ず、スーパーバイザーは自身のカレンダーを通じてエージェントのカレンダーにアクセスできます。二つ目の方法は、スーパーバイザーの 監視 画面で利用可能なエージェント管理機能を通じてエージェントのカレンダーに移動する方法です。
スーパーバイザー自身のカレンダーからのアクセス
From Your Supervision Screen
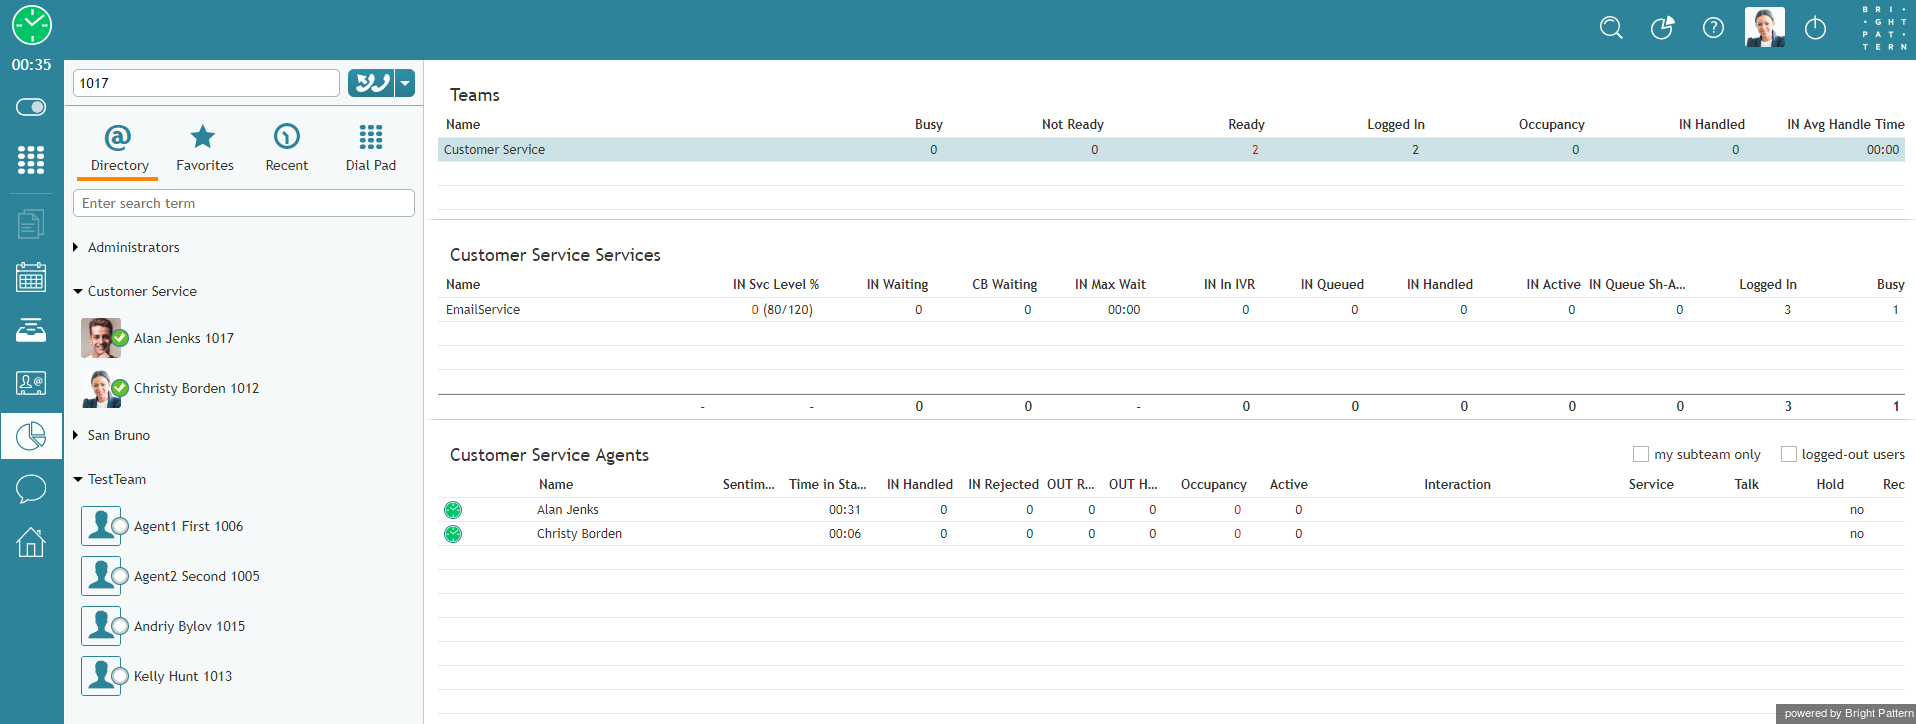
- To view an agent’s calendar from your Supervision screen, click the Supervision icon
 in Agent Desktop's main menu. Metrics about your teams, services, and agents will be shown in the Context Information Area.
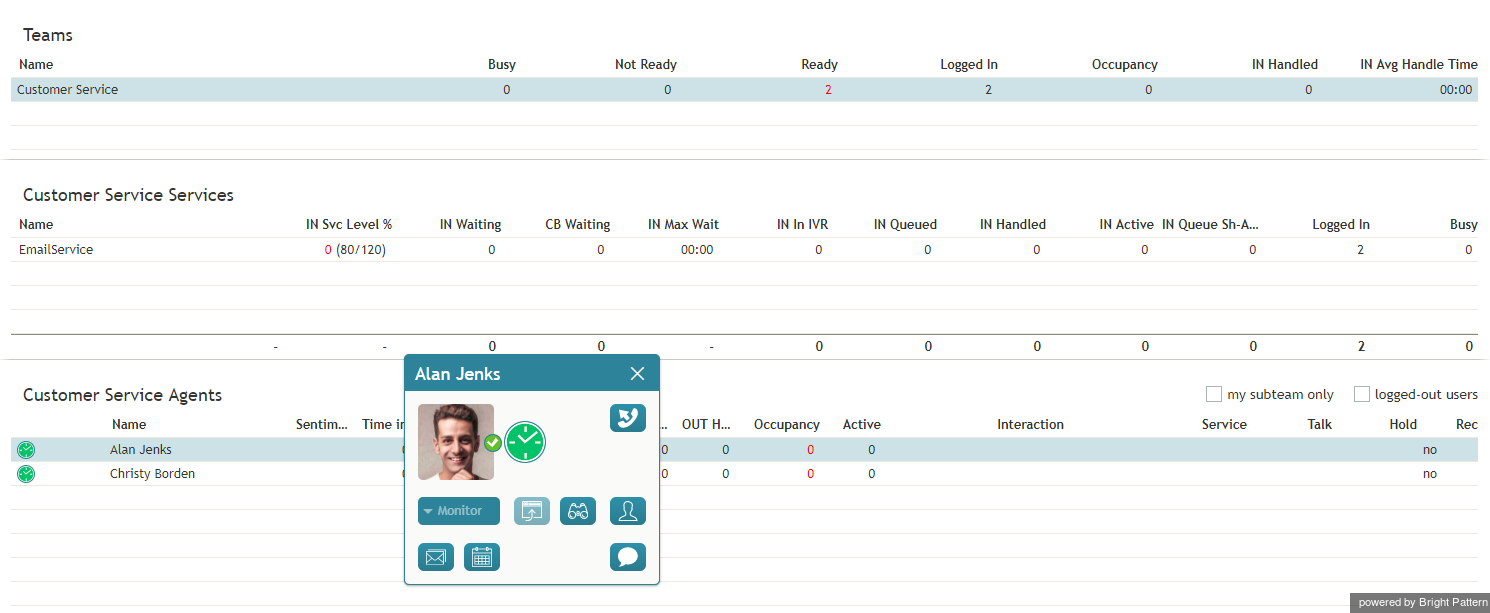
 - Select the desired agent from the Agent Metrics View. A pop-up card will display agent management functions for the selected agent.
- Click the Show Agent’s Calendar button
 . The agent’s calendar will be popped to your Context Information Area.
How to Reassign an Event
- To reassign a single agent’s event to another agent, view the agent's calendar. See section How to View an Agent's Calendar.
- Select the event in the agent's calendar that you want to reassign. The event properties on the right will display the event information.
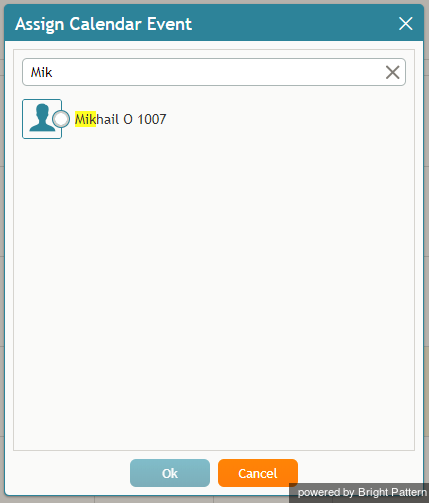
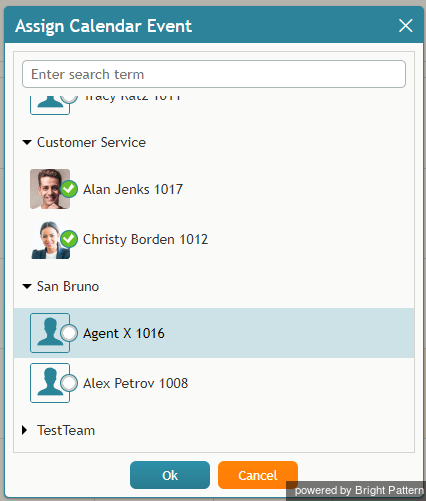
- Click the Assign… button. A dialog window will appear, showing the list of agents to which this task can be assigned. To find a specific agent quickly, you can start typing the agent's name in the Enter search term field and matching users will be listed in search results.
- Select the desired agent and click Ok.
How to Reassign All of an Agent’s Events to Another Agent
Sometimes it may be more convenient to reassign all of the agent’s events within a time range in a single step.
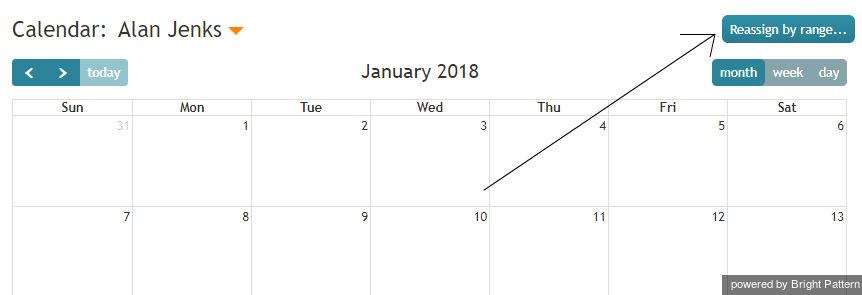
- Click the Reassign by range… button.
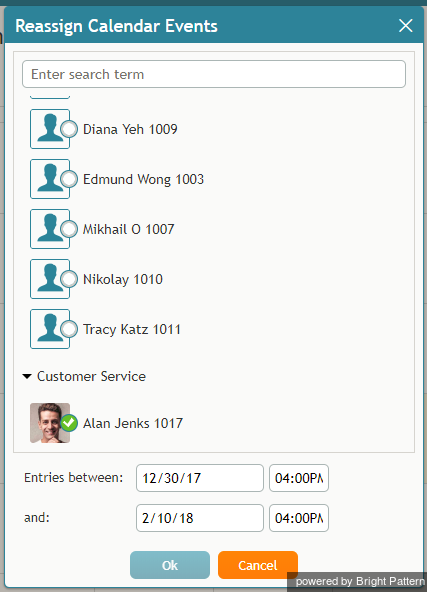
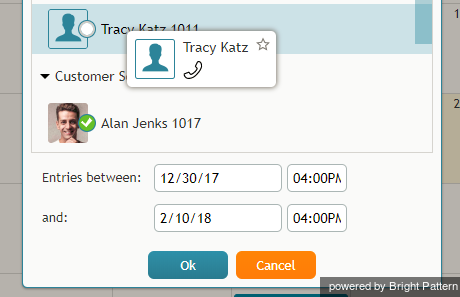
- A dialog window will appear showing the list of agents that this task can be assigned to and time range controls.
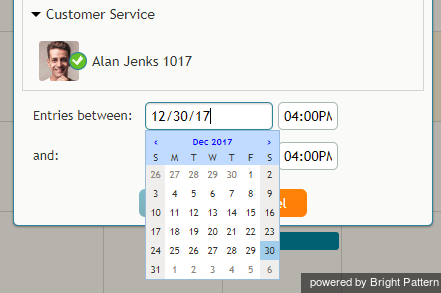
- Specify the desired time range by either typing in the date or clicking into the date field and selecting the date from the mini calendar.
- Select the desired agent and click Ok.
< 前へ | 次へ >

