How to Make an Outbound Call
Outbound calls are calls you make to external numbers of a public telephone network.
Follow these steps to make an outbound call.
Step 1: Enter phone number with prefix (if necessary)
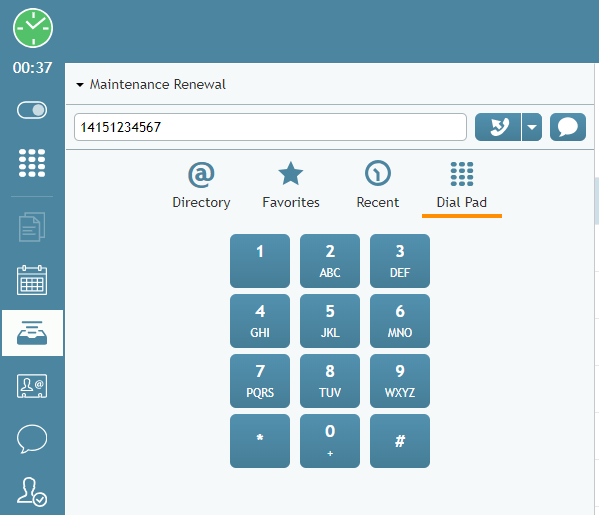
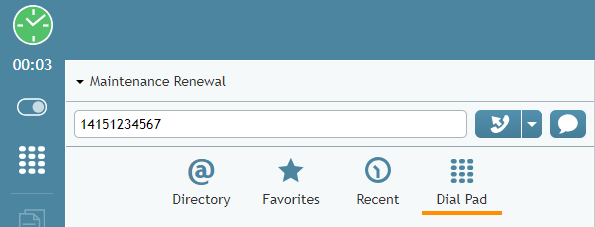
In the Number Input Field, enter the full telephone number of the party you want to call.
To enter the number, you can use either the numeric keys of your keyboard or the Dial Pad tab ![]() . Note that if you begin entering a phone number that you have manually entered and dialed previously, the system will automatically complete the rest of the phone number for you. You can also use the Recent Contacts, Directory, and Favorites to make calls to known outside contacts.
. Note that if you begin entering a phone number that you have manually entered and dialed previously, the system will automatically complete the rest of the phone number for you. You can also use the Recent Contacts, Directory, and Favorites to make calls to known outside contacts.
Prefixes
Depending on your contact center configuration, you may also have to enter a prefix (e.g., "1") for access to the public telephone network before entering the telephone number itself. Sometimes, you may be required to dial different prefixes depending on the destination. You should receive instructions about the use of prefixes from your administrator.
International Calls
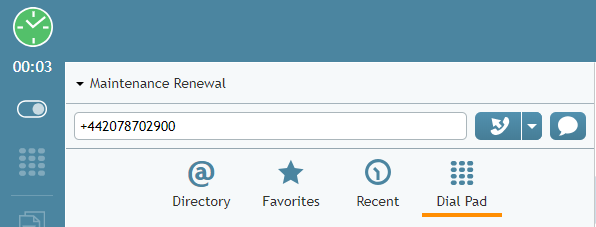
To dial internationally, enter the plus ("+") sign and phone number. To enter the plus sign from the Dial Pad, click and hold the “0” button.
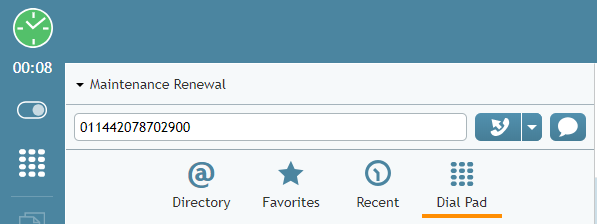
Depending on your contact center configuration, you may have to enter prefix "011" instead of the plus sign.
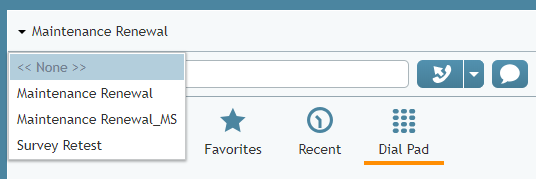
Step 2: Select service or Voice Number
If the outbound call you are making is associated with a particular service that you provide, click the drop-down menu below the Number Input Field and select the desired service. Note that depending on your system configuration, a service may be automatically associated with the call based on the prefix of the number that you dial. If you are in doubt as to which service to attribute this call to, choose None. Consult your administrator for more specific instructions regarding service selection.
Step 3: Click the Initiate call button
Click the Initiate call button ![]() .
.
If the called party is available, you will hear the ring back tone in your headset, and you will see a blinking outgoing call icon ![]() in the Active Communications List. When the called party answers, the outgoing call icon will stop blinking, indicating that the call is now established.
in the Active Communications List. When the called party answers, the outgoing call icon will stop blinking, indicating that the call is now established.
Note: Depending on your previous actions, instead of the Initiate call button ![]() , you may see the Initiate single-step conference button
, you may see the Initiate single-step conference button ![]() . This button is used to set up a conference with another active call on your desktop. In absence of another active call, this button can be used in the same way as the Initiate call button.
. This button is used to set up a conference with another active call on your desktop. In absence of another active call, this button can be used in the same way as the Initiate call button.

