How to Send and Receive Pictures and Documents
You can send files to your customers as well as receive files from customers via chat.
To send a file, follow these steps:
- Click the Add attachment button

- Select the desired file
- Click Open.
- Alternatively, you can drag and drop the file directly to your Chat Panel.
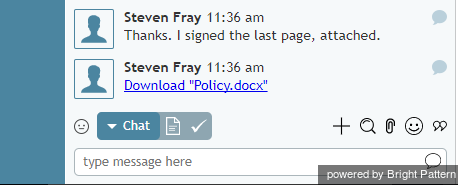
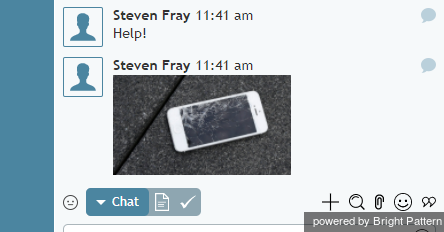
To the customer, the transmitted file will normally appear as a link for a document (or a thumb for a picture). The customer can click the link/thumb to download the file and open it as any regular file on his computer.
The attached document and picture may appear to the customer as shown.
Your customers can send you files using either the drag-and-drop method or the Add attachment button ![]() .
.
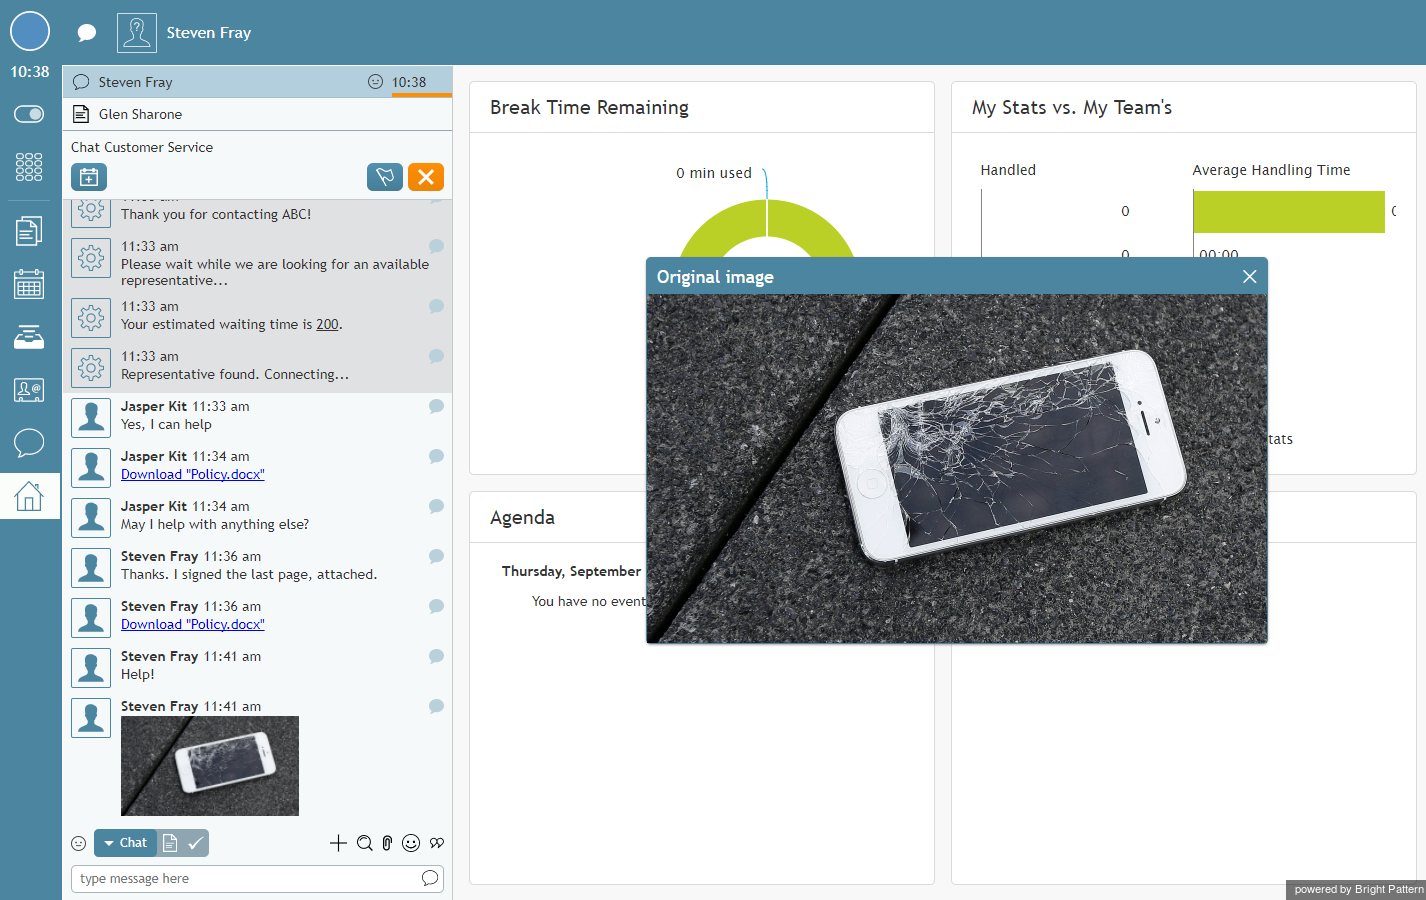
If the customer sends you a document, your Chat Panel will show the file name as a link. Click the link to download the document and open it as any regular file on your computer.
If the customer sends you a picture, it will be displayed as part of your message exchange in the Chat Panel.
If you click the picture, it will appear in a large pop-out window.
If the native size of the picture is larger than the pop-out window, you will be able to adjust the viewing are via zoom controls and/or display the picture in a separate browser tab/window.


