Search & Preview Records Interface
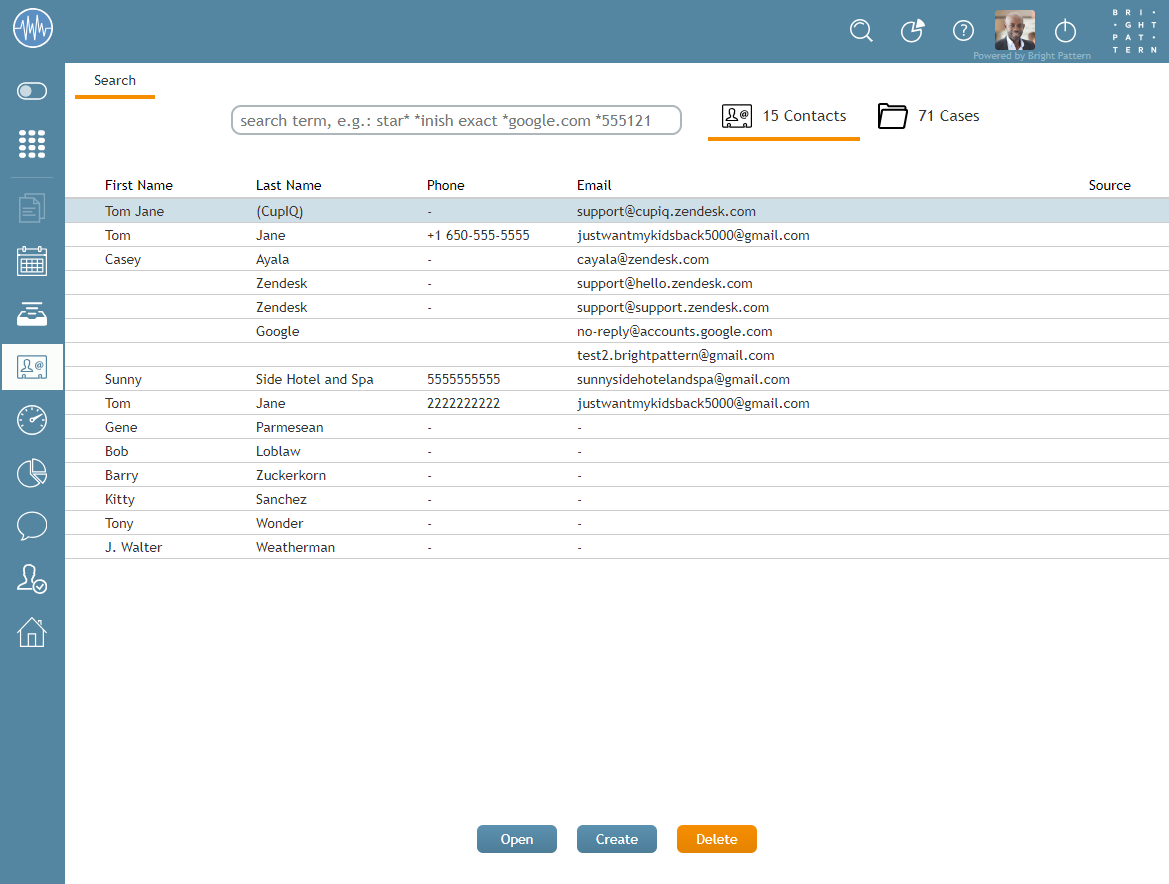
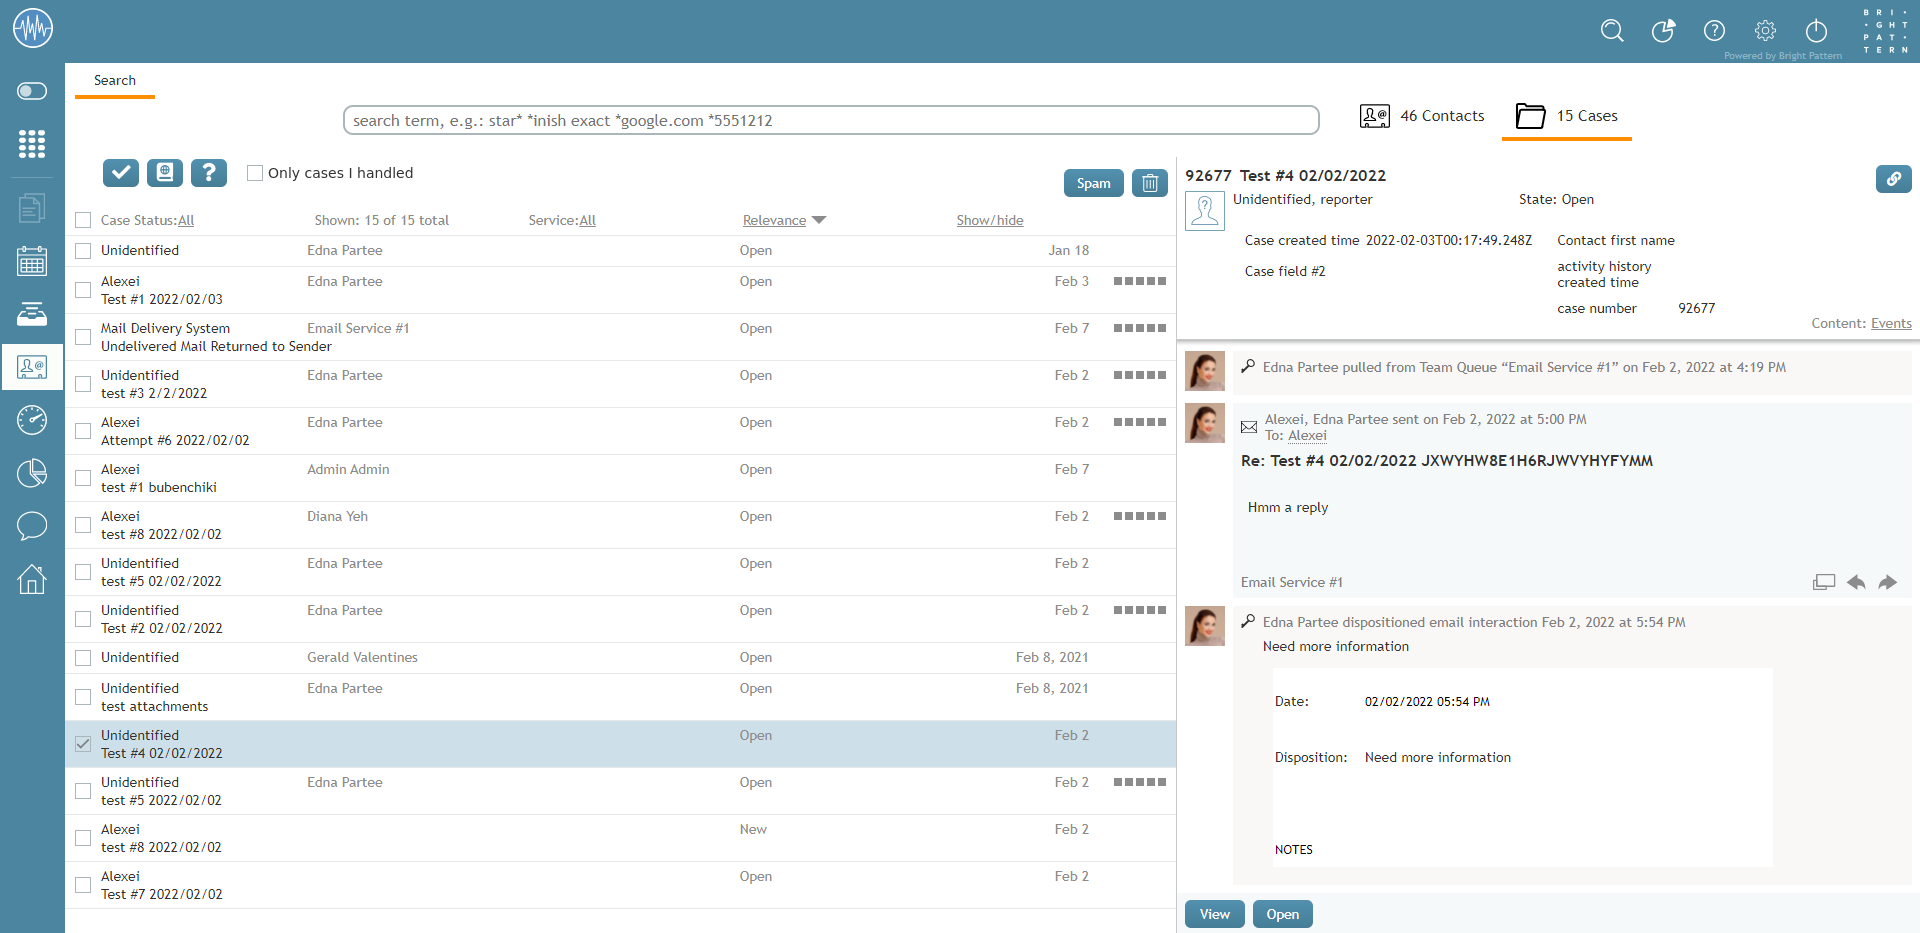
Search & Preview Records (formerly known as Contacts) is where cases and contact records are located, as well as a search bar that allows you to sort through them quickly and easily. The following is an overview of what you will see in this section of Agent Desktop.
Note: The Bulk Export/Import Contacts feature available in this section prior to release 5.3.2 was removed and added to the Contact Center Administrator application, section Contact Import & Export.
Main Page
The main page of Search & Preview Records comprises the three features of the section: the search bar, contacts, and cases. Below these features, you will see your saved contacts, which can be accessed by highlighting a record and clicking the Open button or double-clicking on the record. Additionally, you may add a contact by clicking the Create
button or remove a contact by clicking the Delete
button.
Search Bar
Located at the top of the section, the search bar allows you to search through cases and contact records; it is accessible whether you are on the main page, looking in a contact record, or at cases. For more information about the types of searches you can conduct, see Advanced Search.
Contacts
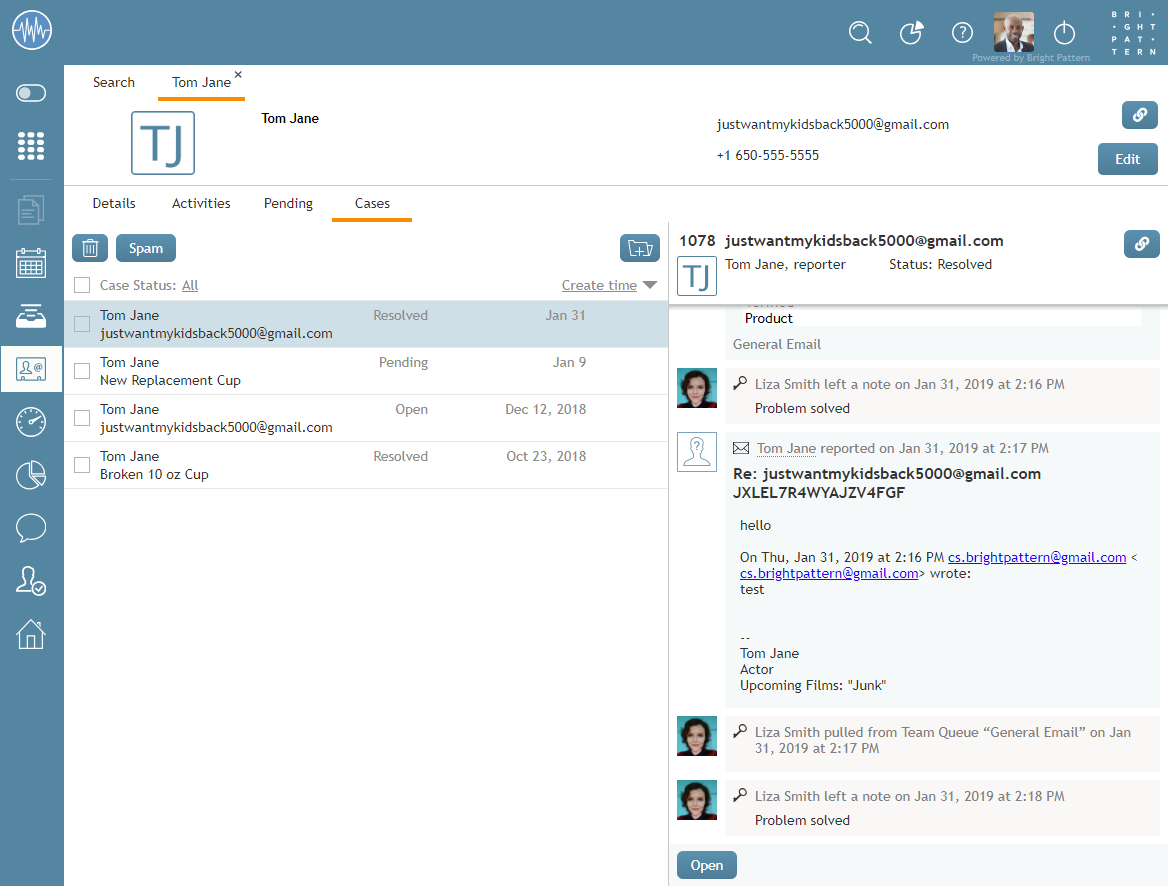
The Contacts section is where contact records are located. Contact records are the entries in your contact center's database containing customer information. When you open a contact record, you can view the contact's interaction history with your contact center as well as any saved personal data. This information is organized and separated by tabs.
Contact records contain the following buttons, which are accessible from any contact record tab:
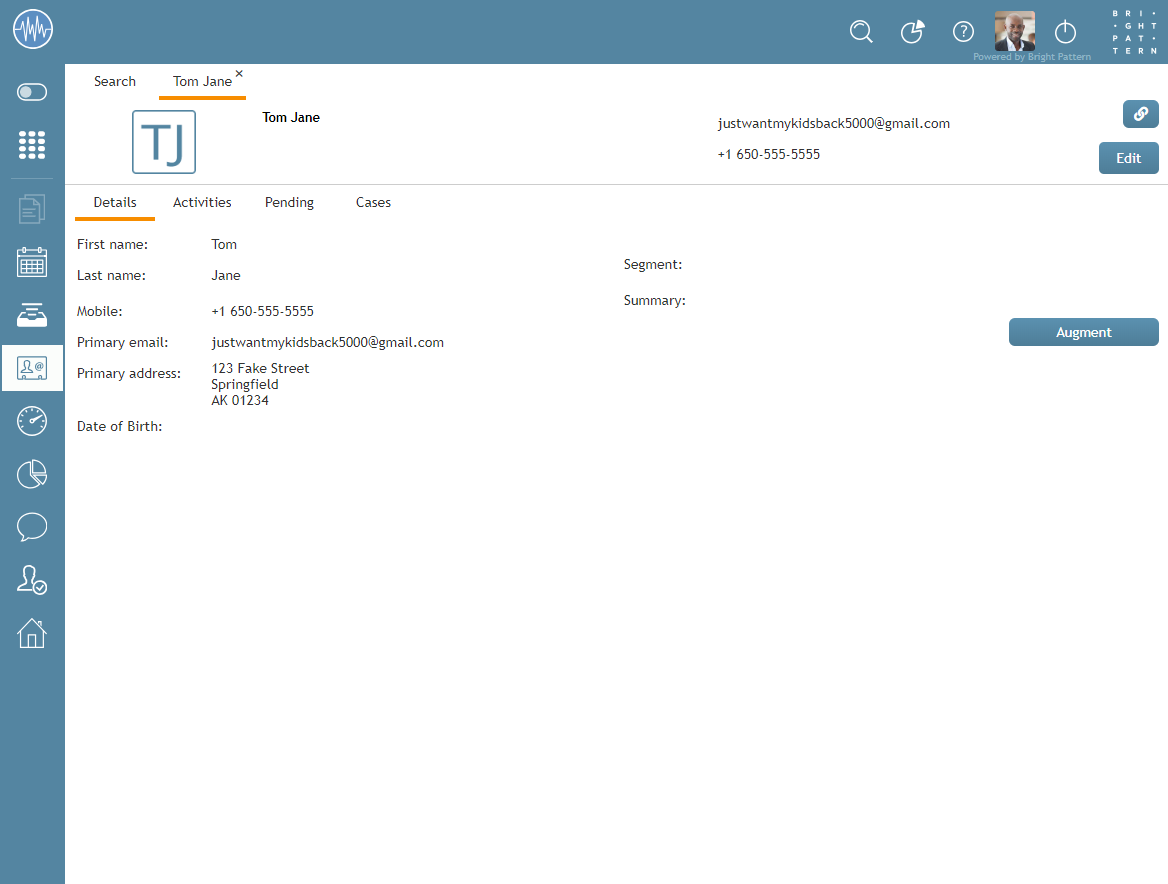
- The link
button copies a shareable link of the contact to the clipboard, allowing you to paste the link elsewhere; this makes it possible for you to share the contact with other agents or supervisors in your contact center. Note that links may be pasted into your web browser's search bar or into the search bar to access the case. When a contact link is pasted, it will be presented in the format <domain>/agentdesktop/contact/id/<id number>/<tab within case> (e.g., http[s]]://YourCompany.brightpattern.com/agentdesktop/contact/id/5c6dadc9d04fd75a777bdcfa/details). For more information regarding how to manually alter this link, see Using URL Variations To Access Case and Contact Information.
- The Edit
button allows you to edit the details of the contact record.
Details Tab
When a contact record is opened, the Details tab is the default view; it is where the contact's personal information is stored. Note that the types of information stored here will vary per contact center.
If your contact center is integrated with an external database (e.g., NextCaller), it is possible to merge matching customer contact information by clicking the Augment button. Note the setting that allows augmentation must be configured by your administrator in order to work. For more information, see How to Add to an Existing Contact.
Activities Tab
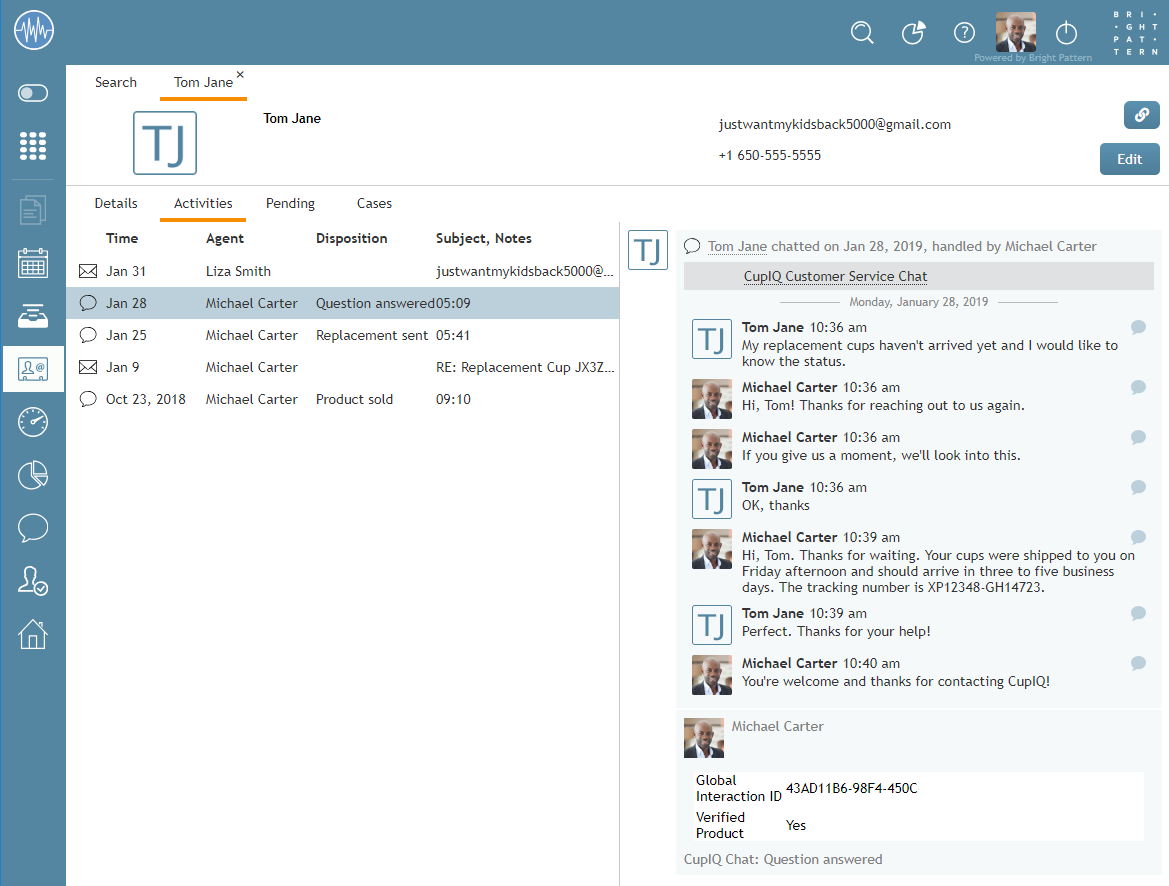
The Activities tab displays all activities that happened in your contact center related to a given contact; logged activities display information such as the time an activity occurred, what agent was involved, any disposition (i.e., including email dispositions), if it included an agent using Remote Assist, as well as subject and/or notes. For more information, see Activities.
Pending Tab
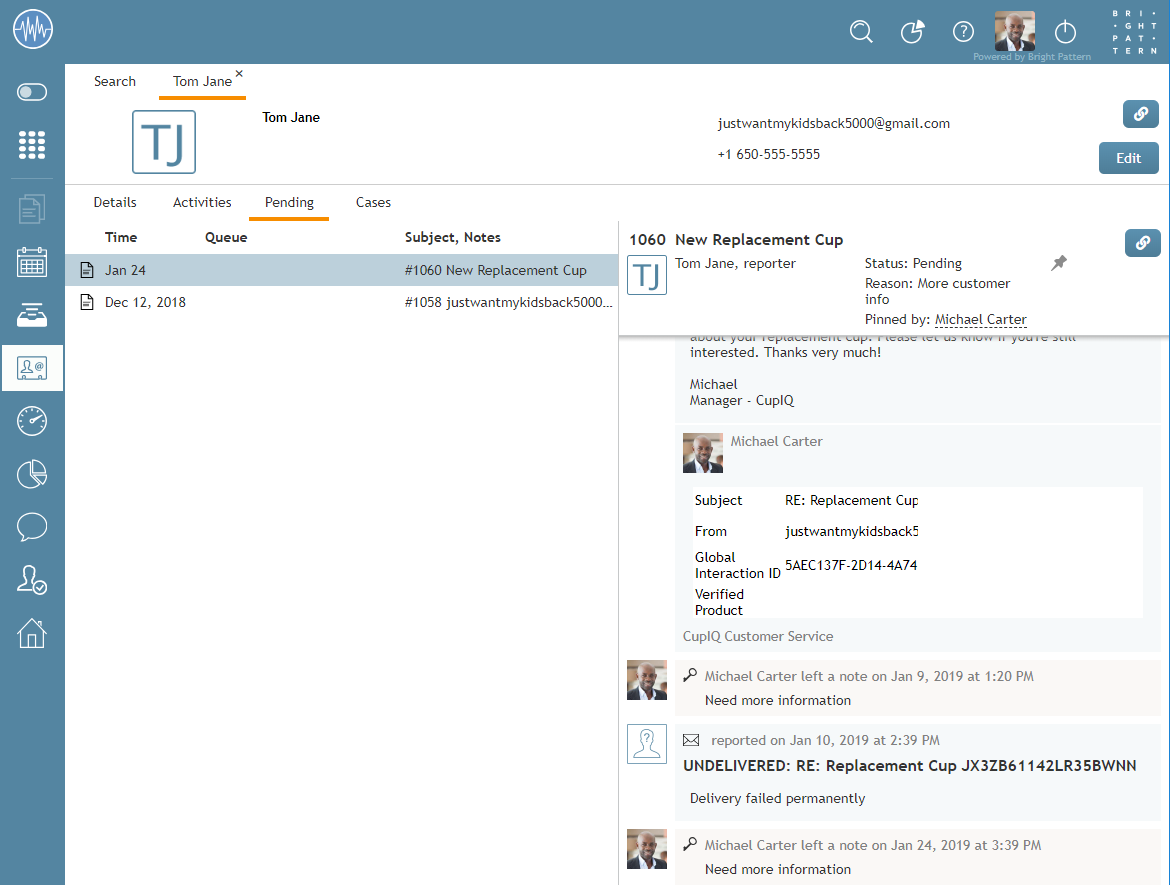
The Pending tab displays any cases that have not been assigned the Resolved or Closed states. Additionally, it is possible to select the link button in order to copy and paste a link to the case (i.e., in the Case area and not the Contact area). For more information about case states, see Case State. For more information about the link button, see Link button.
Cases Tab
The Cases tab displays cases that have been created for the contact. Additionally, it is possible to select the link button in order to copy and paste a link to the case (i.e., in the Case area and not the Contact area). To quickly apply dispositions to multiple cases, tick the checkbox for each case and click the desired disposition button. For more information about cases, see Cases, Email, and Threads. For more information about the link button, see Link button.
Cases
Cases are instances of customer service that are created to track all communications related to a specific customer request. Cases can be created manually in your contact center or automatically if they arrive there as email. Note that not all interactions that happen in your contact center will be considered cases; however, if an interaction has been made a case, it can be found here. For more information about cases, see Cases, Email, and Threads. The Cases interface contains the following buttons and filters.
Spam button
The spam button removes the selected cases from this section. Note that this button does not function as a spam filter; spam filters are managed by your contact center's administrators.
Trash button
The trash button deletes cases. Note that this button is available for supervisors only.
Link button
The link button copies a shareable link of the case to the clipboard, allowing you to paste the link elsewhere; this makes it possible for you to share the case with other agents or supervisors in your contact center. Note that the case link button can be found in the Contact's Pending tab and Cases tab.
Note that links may be pasted into your web browser's search bar, into the search bar, or the Contact Search shortcut found at the top of the screen to access the case.
When a case link is pasted, it will be presented in the format <domain>/agentdesktop/case/id/<case id number> (e.g., http[s]]://YourCompany.brightpattern.com/agentdesktop/case/id/5ca2f3eed04fd756afcca6c6). For more information regarding how to manually alter this link, see Using URL Variations to Access Case and Contact Information.
Disposition Buttons
The disposition buttons (in the above example, ![]() ) are uniquely configured per contact center. When one or more cases are selected by checkbox
) are uniquely configured per contact center. When one or more cases are selected by checkbox ![]() , a button is displayed for each disposition that could be applied to the selected case(s). Clicking a disposition button will apply that disposition to each of the selected cases. Hover over a button to see the name of the disposition it represents.
, a button is displayed for each disposition that could be applied to the selected case(s). Clicking a disposition button will apply that disposition to each of the selected cases. Hover over a button to see the name of the disposition it represents.
Only Cases I Handled Filter
Checking the Only cases I handled filter will display only cases that you have handled.
Create a follow-up case button
The Create a follow-up case button is available for cases with a Closed state only. Clicking this button allows you to create a new case. For more information, see How to Use Cases to Send a Follow-up Outbound Email.
Static Elements
Shown
The Shown element is the searched-for or displayed number of cases out of the search results.
Case Filters
The following filters are available for cases.
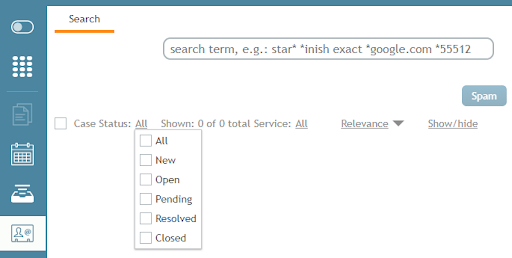
Case Status
Select one or more statuses in the Case Status filter to search for cases by status. For more information, see Case State.
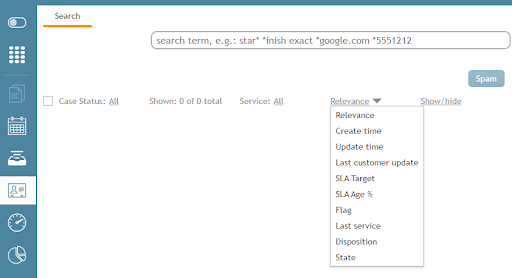
Case details
The case details sort control sorts cases in ascending or descending order by:
- Relevance
- Create time
- Update time
- Last customer update
- SLA target
- SLA age %
- Flag
- Last service
- Disposition
- State
Click the triangle to switch the sort order. For more information, see My Cases Interface.
Services
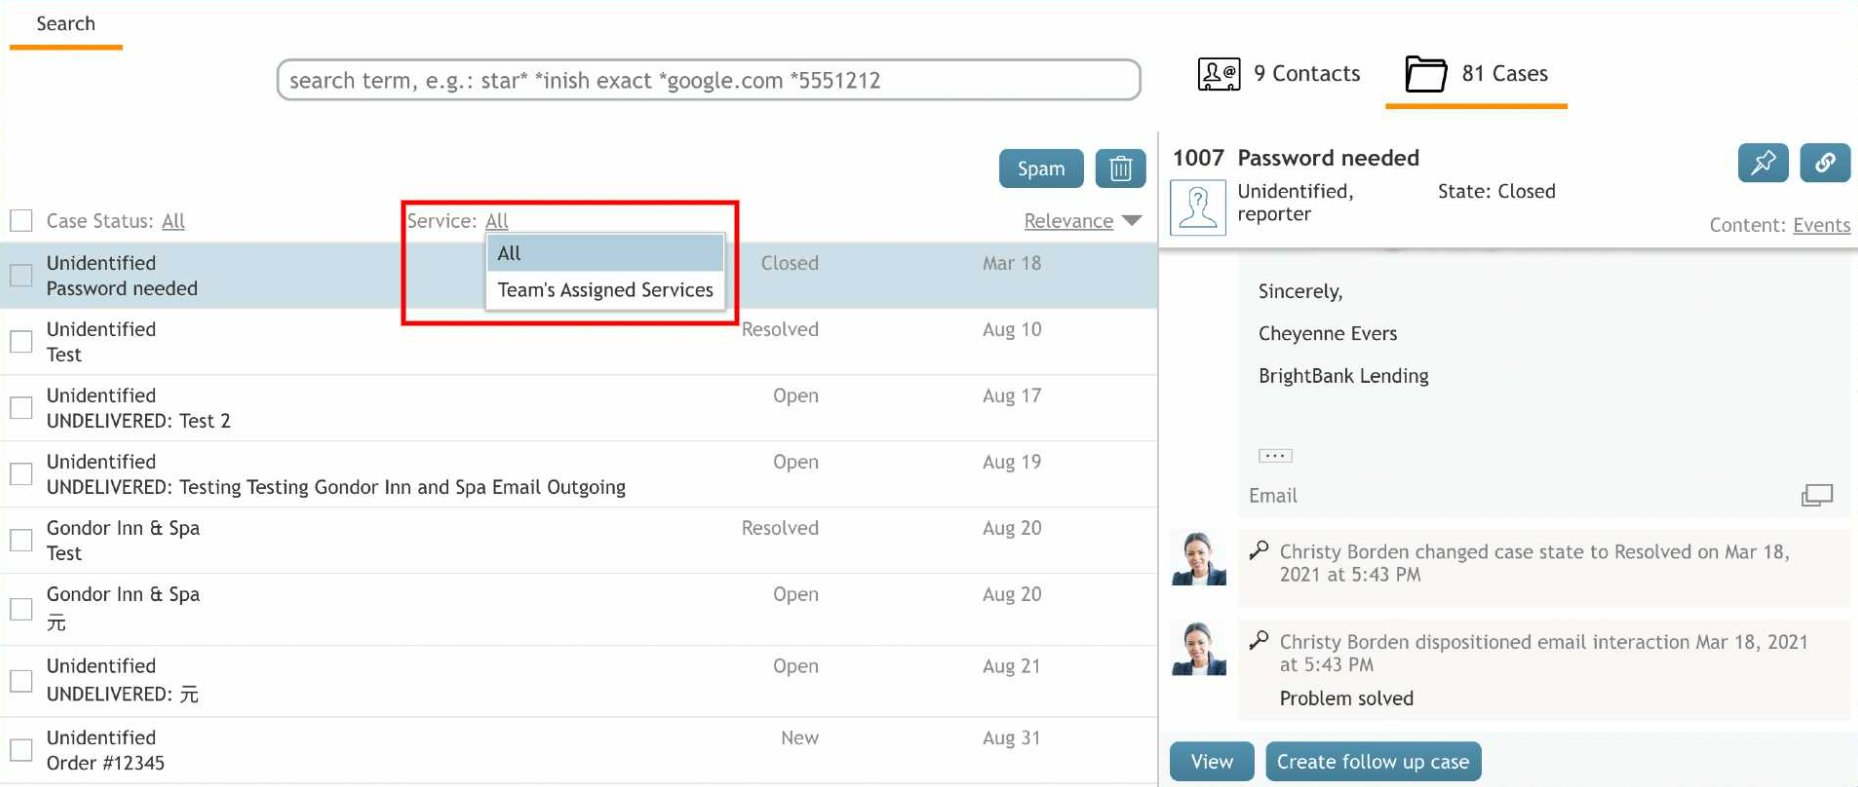
The services filter allows users to search cases by service if a user has the See other agents’ cases privilege enabled. The two available filter options are Team’s Assigned Services and All. The Team’s Services filter, when selected, restricts the cases found to those that belong to the user’s team only, including all cases where the logged-in user participated. If the user has no See other agents’ cases privilege, neither selectors are displayed and the search results only include the cases where the logged-in user participated.
Teams
There is an additional filter for supervisors called Teams Selector that permits the supervisor to select a team from the list of teams they supervise. If you are a supervisor, you may also see a filter that allows you to limit the search to cases assigned to a specific team (i.e., as opposed to all teams that you are assigned to supervise).
Case Properties
Case content properties display case-related data (e.g., State, Data, SLA, etc.). You may choose which properties are displayed by selecting the desired data element checkbox in the Show/hide drop-down menu. Note that the selection checkbox as well as the contact/subject property are not removable.
The configurable properties are as follows.
All
Displays all configurable content properties, specifically:
- Category
- Location
- State
- Date
- SLA
- Last Service
- Disposition
Contact
Displays the contact's name and title; this property is not removable
Location
The location element is where the case is located; the location is displayed inline per case. If the case is in an agent's personal queue, the agent's name will be displayed; if the case is located in a specific team queue, the name of the corresponding email service will be displayed.
State
Displays the current case state.
Date
Displays the date associated with the option selected in the case details filter
SLA
Displays the target time bar, which is a visual indicator of SLA
Last Service
Displays the name of the service associated with the most recent interaction of the case
Disposition
Displays the name of the disposition of the last activity associated with the case
Restore Default
When selected, the displayed configurable properties will be restored to the system default; the default properties are as follows:
- Location
- State
- Date
- SLA
< Previous | Next >

