提供: Bright Pattern Documentation
< 5.19:Agent-guide | Tutorials | Contacts | HowtoCreateaNewContact
新しいコンタクトの作成
エージェントデスクトップにおいて新しいコンタクトの作成(つまり、新しいレコードの追加)方法はいくつかあります。例えば、コンタクト検索結果を使うと、新しいコンタクトの詳細は手動で入力できます。また、コンタクト要約の複数のポップアップに基いて新しいコンタクトを容易に追加できます。新しいコンタクトの作成方法は以下の通りです。
検索結果
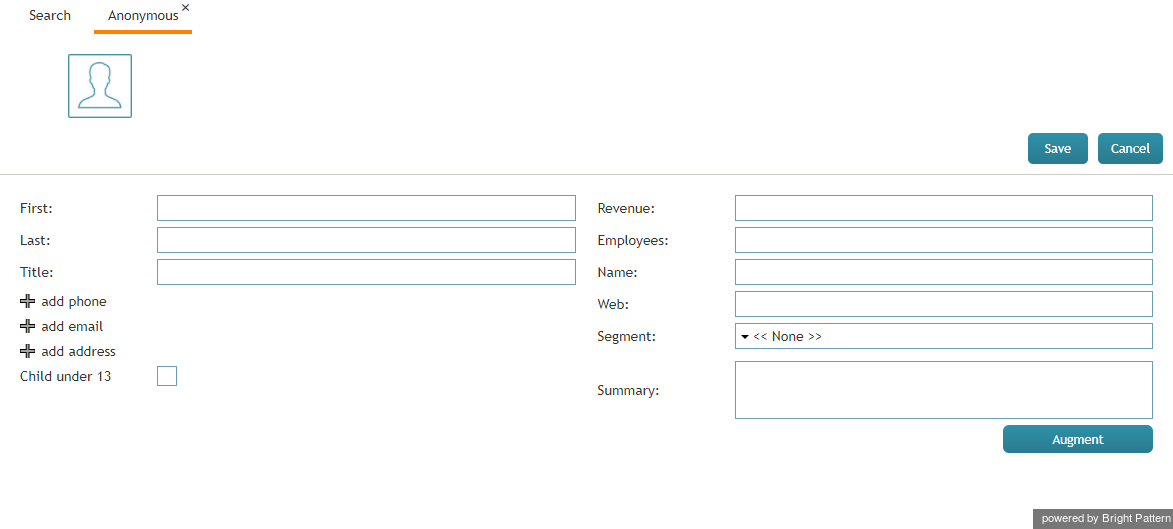
- コンタクト検索結果リストを開いて、画面の下にある作成ボタンをクリックします。
- コンタクト詳細フォームが表示され、コンタクト情報の入力ができます。
- 保存をクリックします。
"Add New" Option on Contact Pop-Up
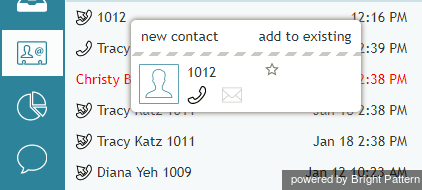
- On the Active Conversations List, click the Recent tab.
- Hover your mouse cursor over the contact's name.
- If no details have been saved for that contact, the contact summary pop-up will provide links labeled new contact and add to existing.
- Click new contact.
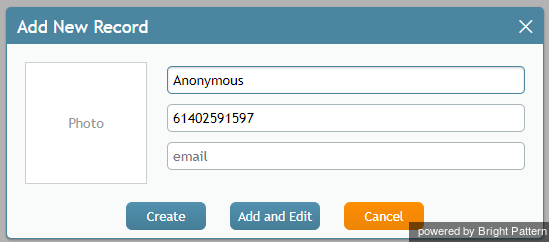
- The Add New Record pop-up will appear with four basic fields to complete: name, phone extension (which may be pre-filled for you), email, and photo.
- Click Create to create a simple record quickly, or click Add and Edit to add more information to an existing contact.
Calendar
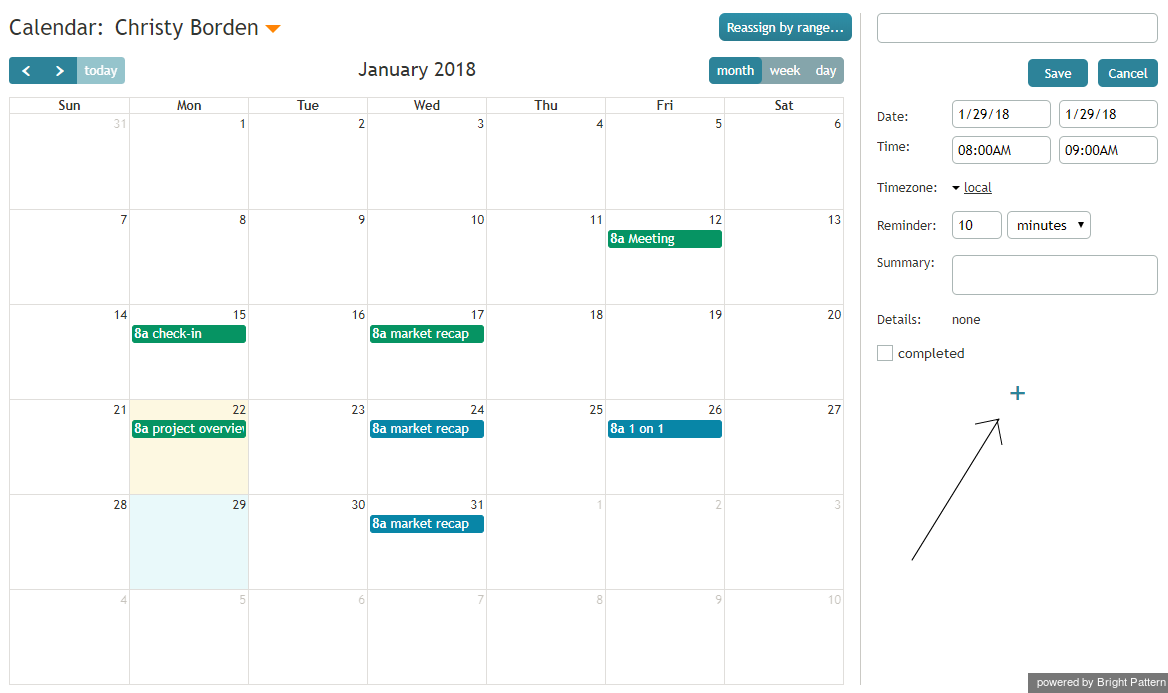
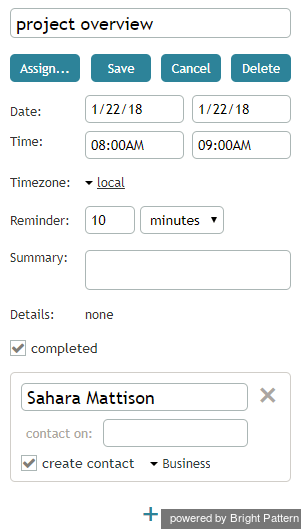
- On your calendar, add a new event.
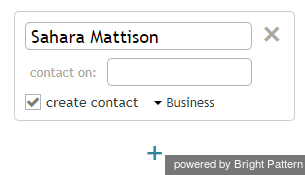
- Click the + sign at the bottom of the pane where you edit event details. The + sign allows you to assign a contact to the event.
- Click Enter manually (or directory).
- Enter the name of the new contact and select the checkbox for create contact.
- At the top of the pane, click Save. If you do not save the event details, your new contact will not be created.
< 前へ | 次へ >


