Managing Calendar Events
The Agent Desktop application is equipped with a calendar that agents can use to schedule various tasks and events related to their work, such as follow-up calls with customers. For general information about the calendar, see the Bright Pattern Contact Center Agent Guide, section How to Open the Calendar.
Working with Agent Calendars
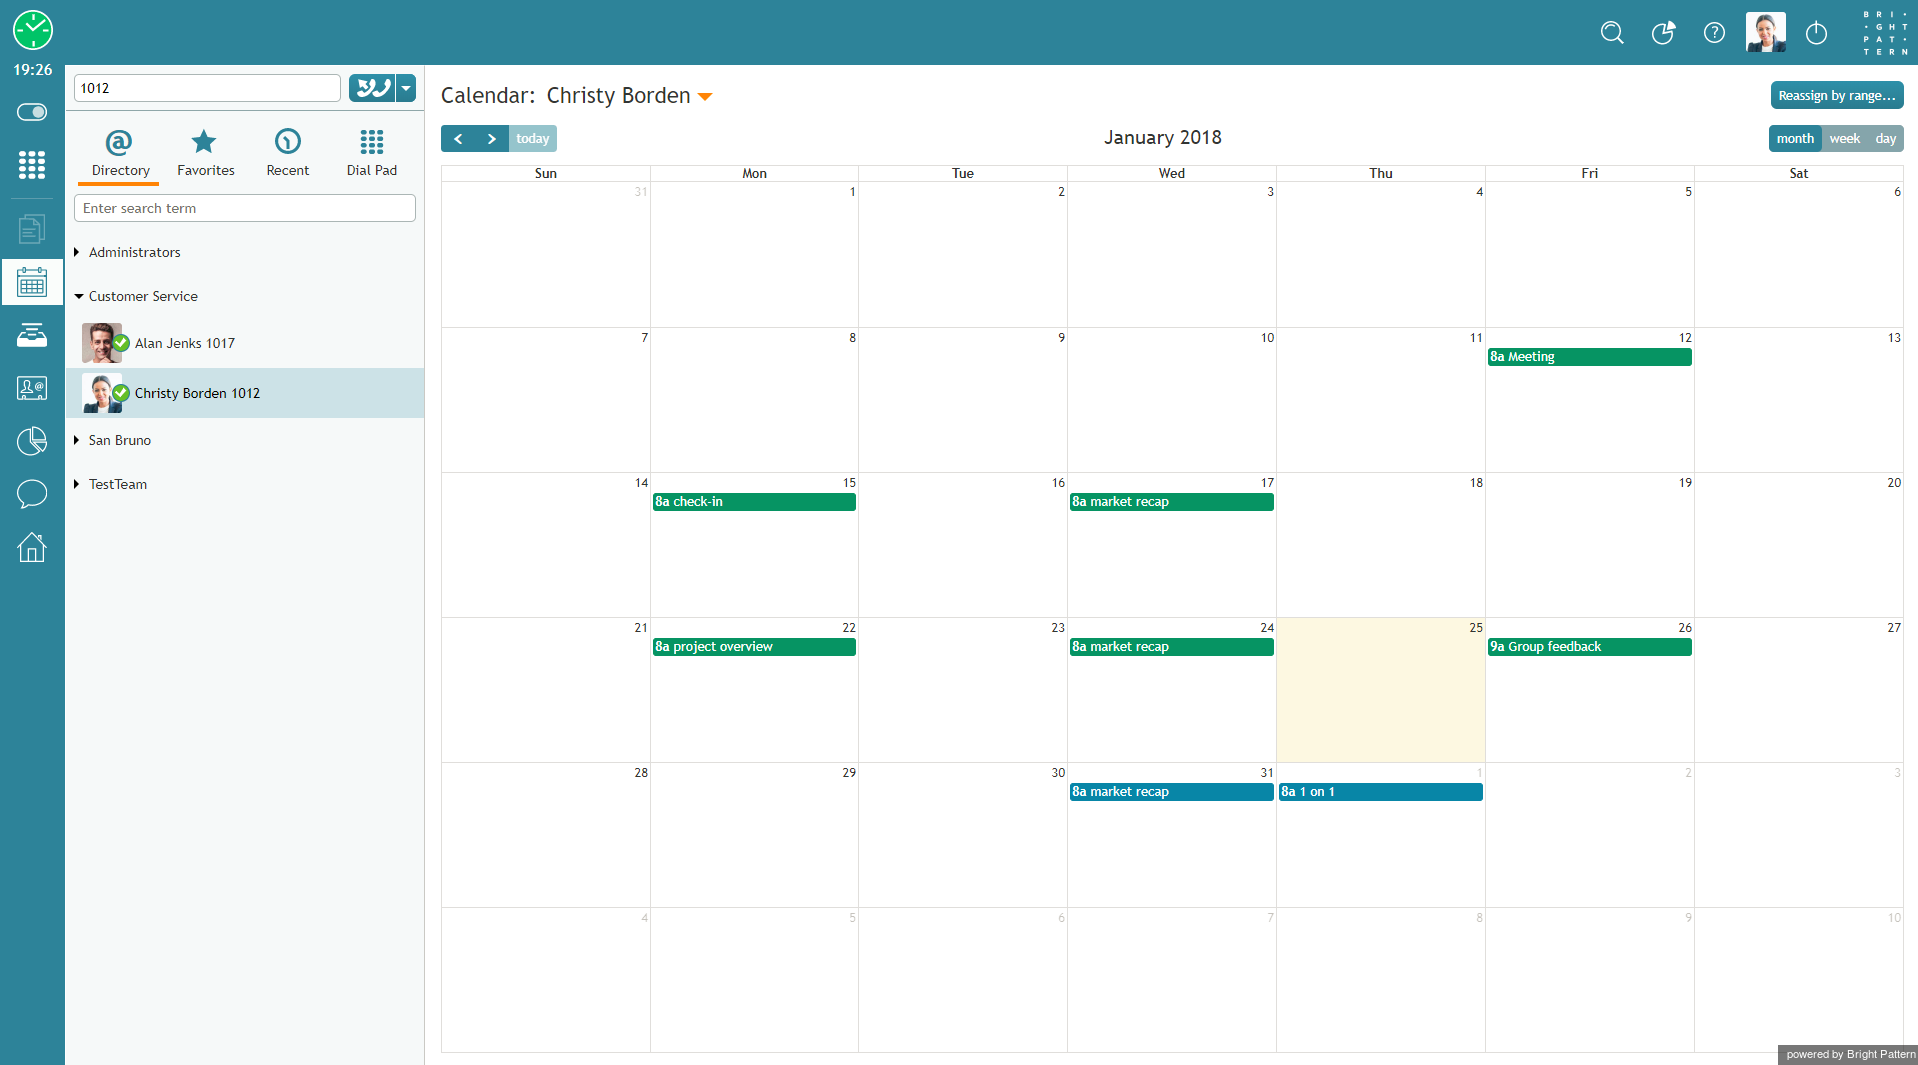
In addition to using your own calendar for your personal scheduled events (as a supervisor), you can also view calendars of members of your team and reassign their scheduled tasks to other agents.
How to View an Agent's Calendar
There are a couple ways to view the calendar of an agent on your team. You can access their calendars from your own personal calendar, or you can navigate to their calendars from the agent management functions available on your Supervision screen.
From Your Own Calendar
- To view an agent’s calendar from your own calendar, click the Calendar icon
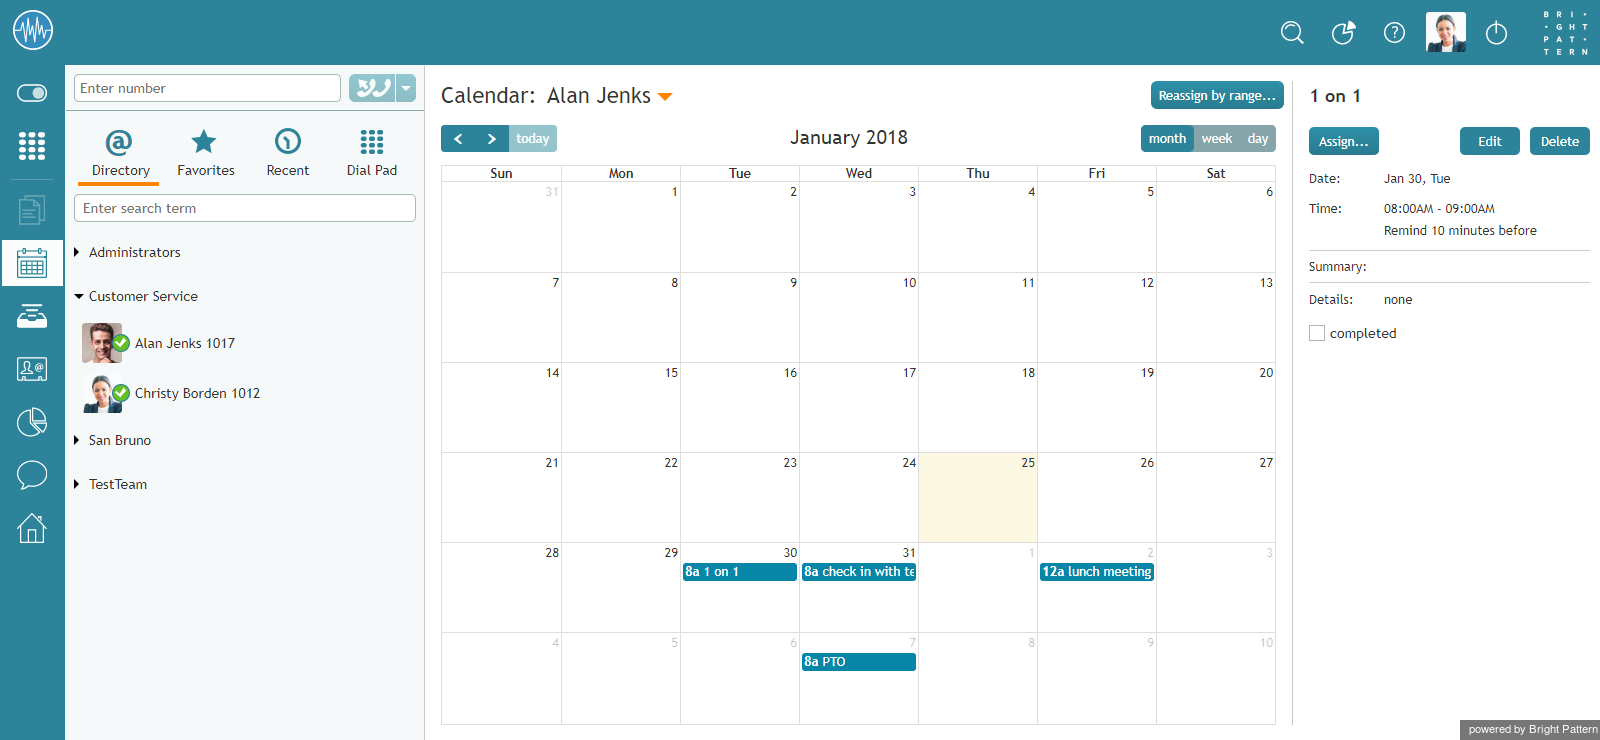
 on Agent Desktop's main menu. Your calendar will be shown in the Context Information Area.
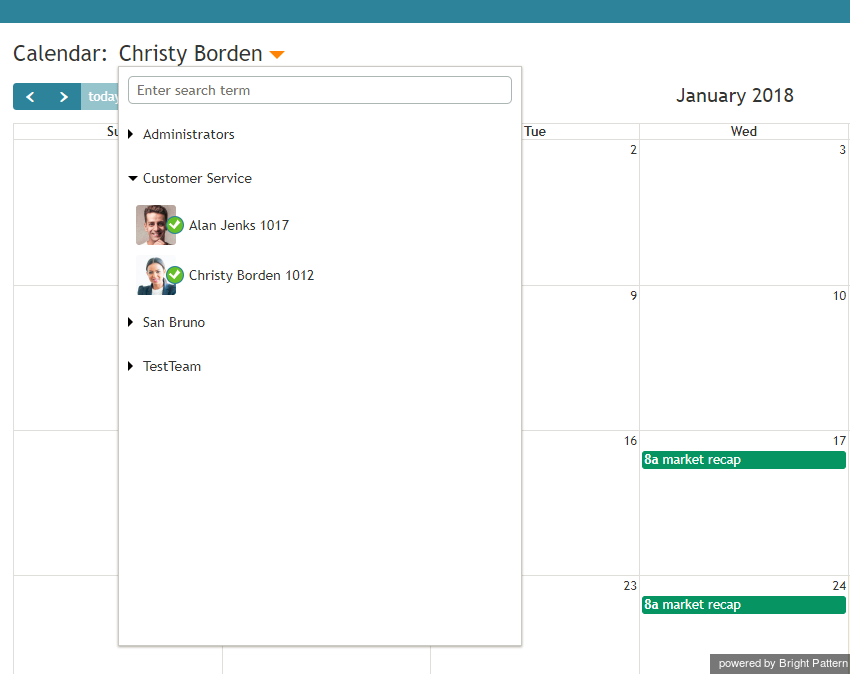
 - At the top of the calendar, to the right of your name, select the down arrow to display a drop-down list of users in your directory.
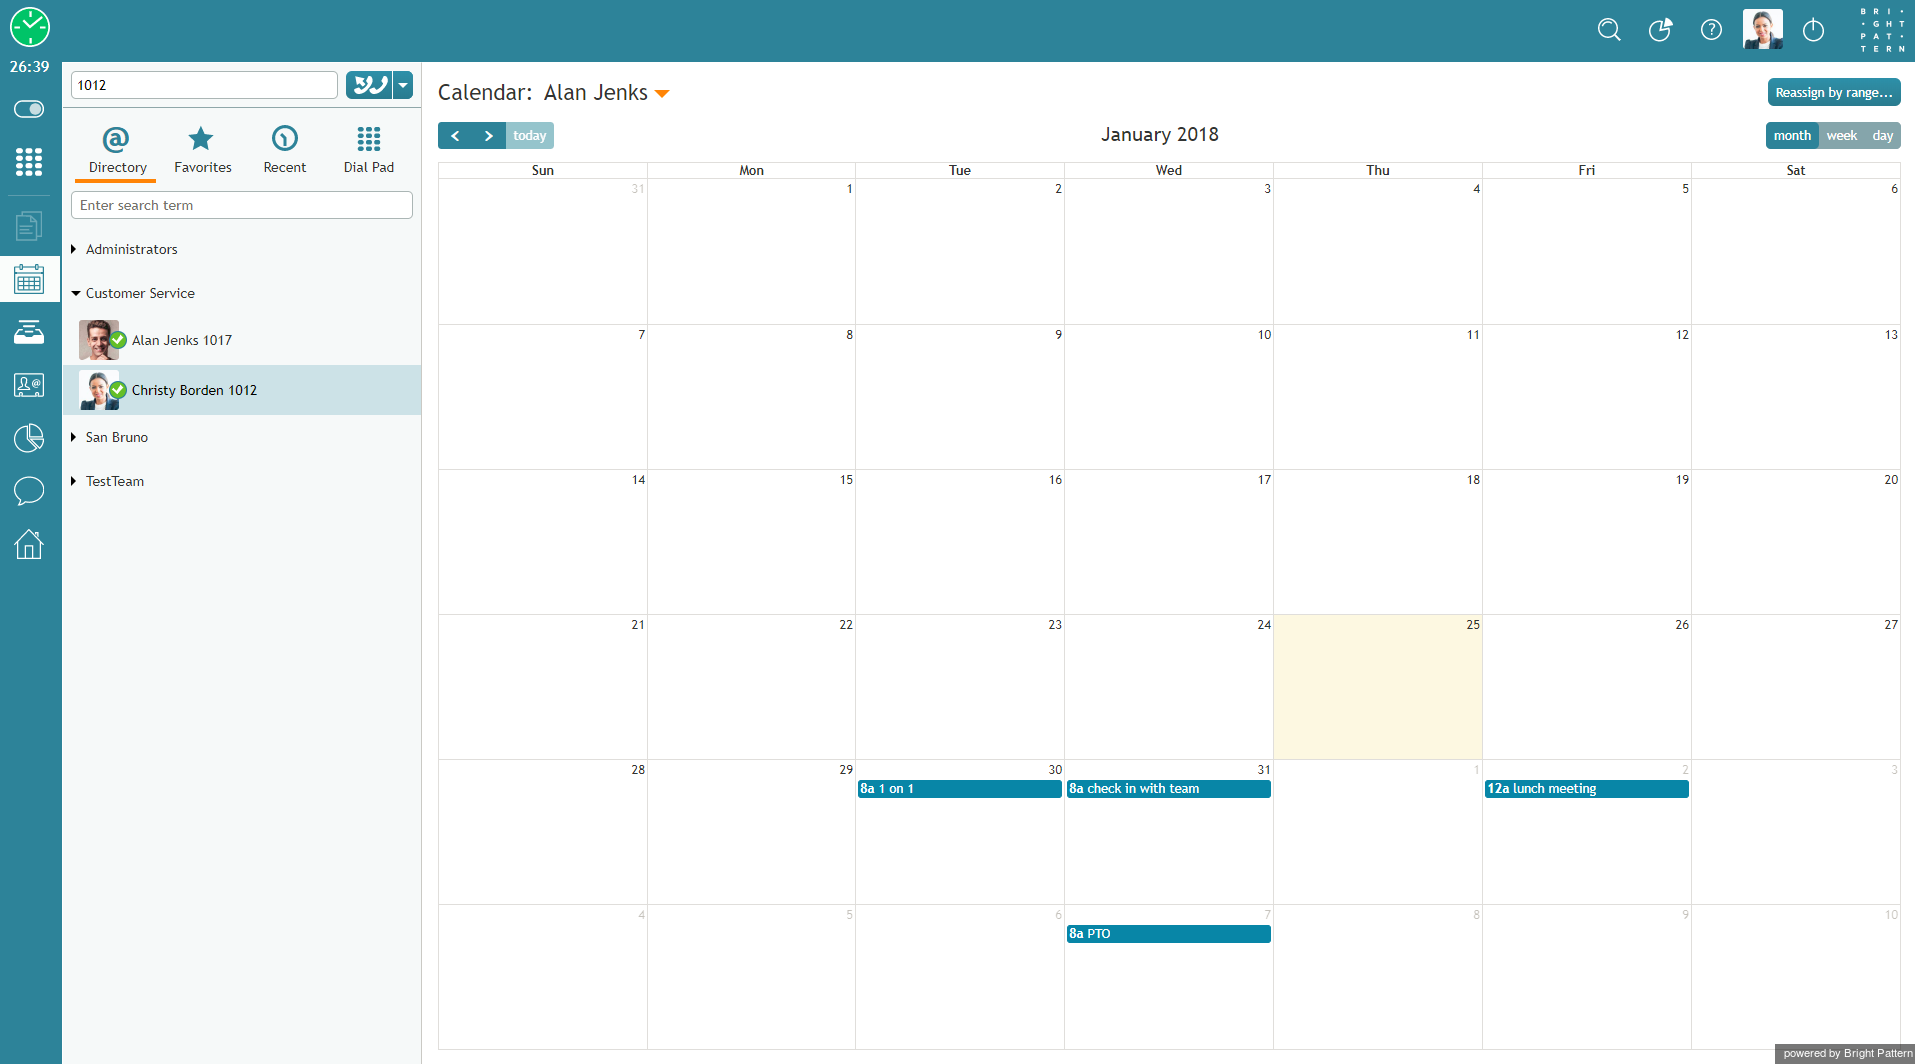
- Select the name of the agent whose calendar you wish to view. The agent's calendar will be shown in your Context Information Area. You can tell whose calendar you are viewing by looking at the name shown at the top of the calendar.
From Your Supervision Screen
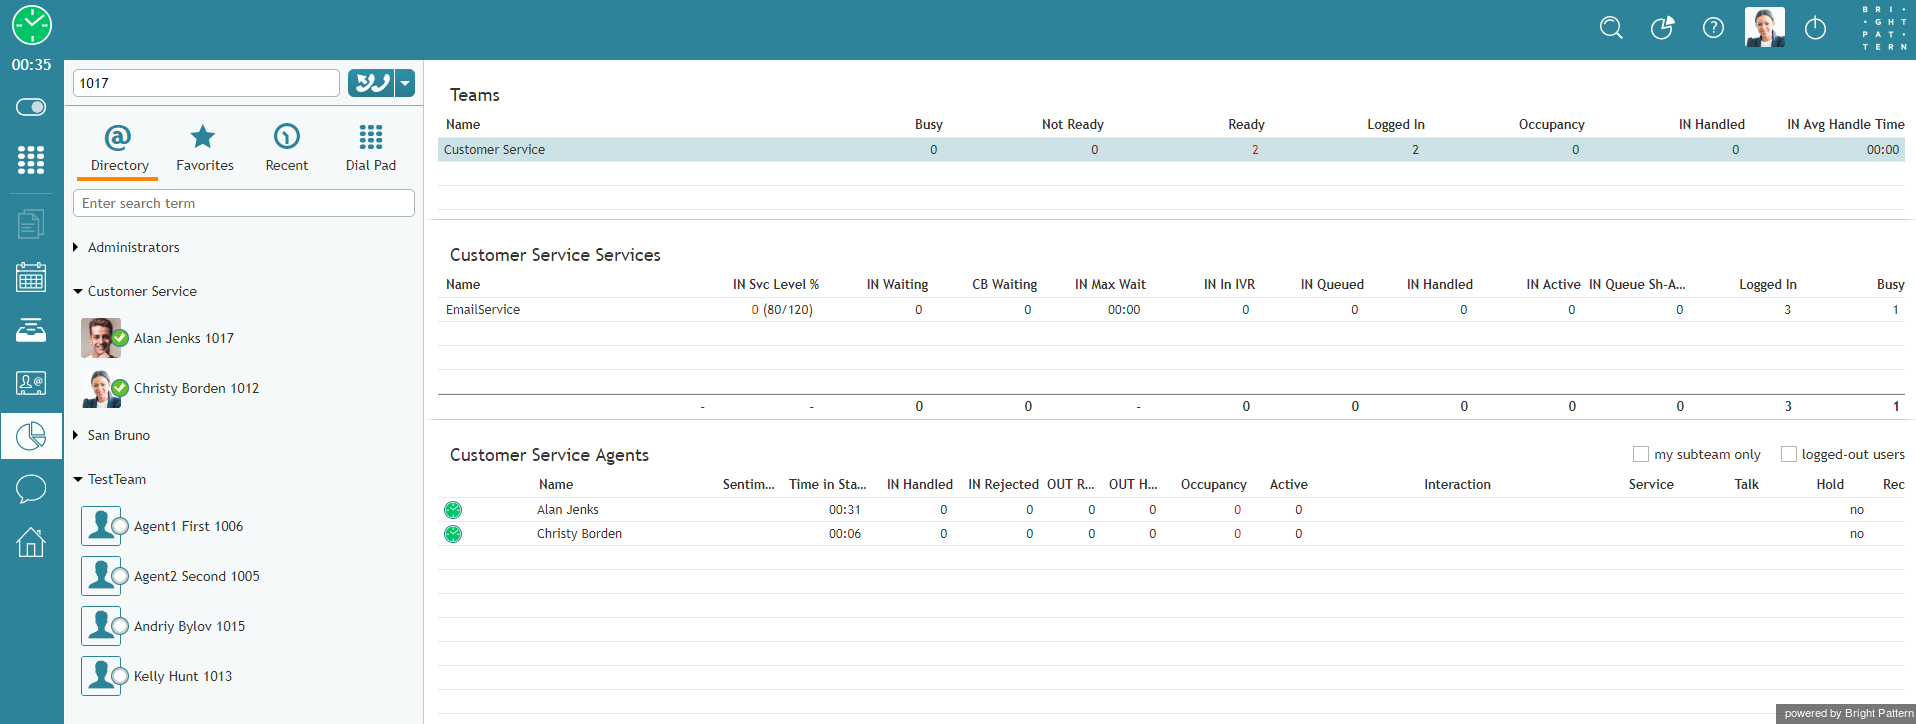
- To view an agent’s calendar from your Supervision screen, click the Supervision icon
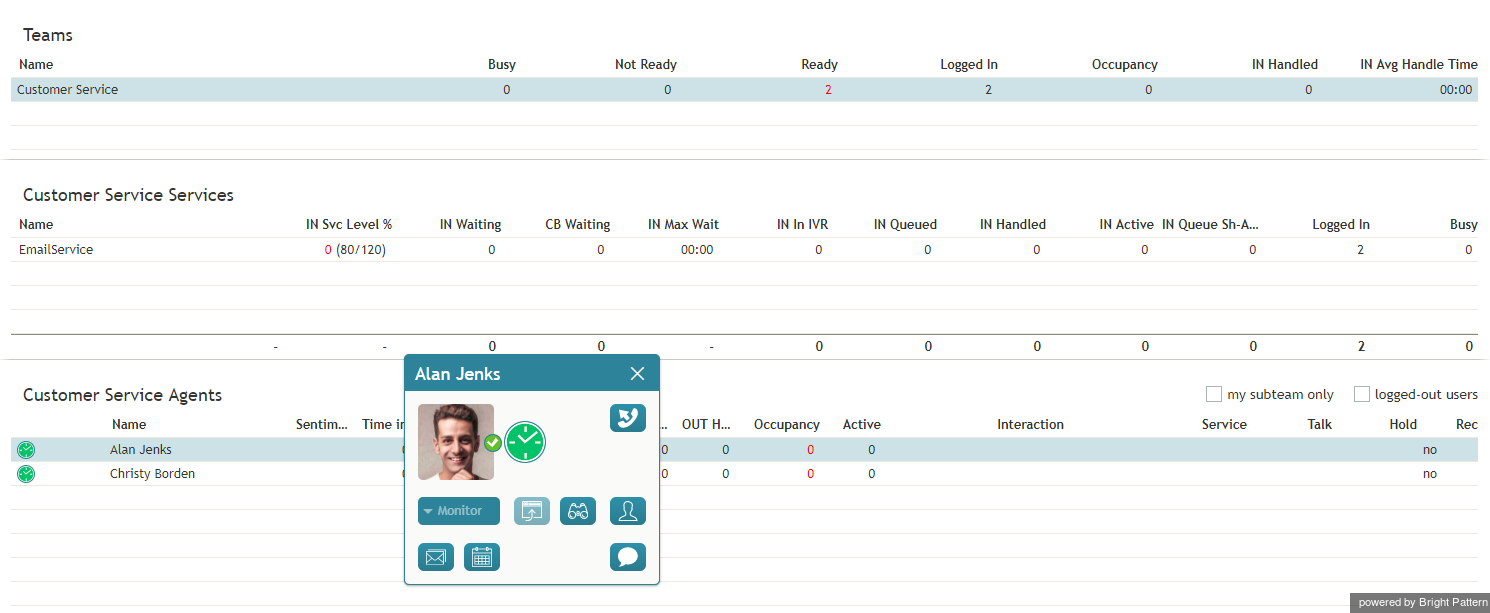
 in Agent Desktop's main menu. Metrics about your teams, services, and agents will be shown in the Context Information Area.
 - Select the desired agent from the Agent Metrics View. A pop-up card will display agent management functions for the selected agent.
- Click the Show Agent’s Calendar button
 . The agent’s calendar will be popped to your Context Information Area.
How to Reassign an Event
- To reassign a single agent’s event to another agent, view the agent's calendar. See section How to View an Agent's Calendar.
- Select the event in the agent's calendar that you want to reassign. The event properties on the right will display the event information.
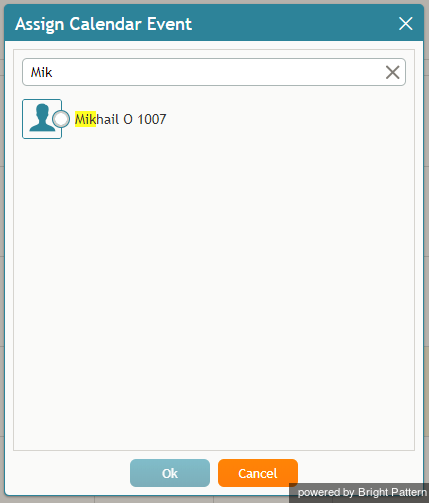
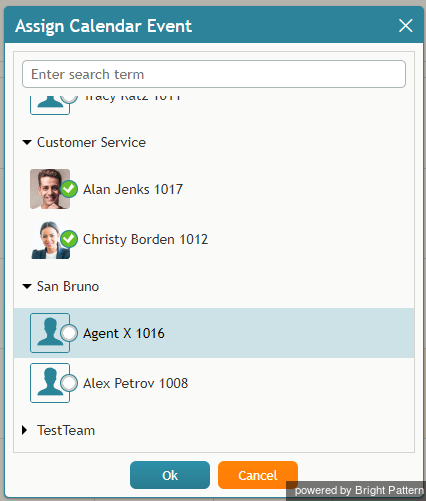
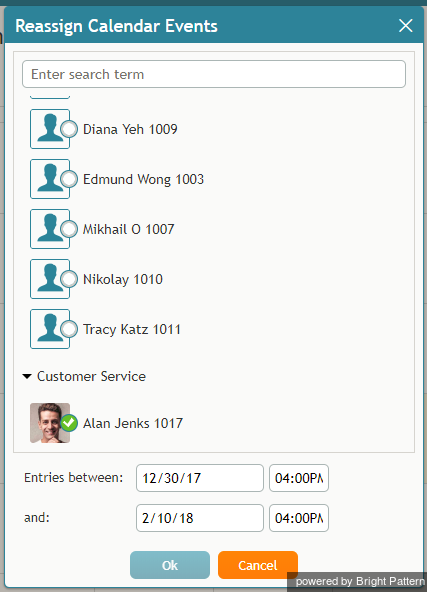
- Click the Assign… button. A dialog window will appear, showing the list of agents to which this task can be assigned. To find a specific agent quickly, you can start typing the agent's name in the Enter search term field and matching users will be listed in search results.
- Select the desired agent and click Ok.
How to Reassign All of an Agent’s Events to Another Agent
Sometimes it may be more convenient to reassign all of the agent’s events within a time range in a single step.
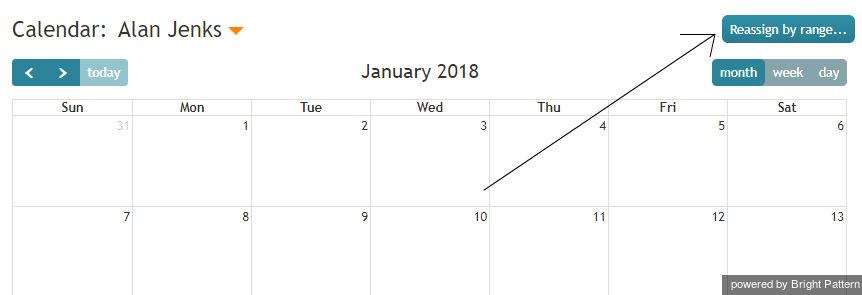
- Click the Reassign by range… button.
- A dialog window will appear showing the list of agents that this task can be assigned to and time range controls.
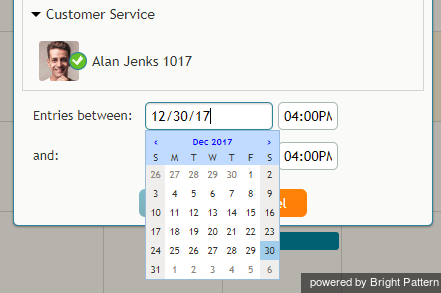
- Specify the desired time range by either typing in the date or clicking into the date field and selecting the date from the mini calendar.
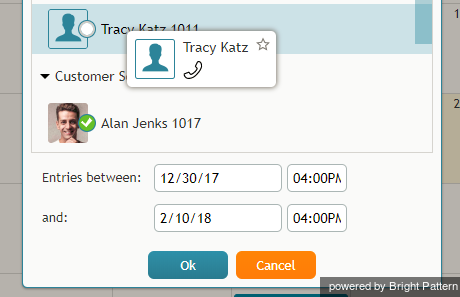
- Select the desired agent and click Ok.
< Previous | Next >

