How to Configure Task Services
This guide explains how to configure and test a basic task service within the Bright Pattern Contact Center Administrator application.
Task services determine how tasks created using the BPCC Task Routing API are distributed to and processed by agents.
Prerequisites
This article assumes that you have already completed the initial configuration for your contact center.
Procedure
Step 1: Create a task service
- Log in to Contact Center Administrator, and navigate to Services and Campaigns.
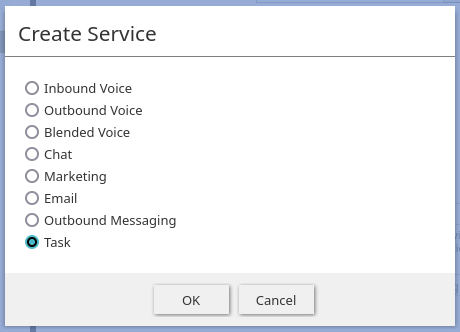
- Click the Add service (+) button to create a new service.
- Select Task as the type of service.
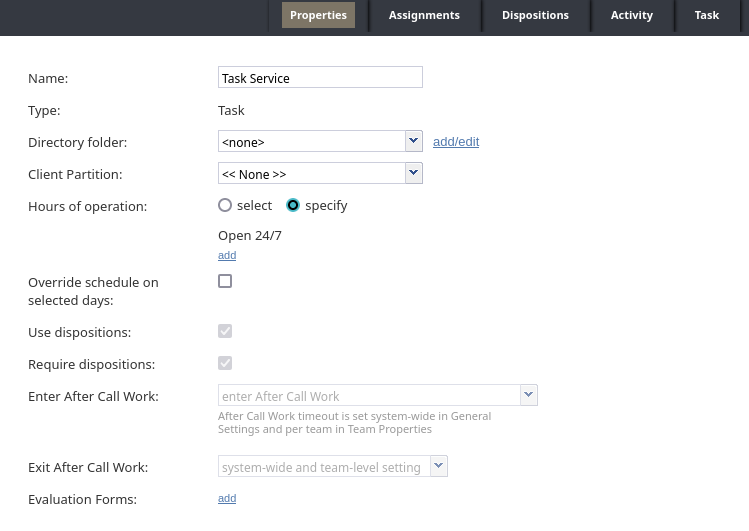
- In the Properties tab of the new service, update the service properties.
- Click Apply to save your changes.
Step 2: Assign teams to the service
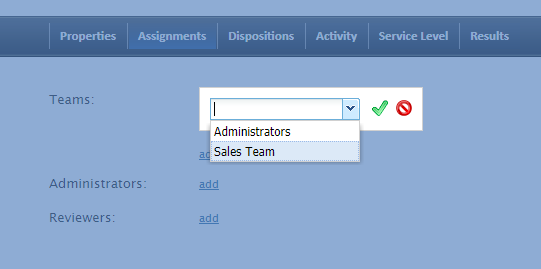
- In the Assignments tab, assign teams to this service. Note that the service will be created with a default service skill that can be assigned automatically to all members of the associated teams.
- Optionally assign administrators and reviewers to this service.
- Click Apply to save your changes.
Step 3: Define dispositions
Each new task service has a number of default dispositions. You may edit the dispositions as desired, or leave the default values.
Step 4: Define service settings
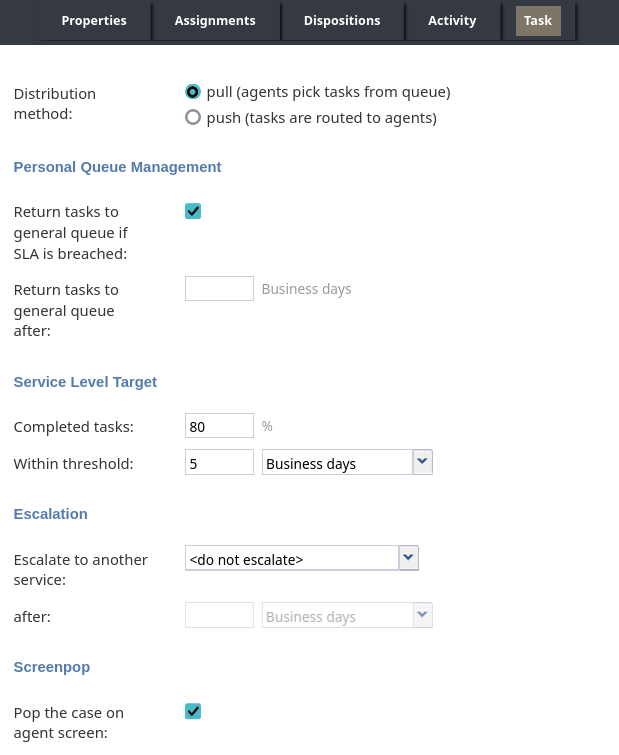
- In the Task Tab, define task-specific service settings.
- Click Apply to save your changes.
Step 5: Give agents the privilege to handle tasks
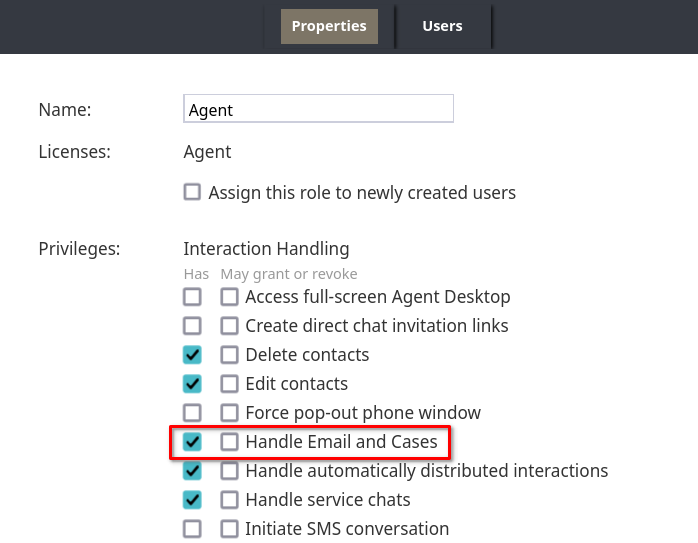
In Users & Teams > Roles, ensure the role assigned to agents who will process tasks has the privilege Handle Email and Cases enabled.
Step 6: Test the task service
Once the service is configured, you can check that tasks are distributed to agents as expected. The next steps explain how to queue a task using the API, and then process the task in Agent Desktop.
Create a task via API
The following steps provide an example of using the BPCC Task Routing API to queue a task for the service created above.
- Generate an API secret for the user that will be creating tasks via the API, and ensure that this user has the Use Task Routing API privilege. Follow the API user access tutorial for a detailed explanation.
- The tutorial Using cURL and the Terminal to Test BPCC REST APIs gives a general overview on how to make an API call. Follow the tutorial to generate an access token using the get access token method. A cURL command template is shown below, fill in the API user credentials and the URL of your contact center where indicated:
curl --location 'https://<your contact center URL>/configapi/v2/oauth/token' \
--data-urlencode 'client_id=<username>' \
--data-urlencode 'client_secret=<API secret key of username>' \
--data-urlencode 'scope=<your contact center URL>' \
--data-urlencode 'grant_type=client_credentials'
- Once you have successfully retrieved an API access token, use the Queue Task API method to queue a task for the task service. A cURL command template is shown below, fill in your contact center URL, API access token, and the name of your task service where indicated.
curl --location 'https://<contact center URL>/taskroutingapi/v1/task' \
--header 'Content-Type: application/json' \
--header 'Authorization: Bearer <API access token>' \
--data-raw '{
  "serviceName": "<Task service name>",
  "priority": 1,
  "contactInfo": {
    "firstName": "Taylor",
    "lasttName": "Wilson"
  },
  "taskInfo": {
    "subject": "Follow up on customer issue"
  }
}'
Check that the task appears in the team queue
- Login to Agent Desktop as user assigned to the team associated with your task service.
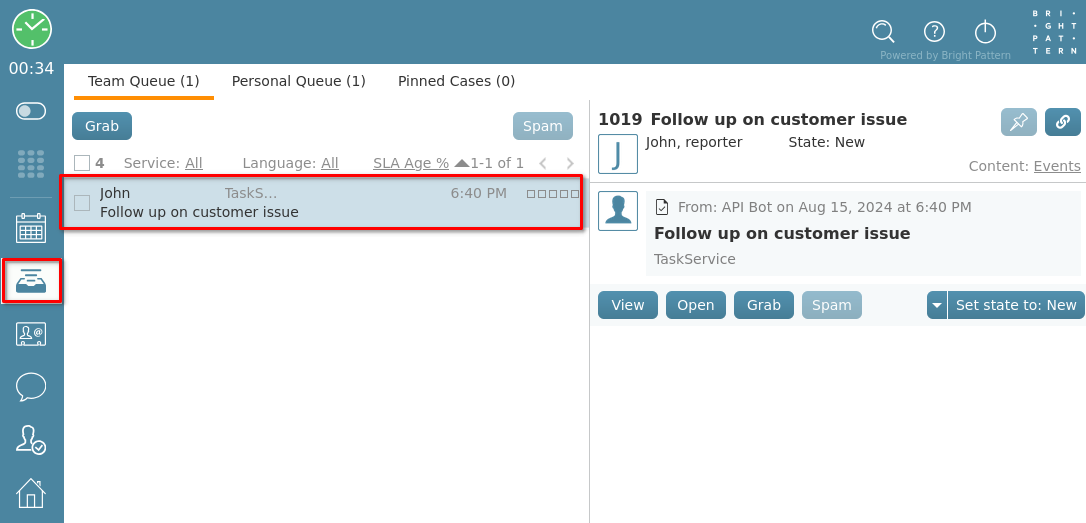
- Navigate to the Cases and Email queue. You should see the task created in the previous step via API in your team's queue.
- As an agent, you can interact with tasks much as they would with a case; you may assign states, dispositions, associate them with contacts, add notes, and so on.
< Previous | Next >

