Attached Data
![]()
The Attached Data scenario block is used for updating custom fields in Salesforce customer relationship management (CRM) activity history records. This block changes custom data associated with the interaction processed by the given scenario, sends that data to Agent Desktop when the interaction is routed to an agent, and passes the data to the integrated CRM. In this way, data is attached to the interaction and passed to Agent Desktop and Salesforce.
Note that Attached Data only updates custom activity fields; it does not create those fields. Before you can update a custom field, you first have to have a custom field in Salesforce. If you don’t already have a custom field set up, follow the steps given in the Salesforce.com Integration Guide, section How to Customize an Activity Object.
Settings
In Attached Data settings, you name the scenario block and specify the data item that you wish to update in Saleforce. The data item is a key-value pair, where the custom field name (e.g., “account_test”) is the key and the value is what the field should receive (e.g., “12345”). In the scenario, the Attached Data block will pass this data to Salesforce.

Title text
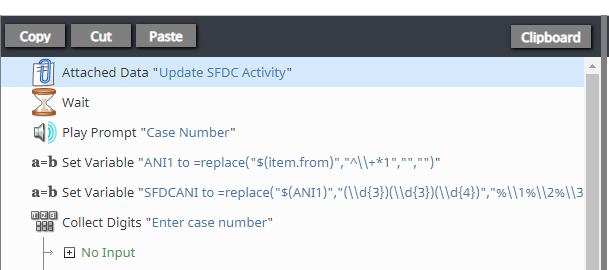
The name of the instance of the block (e.g., “Update SFDC Activity”).
add a data item
This parameter specifies a new value for an existing key-value pair. To populate custom fields in CRM activity history records, click add a data item and specify a custom field name as a data item name with the desired value. Multiple data items may be added.
- Name - The “API Name” of your custom field in Salesforce (e.g., "account_test__c"). Note that upon saving a new custom field, SFDC automatically adds suffix “__c” to it. In order to supply interaction data to this field, use the field name, including suffix “__c”. For example, to populate Custom Activity field account_test, it is required to have Attached Data specify key account_test__c.
- Value - The value (string or variable) of the field (e.g., “12345” or "$(varname.property)").

How to Use Attached Data
Step 1: Create custom field in Salesforce
First make sure you have a custom activity field in Salesforce to update. For information on how to create one, see the Salesforce.com Integration Guide, section How to Customize an Activity Object.
Step 2: Update custom field data using Attached Data scenario block
- In the Contact Center Administrator application, locate your Salesforce scenario and click Edit to open it in the Scenario Builder application.
- For a voice scenario, add the Attached Data block at any point before the Connect Call block. For a chat scenario, add the Attached Data block at any point before the Connect Chat block. If you don’t know where to place it, put it at the very top of the scenario.
- Update properties and click add a data item.
- Save the scenario.

You can test whether it works by logging a call and viewing the case in Salesforce. You should see the custom field with the specified value.
Step 3: Update other activity field data using Attached Data (optional)
To populate regular (not custom) Activity Fields with any data from the scenario, simply follow the instructions above with one exception: when adding a data item in the Attached Data block, specify the field name (i.e., API name) without the “__c” suffix.
For a list of predefined fields, see the Salesforce.com Integration Guide, section How to Customize an Activity Object.