How to Use Personal Chat
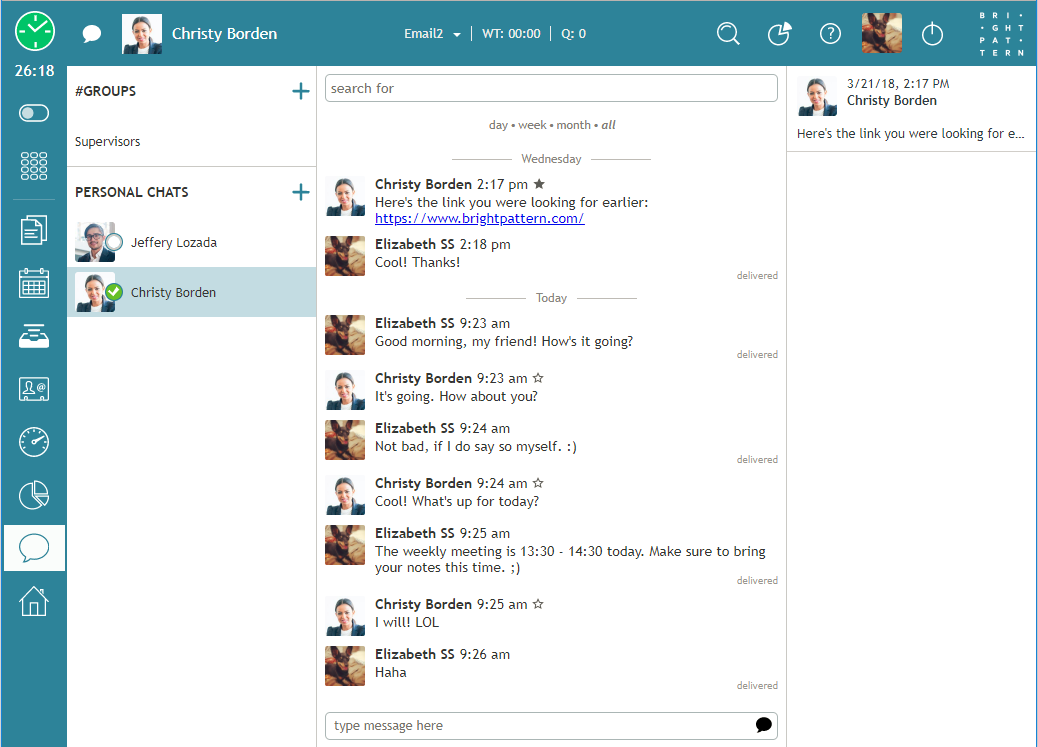
At any time during your working session, you can send a Personal Chat message to your supervisor or another member of your team. The use of Personal Chat does not affect your operations with service interactions in any way.
How to Send Personal Chat Messages
There are two ways to send Personal Chat messages:
- From within the Directory
- From the Personal Chats section of the Chat Center.
From the Directory
- Select the desired contact from the Directory.
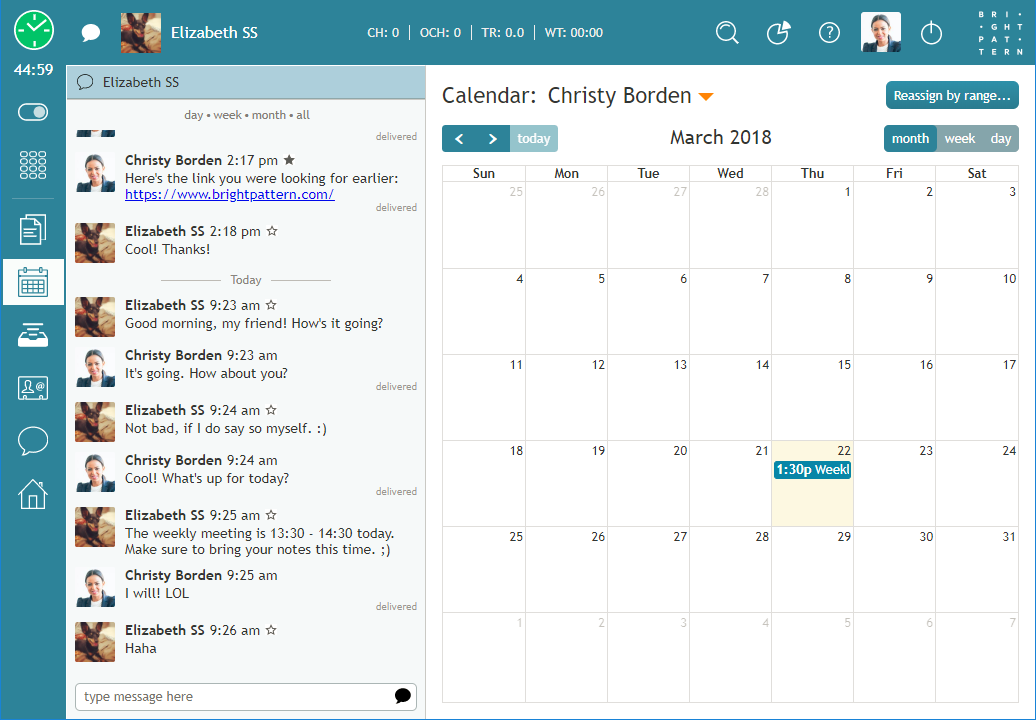
- Clicking the Chat
icon next to the contact's name in the Directory will launch a new chat.
- To send a message, type in the Text Input Field area, then press the Enter key or click on the Send the message
icon.
From the Chat Center
- To access the Chat Center, click on the
icon.
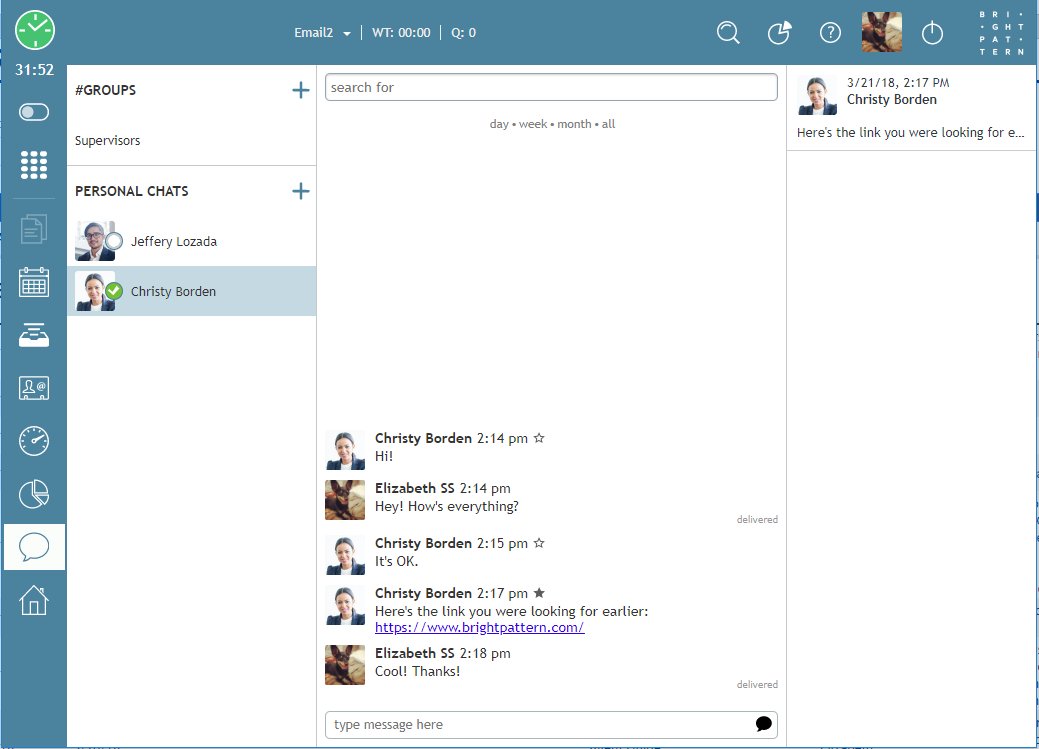
- Next, go to the Personal Chats section and click on the + icon to bring up the Directory.
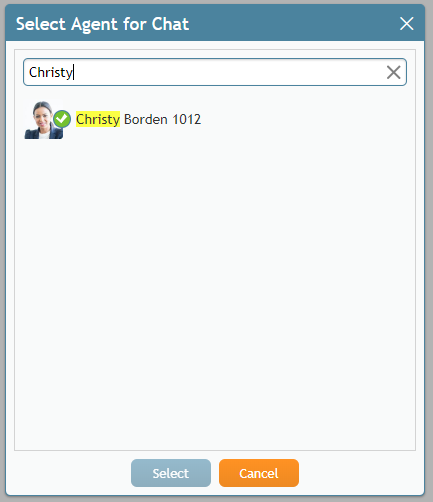
- From the Select Agent for Chat directory, search for the contact you would like to message, click on their icon, then click the Select button.
- To send a message, type in the Text Input Field area, then press the Enter key or click on the Send the message
icon.
Additional Features of Personal Chat
- For added organization, it is possible to filter messages by day, week, month, or all.
- Messages will appear with a timestamp in the chat transcript area above the Text Input Field.
Starring a Message
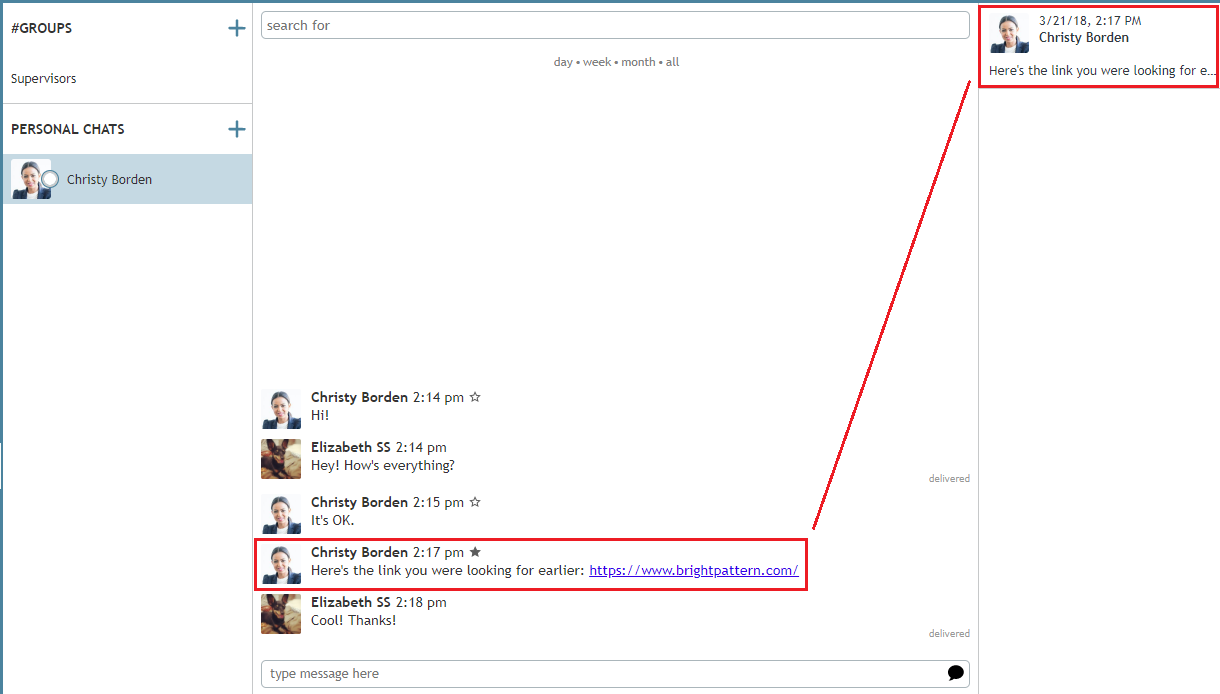
It is possible to bookmark important, individual messages within a chat by clicking the Star icon. When you star a message, it becomes pinned to the area right of the chat in the Chat Center. Please note: You can only star received messages, not sent ones.
To star a message, follow these steps:
From here, you will see the starred message appear in the area to the right of the chat.
When you click on the starred message, it will act as a shortcut, bringing the message to the top of the chat area.

