Activity History Forms
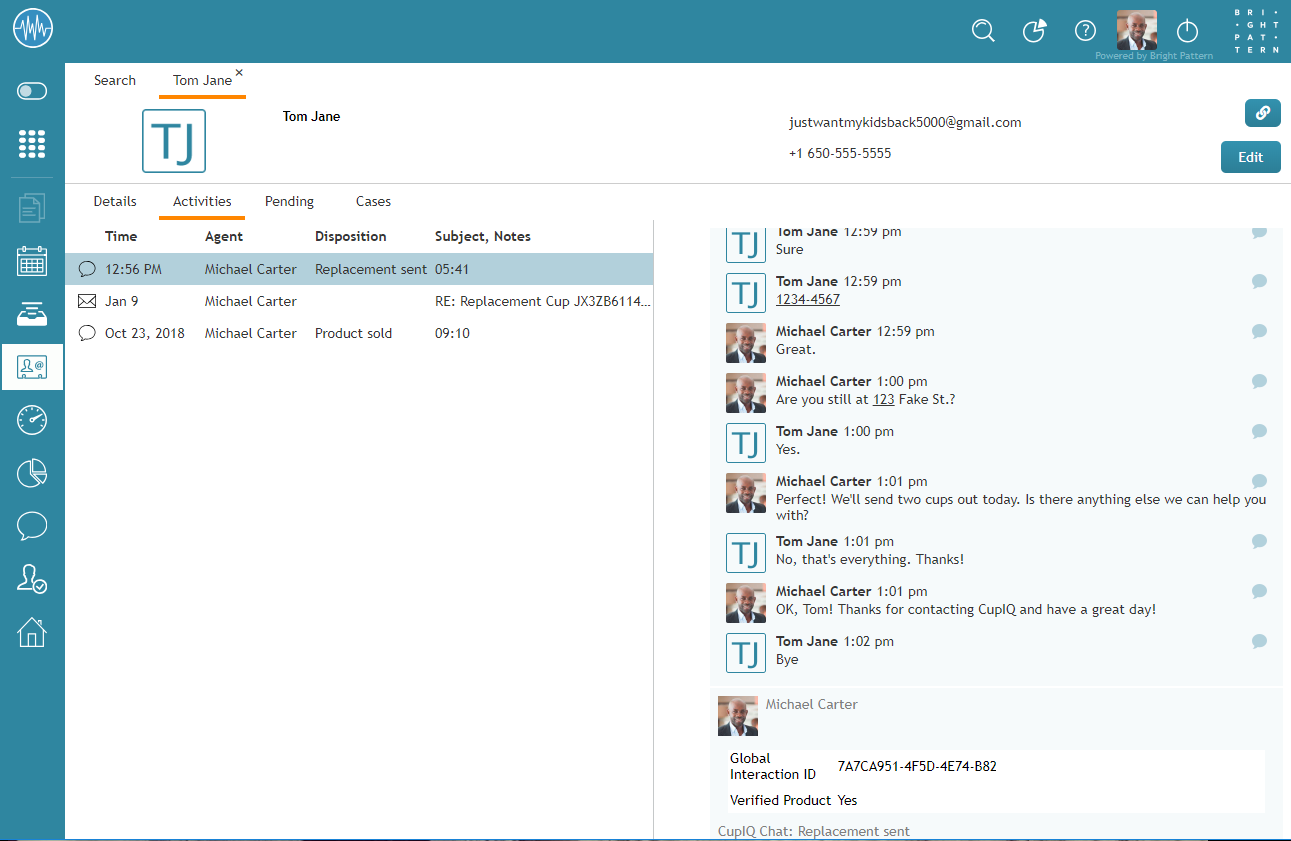
Activity History forms are used to pull specific information from the activity forms agents fill out during interactions; this information is then saved to the case and contact history corresponding to the interaction. This information is accessible in Agent Desktop, section Search & Preview Records.
Activity History forms are configured by service type (i.e., voice, chat, email) and may contain custom fields, including custom Activity History fields. You can configure multiple Activity History forms, and forms can be set as either default or service-specific. Note: In Agent Desktop, Activity History forms are always read only (i.e., they are never editable).
For more information, see the Form Builder Reference Guide, section How to Configure Activity History Forms.
ご注意: エージェントの行動に影響を与える一部のサービス設定の変更は、エージェントデスクトップによって動的に取得されません。従って、アクティビティ履歴フォームを変更した後は、その影響を受けるログイン中の全エージェントに対してブラウザーページを更新することをお勧めします。
アクティビティフォームの使用
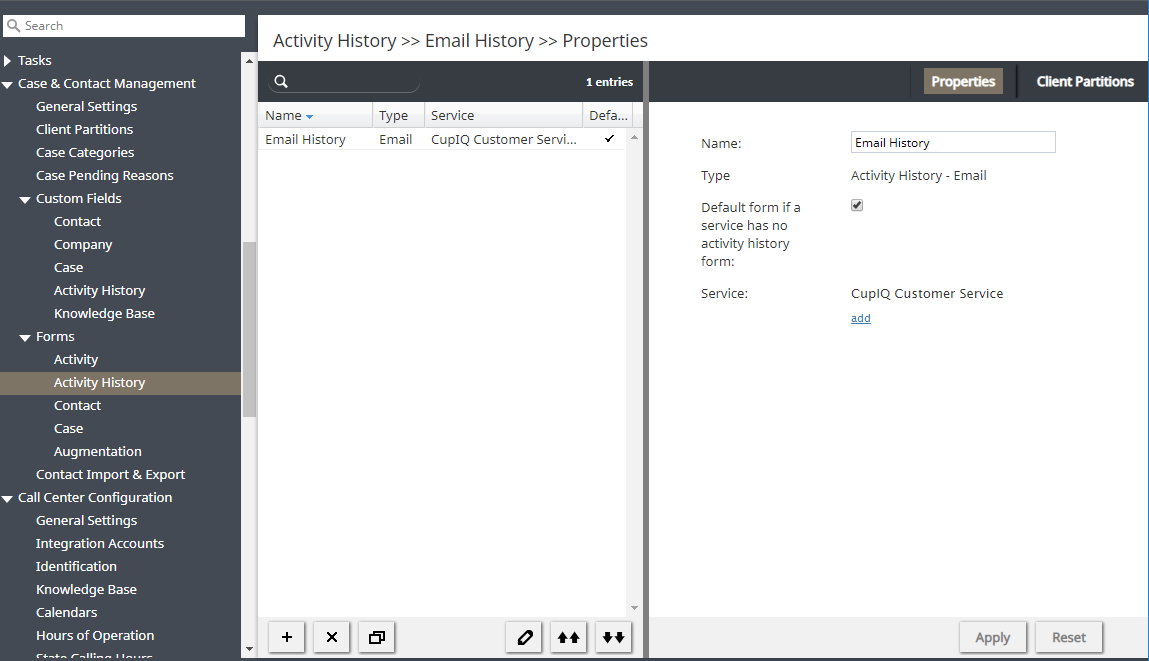
アクティビティフォームを作成または編集するには、ルートメニューのフォーム に移動し、アクティビティ履歴オプションを選択します。左側のペインに表示されるリストには、既存のフォームが表示されます。フォームの作成に関する詳しい情報は、 フォームビルダーリファレンスガイドをご覧ください。
フォームの追加
- 新しいフォームの追加
ボタンをクリックします。
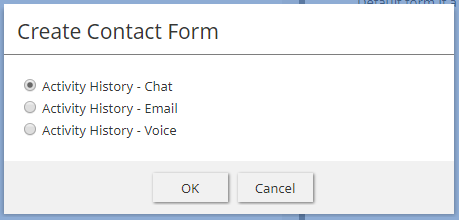
- コンタクトフォームの作成ウィンドウが表示され、適切なサービスタイプ(チャット、メール、音声など)を選択します。
- 表示されるフォームビルダーアプリケーションでは、フォーム上にコントロールをドラッグし、プロパティを編集できます。
フォームの編集
フォームの削除
How to Clone a Form
- In the list of forms that appears, select the form you wish to duplicate.
- Click the Clone form
button.
- The duplicated form will appear in the list with name "Clone of <Name of Original Form>".
How to Import a Form
- Click the Import form
button.
- In the dialog that appears, enter the name of the form you wish to import, browse for the file, and click Upload.
- The imported form will appear in the list.
How to Export a Form
- In the list of forms that appears, select the form you wish to export.
- Click the Export form
button.
- The form will be downloaded immediately.
Properties Tab
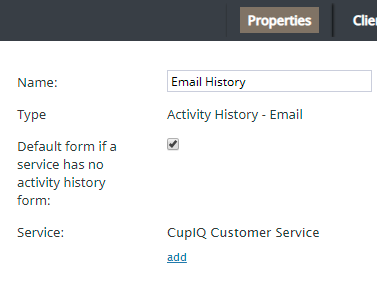
The Activity History form properties are described as follows.
名前
名前とは、選択したフォームの名前です。フォームの名前は、このセクションまたはフォームビルダーアプリケーションで変更できます。
Type
Type is the type of service associated with the form (i.e., chat, email, or voice).
Default form if a service has no activity history form
When selected, this checkbox allows you to specify an Activity History form as a default for a given service.
Service
Click add to assign the configured form to a specific, configured service.


