How to Create a Case from a Chat Session
Included in service chats is the option to create cases from active chat sessions. Creating cases from active chats creates records of service chats with the ability to follow up with customers via email at a later time. As well as adding notes to the cases, once saved, you ability to search for these cases in your Contacts section. For more information on this topic, see Cases.
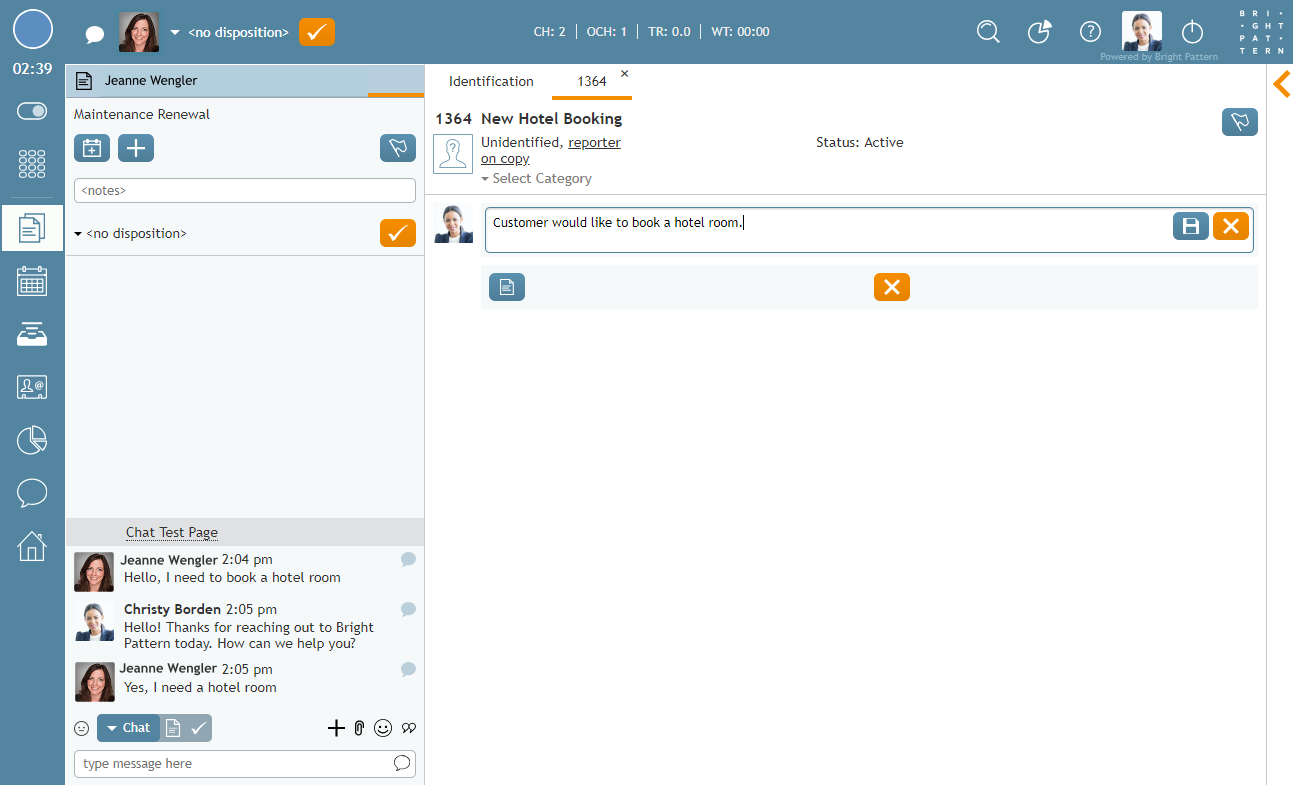
To create a case from an active chat session, click the create case button. Clicking on this button will open a new case in context information area. When you create a new case, it will be assigned a number automatically; you may also name the case and enter notes in the notes field. When you are finished, click the save
button.
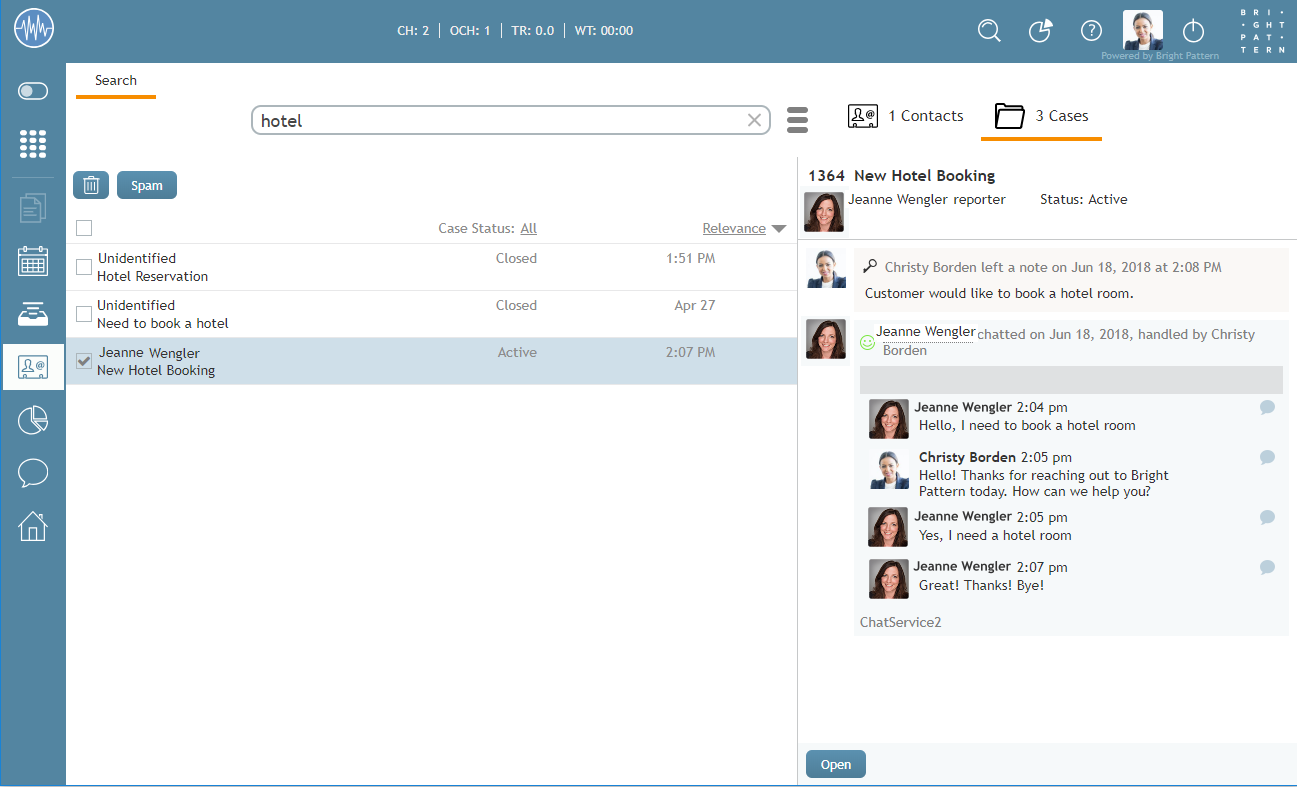
To search for a case in your Contacts, type the number or name of the case in the search bar. If you have not sent an email from the case, it will be listed as Active; cases where a follow-up email was sent will be listed as Closed.
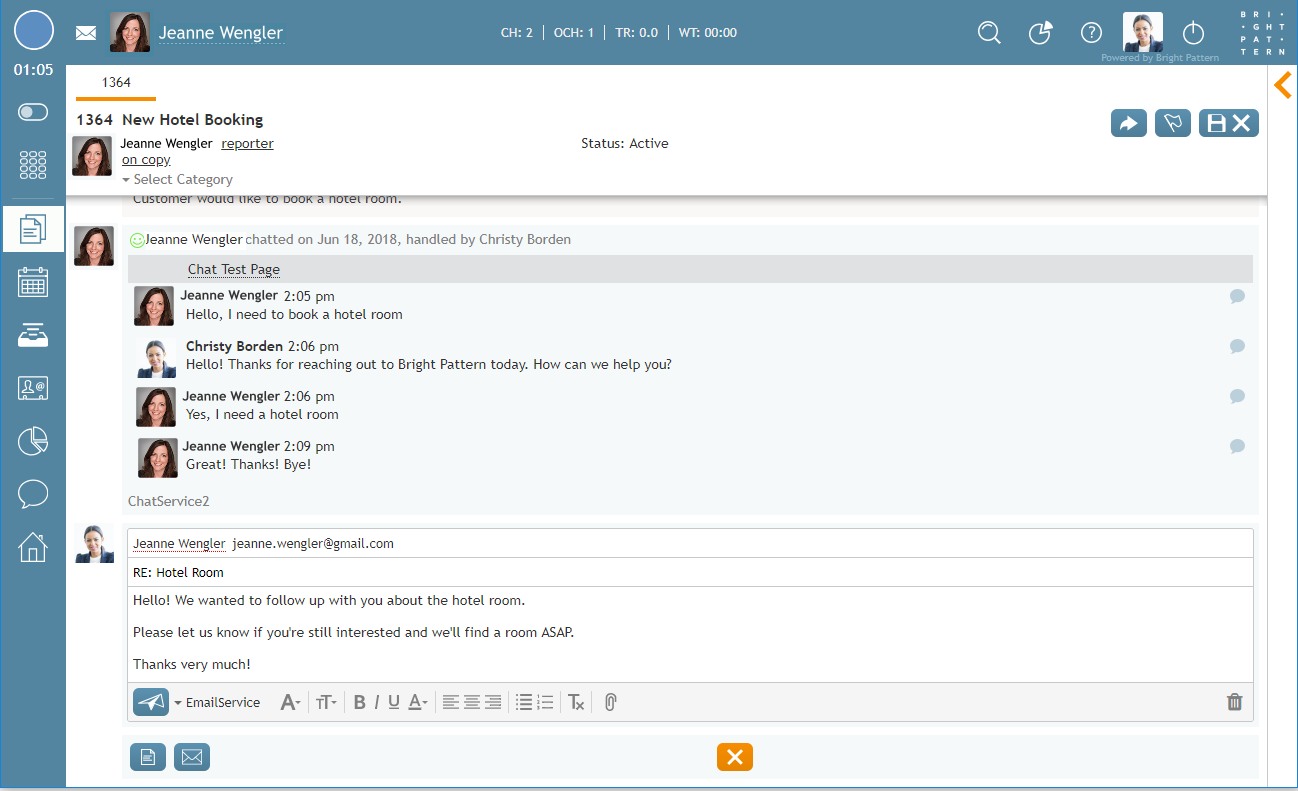
When selected, the case with the chat transcript will appear in the right panel. To send an email, click the Open button at the bottom of the panel. From here, you will have the option to send the customer a follow-up email. The sent email will be included in the case record.


