From Bright Pattern Documentation
How to Co-browse with Surfly Integration
If the Surfly co-browsing solution is integrated with your contact center, when operating your contact center’s chat services, you might see the co-browsing ![]() button. Co-browsing allows you and your customers to navigate the same web resource at the same time; it is an ideal solution for helping customers negotiate confusing web pages, fill out complex forms, and so forth.
button. Co-browsing allows you and your customers to navigate the same web resource at the same time; it is an ideal solution for helping customers negotiate confusing web pages, fill out complex forms, and so forth.
Co-browsing is configured for your contact center by your system administrator, so if you do not see the option, it may not be available for the service or your contact center.
The following tutorial describes how co-browsing works, including:
- Initiating and accepting co-browsing sessions
- Taking control of the session
- Ending the session
Procedure
- During an active chat session, if you think co-browsing with the customer will be helpful, you must first offer them the option. If they are interested, click the co-browsing
 button in your chat controls to initiate a session.
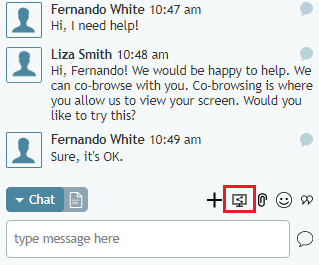
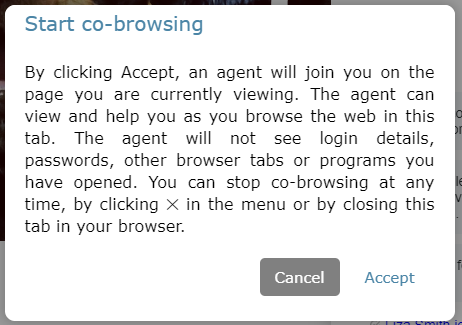
Initiate co-browsing - The customer will see the following dialog window; they must click Accept in order for the co-browsing session to begin. Once they accept, they will see that they are in control of the session.
Customers must accept co-browsing - Once the session is started, you will notice any co-browsing controls at the bottom of the co-browsing tab; customer controls are located at the top of their screen. You can explain to the customer that you can see their screen but you do not have control.
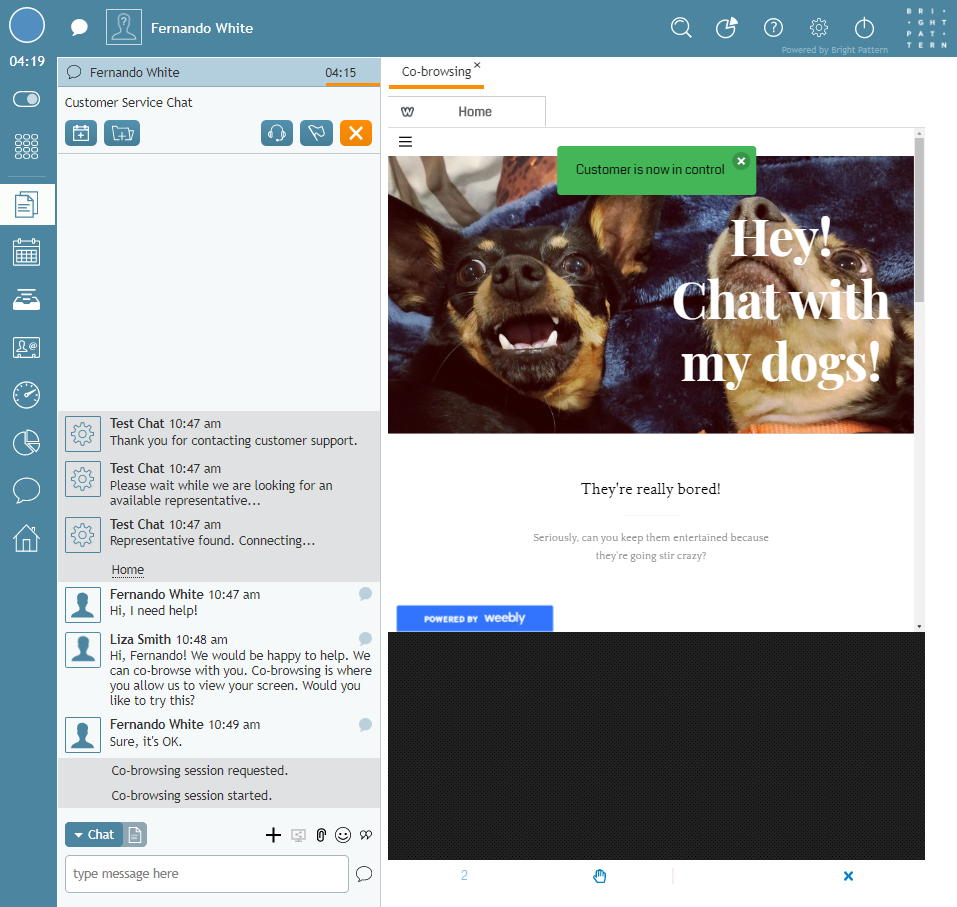
You will see the customer's screen in the Co-browsing tab - If you want to request control of the session, click the hand icon. The customer will need to Grant you access.
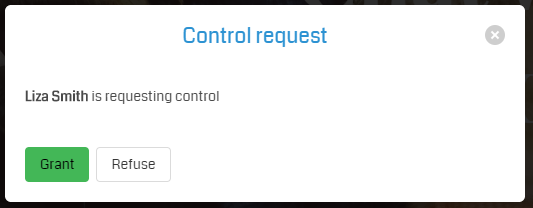
Customers must grant access - When you are finished, either you or the customer may end the co-browsing session by clicking the X icon in the co-browsing tab. The session will end but you can continue chatting.
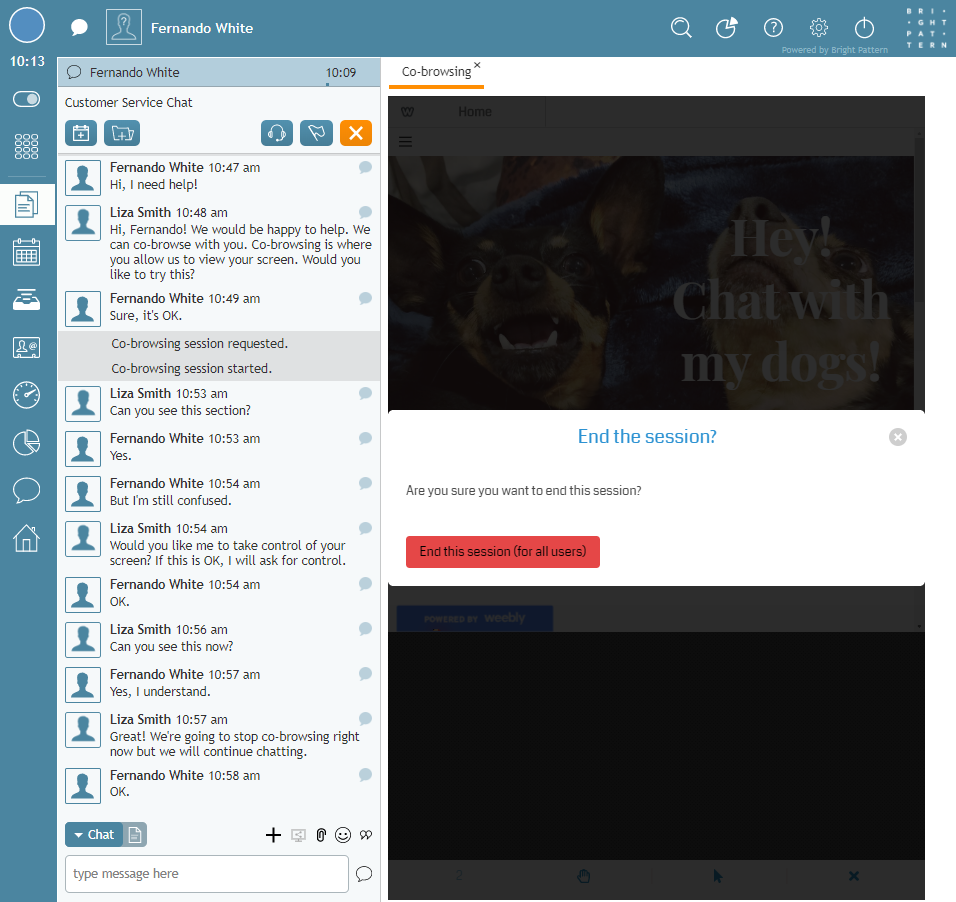
Continue chatting after co-browsing has ended < Previous | Next >


