Report Generation
When you select option Reports from the menu on the left, the application pane will display the list of available reports. By default, these are the predefined reports supplied with Bright Pattern Contact Center. If you have previously created some custom reports using Jaspersoft Studio and uploaded their definitions into the system, such custom reports will also appear in the list of reports. For more information about stock and custom report definitions, see section Report Templates of the Contact Center Administrator Guide.

The reports are grouped by the type of contact center resources that they describe. Within each group, the reports are listed in alphabetical order according to the names of the corresponding report definitions. A description is provided for each report. If a description does not fit on the screen, hover over it to see the full text of the description in a tooltip box.
Select the desired type of report from the list. In the view that appears, use the report generation filters to select the resource for which you want to generate the report and to specify the reporting interval. Depending on the report type, you can select multiple resources and apply additional filters.

Agent Selection Options
For reports where the agent drop-down selector is present, please note the following:
- The selection of multiple agents is available for the following reports:
- Agent names are listed alphabetically in the drop-down selector; depending on your center's configured display name format, this will be by first or last name.
- Depending on your center's configured name display, you may search for a specific agent by typing out the first letters of their name.

- Agents that have been inactive for more than 30 days will be excluded from the drop-down selector; agents that had activity within 30 days before the search period will have their names displayed as grey, italicized text.

- Additionally, you may select the Show disabled/deleted agents checkbox from the drop-down menu to automatically include disabled and/or deleted agents from the report; the inclusion works even if agents had activity within the report's timeframe.
How to Clone Reports
To create a copy of a report, click the Clone button.

The report you clone can be found in the list of available reports under Clone of Report Name; from here you may rename and customize the report.

How to Delete Cloned Reports
To delete a cloned report from the list of all reports, click the Delete button. Note that it is possible to delete cloned reports only. The selected report will be deleted from the full list of reports available for your contact center.

How to Rename Reports
To rename a report, click the Rename buttton; a dialog window will pop where you will enter the report's new name. The selected report will display the new name and will be available from the full list of reports available for your contact center.

How to Run Reports
To generate the report, click the Run Report button at the bottom of the report details pane. Report generation may take a few moments.

The report will appear in a separate browser tab/window and occupy the entire available browser window space. Thus, you can have multiple reports open in your browser at the same time. Generated reports will continue to be available for viewing even when you close the Contact Center Administrator application. Depending on the amount of data, the generated report may occupy more than one page.

How to View and Use the Generated Report
The generated report appears as a static table of data within your browser tab/window. Usable links for navigation and export are located at the top of the page. If you export the report to a format such as .XLS, you can filter, sort, and reformat the data just as you would for any other spreadsheet.
To navigate through the contents of the report, use the page navigation arrows or enter the page number you wish to view.
Metrics
To learn more about the metrics provided by each report, see sections Detail Reports and Aggregate Reports.
Exporting Reports
To export the generated report, choose the format (PDF, XLS, CSV, or TXT), and click the corresponding link.
Running the Report Again
To run the same report for a different resource and/or different reporting interval, simply change the filter setting and click the Run Report button again.
Going Back to Reports
To return to the list of reports, go back to the Contact Center Administrator application, section Reports, in your other browser tab or window.
How to Customize Reports
To customize the presentation of the report, click the Customize button.

The report will be opened in a new browser tab or window in the Report Customizer application.

This web application allows you to do the following:
- Click and drag columns onto different places on the report
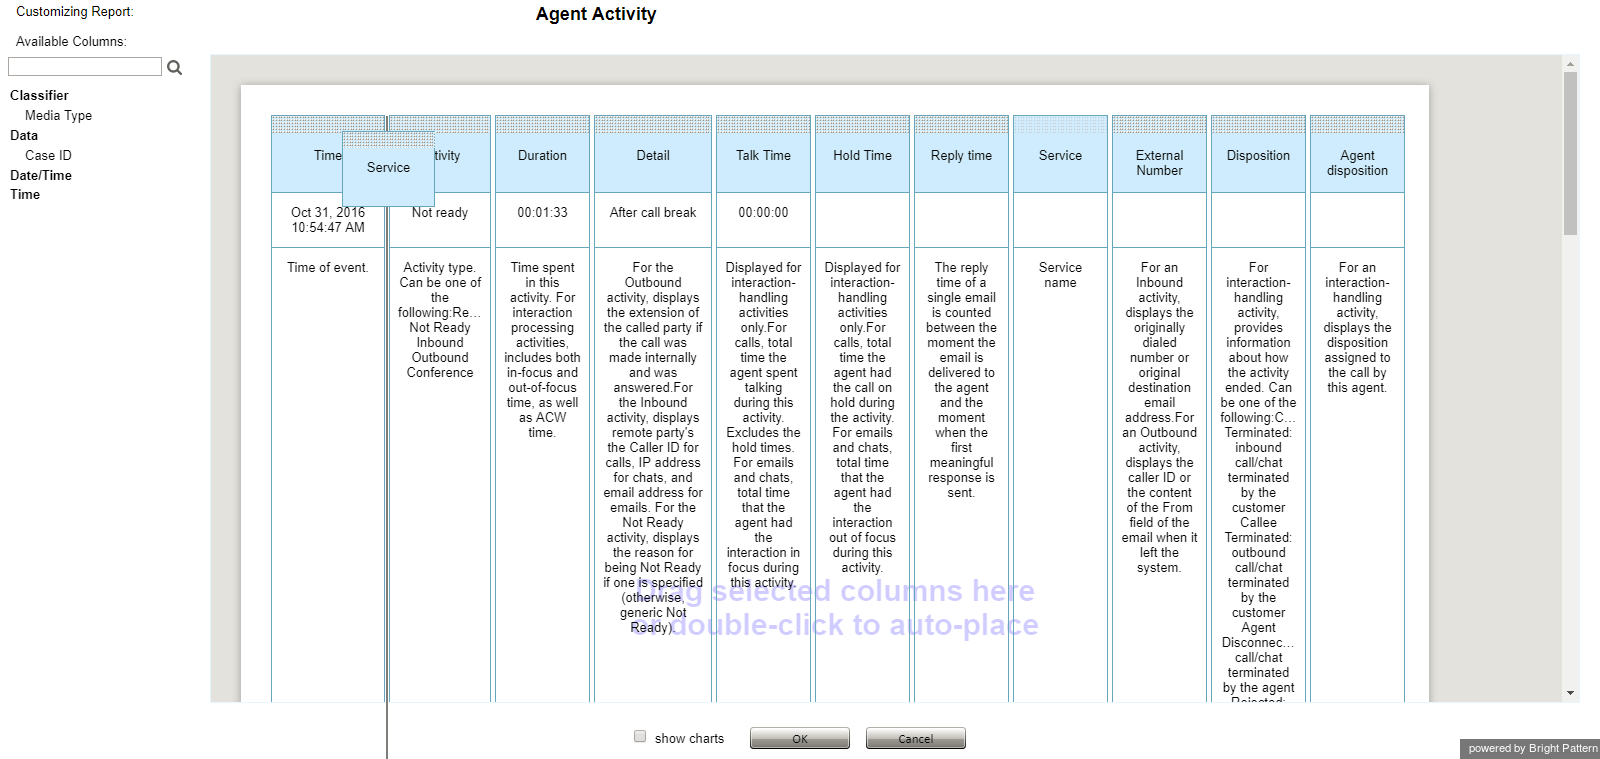
- Adjust the width of columns by clicking and dragging the column borders
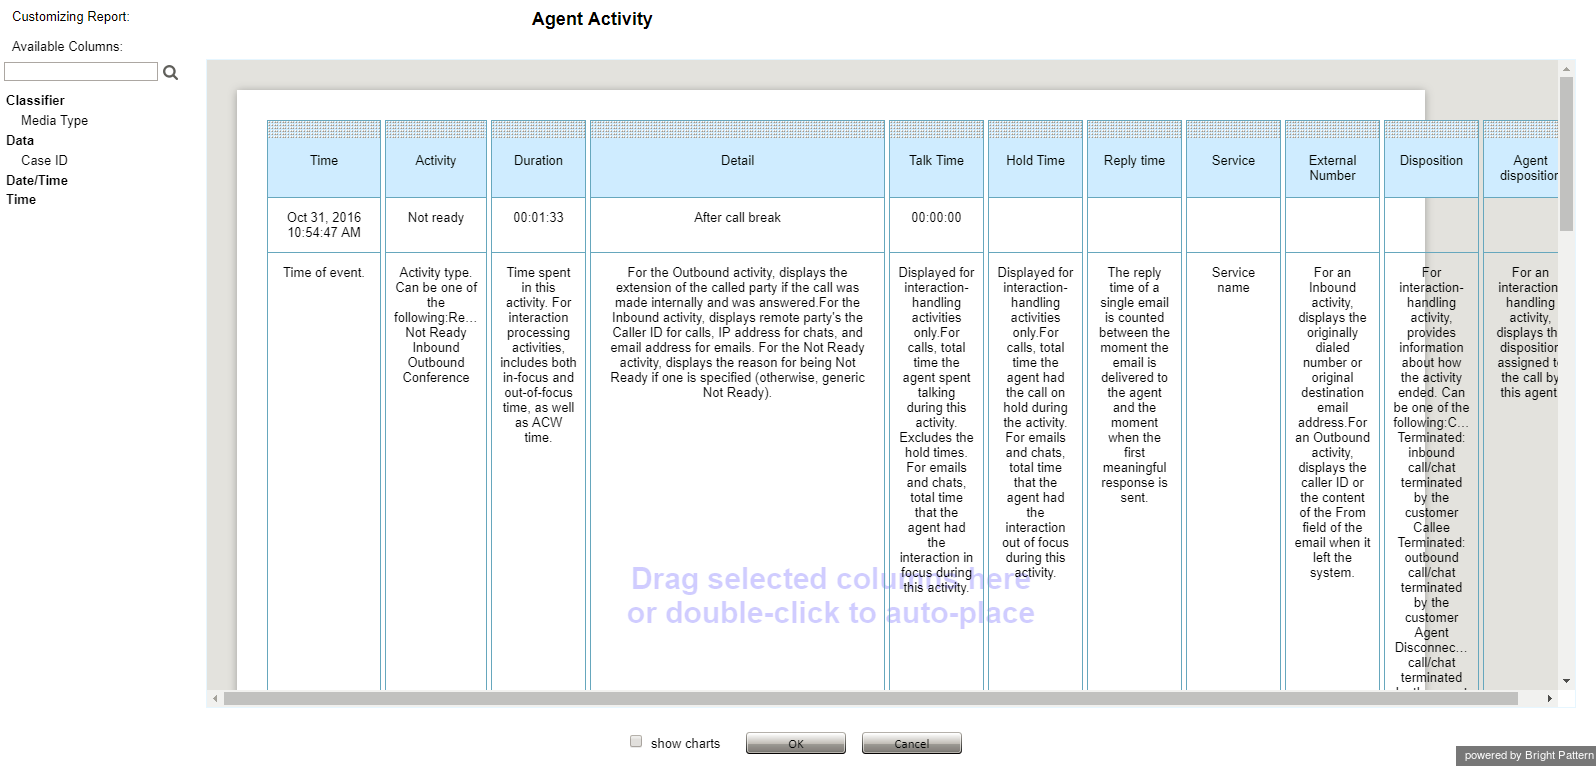
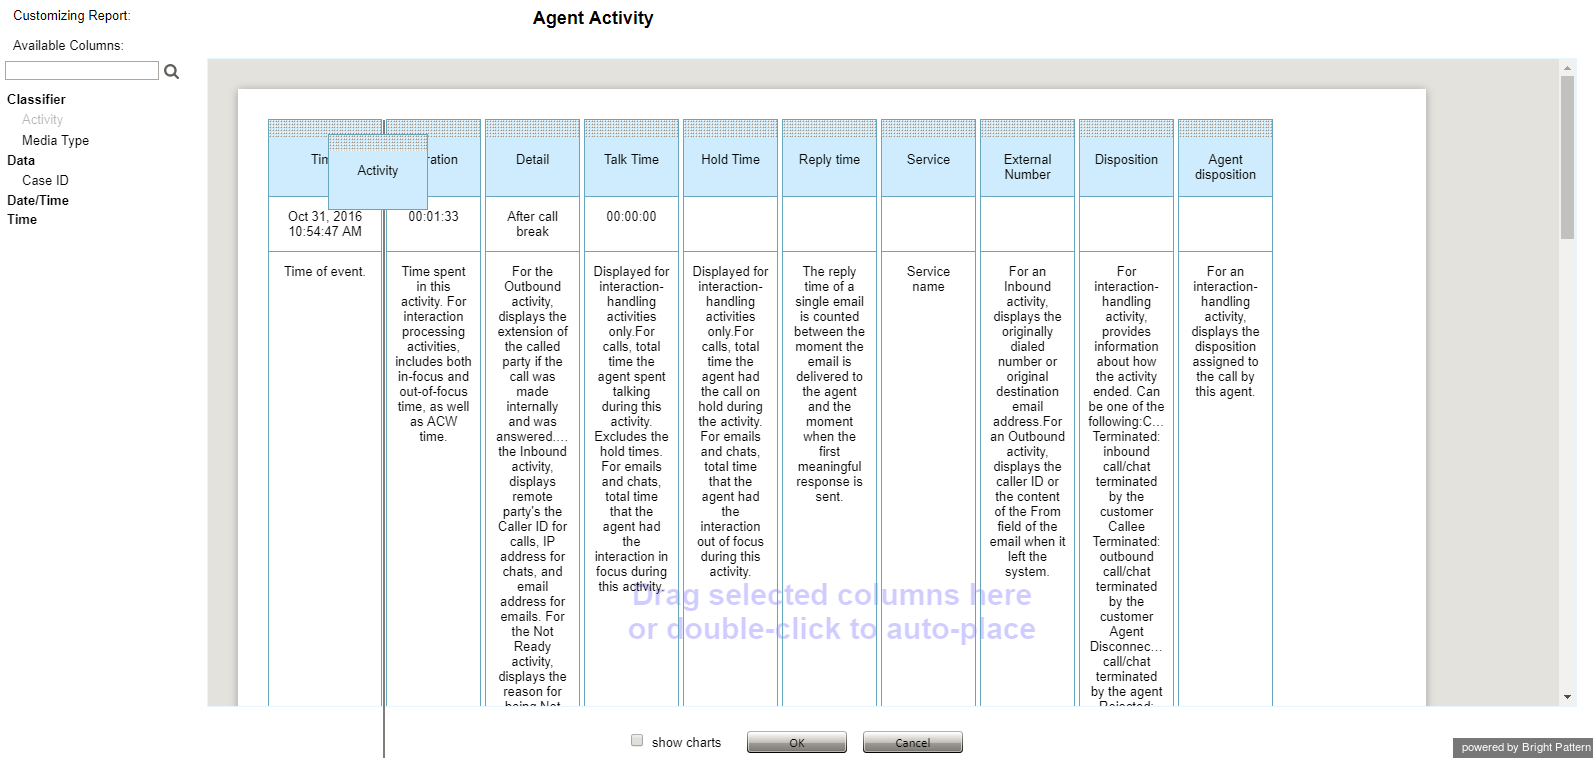
- Remove columns by dragging them to the margin of the report
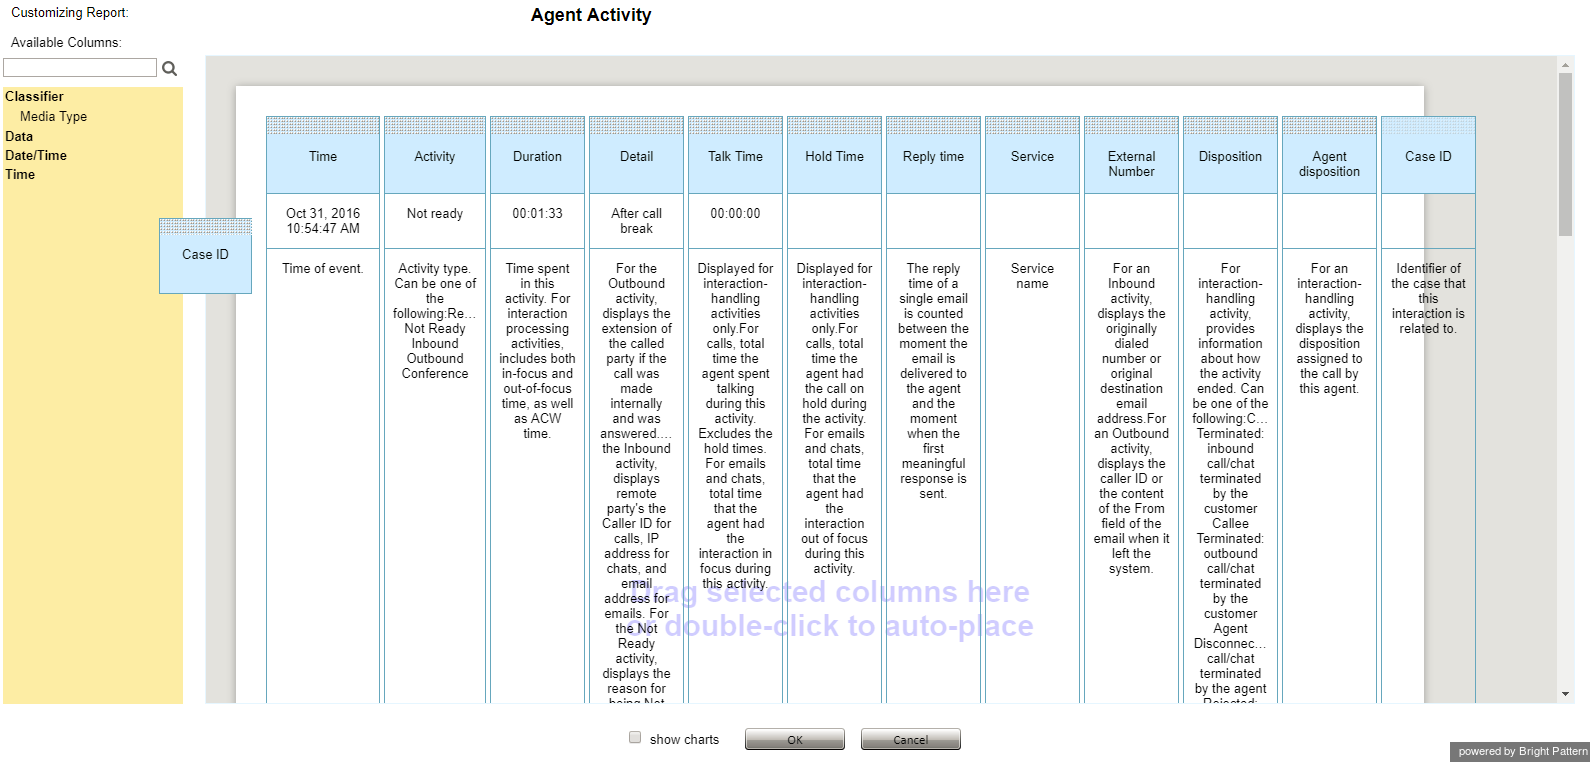
- Add columns by dragging them from the margin of the report to the main screen of the report
- Rename columns by clicking into the column title
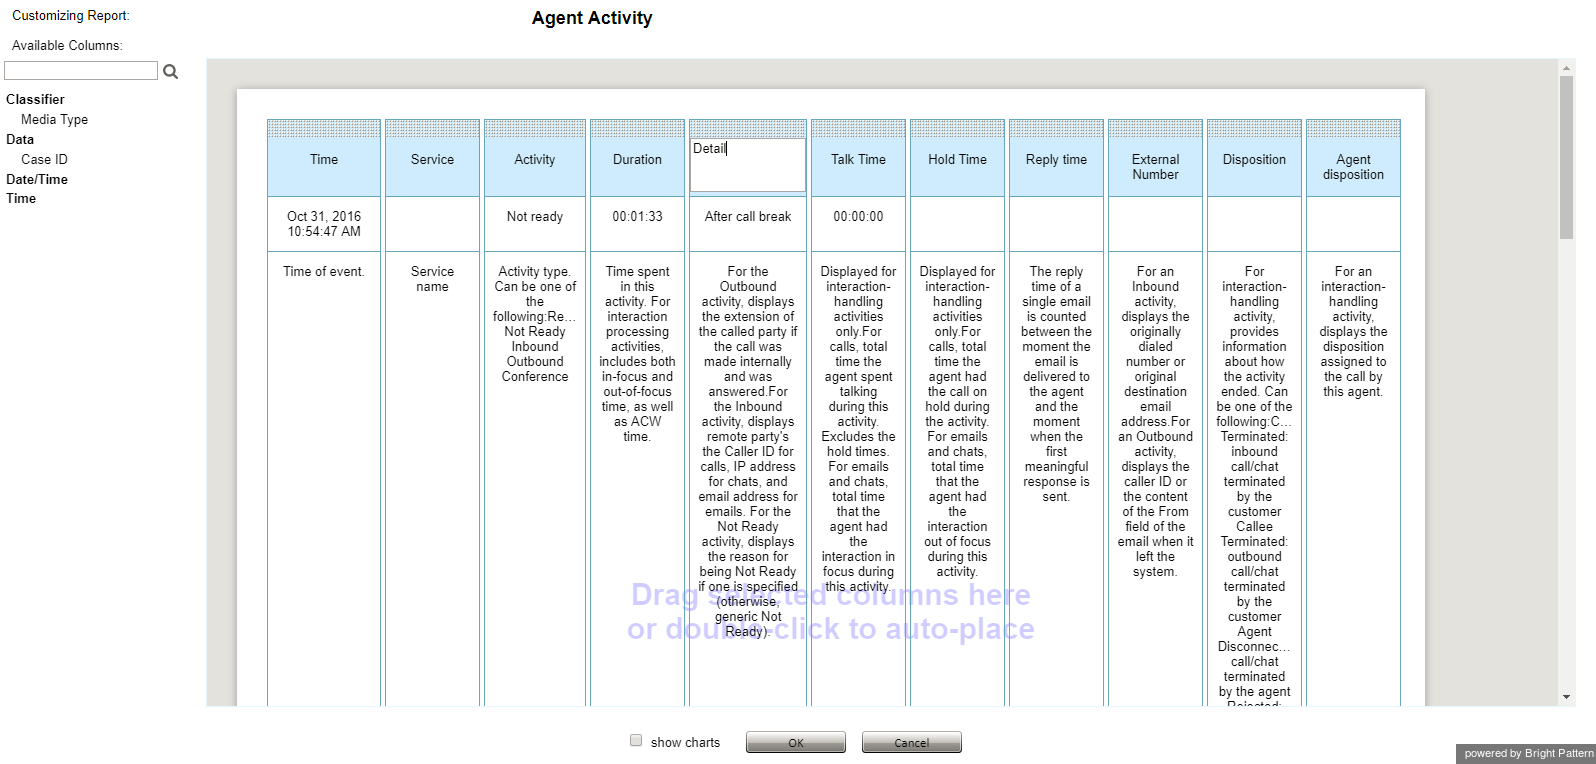
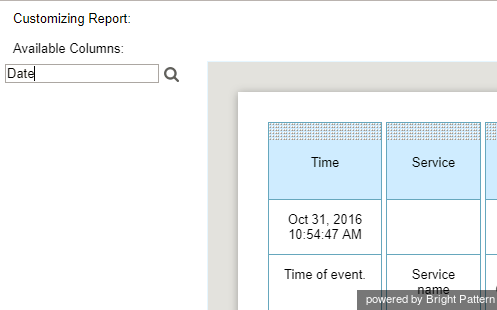
- Search the report columns for specific keywords
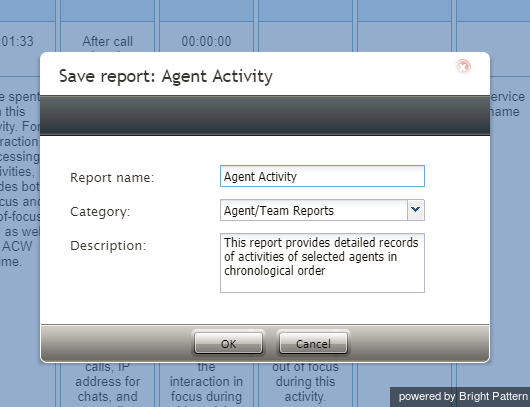
- Save your customized report with a new name and description


Other Actions
- To view available charts for the report, select the show charts checkbox.
- To save your customized report, click OK.
- To cancel customization and exit the Report Customizer, click Cancel.
Scheduling Reports
You can also schedule automatic generation of reports and their delivery to specified destinations as email attachments or via FTP. For more information, see Scheduling Reports.