Help Screens
Bright Pattern Contact Center allows you to define the content of the Help screen that users of the Contact Center Administrator and Agent Desktop applications will see when they click the help icon in the upper-right corner of the application screens. Help screens can contain multiple help items and can be customized for each role you have defined for your contact center. A help item is usually a link to a web resource that provides information relevant to the person in the given role. For example, a link can point to a published user guide, a Knowledge Base article, or a documented customer service procedure. Phone numbers and email addresses can also be defined as help items. Items related to the same knowledge domain are arranged in sections, and these sections can be displayed or hidden depending on the role and/or team assignment of the user who will view the help screen.
To work with help screens, select the Help Screens option from the Users & Teams menu. Note that you must have the privilege Publish help in order to see this option and edit help screens.
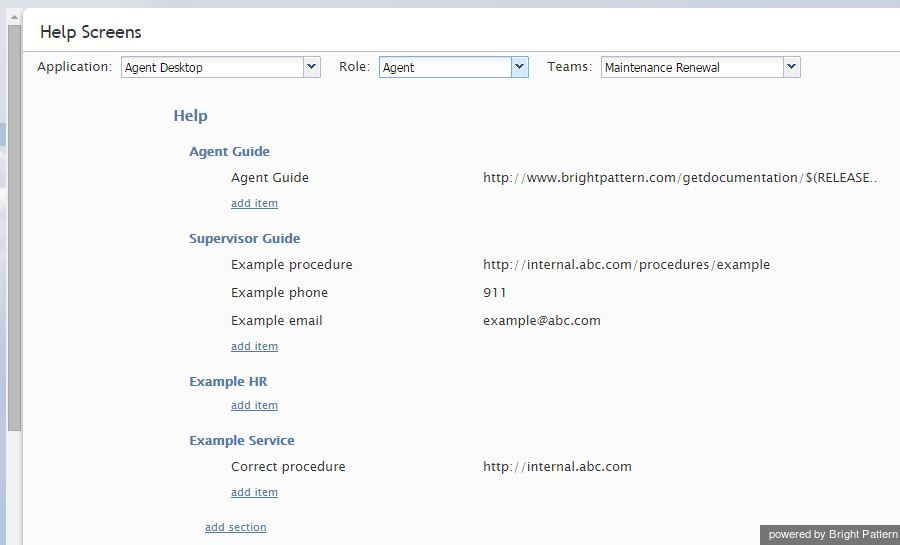
When you open the Contact Center Administrator application for the first time, you will see some pre-defined content of the help screen provided to you as an example. Use the Application drop-down menu to work with the help screen content of the user-facing application of the desired type. By default, you will see sections and items for all roles and all teams. To see the content available to a specific user role, select the desired role from the View As drop-down menu. To see the content available to members of a particular team, select the desired team from the Teams drop-down menu.
- To add a new section, click add section, provide the section title and, if necessary, re-define the intended audience (roles and teams) for the content of this section. If the content applies to all roles/teams, select All.
- To add a help item to the section, click add item, provide the item title, select its type (URL, phone, or email), and specify the value.
- To edit or delete existing sections and help items, hover over the corresponding titles.
< Previous | Next >

