Case
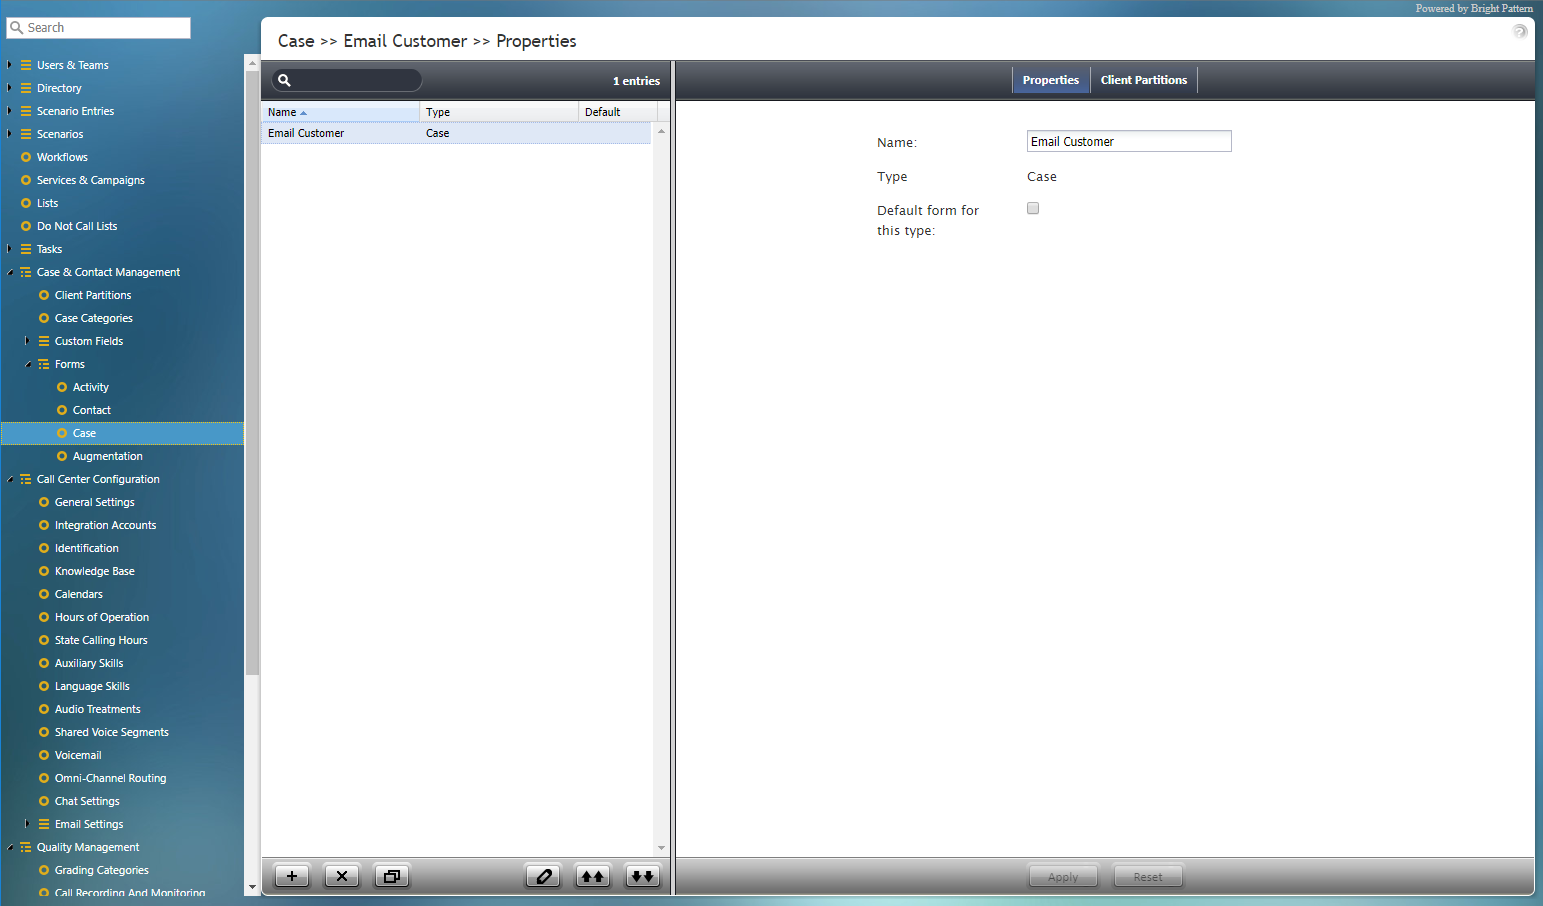
In the Agent Desktop application, agents use Case forms to add information about contacts, document notes about interactions with contacts, and initiate emails to contacts. The fields shown on Case forms are edited in the Form Builder application, and saved forms are listed here in the Contact Center Administrator application, in Case & Contact Management > Forms > Case.
The following is an example of case form as it appears to an agent working in Agent Desktop. During an active call, the agent creates a new case for the caller. This case form appears, providing form fields for the agent to complete (e.g., Title, Category, Notes, etc.). The agent is able to add information about the call and save notes to the case. Such a form is created and modified in the Form Builder application. For more information about creating and editing forms, see the sections that follow.
Properties
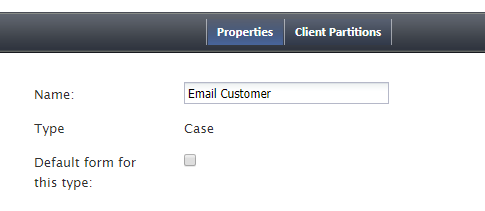
In the Properties tab, you can rename a Case form and enable it to be used as a default Case form.
Name
Name is the name of the selected form.
Type
Type is the type of form. Note that for Case forms, there is only one type (i.e., Case), and it's set automatically.
Default form for this type
Select the checkbox for Default form for this type if this form is to be the default for all Case forms.
Client Partitions
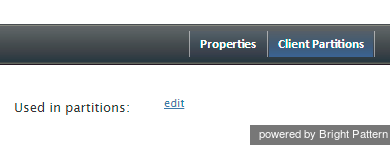
To assign the selected Case form to a client partition, click the Client Partitions tab. This tab displays partitions to which the form is already assigned, and it allows you to change those assignments as well. Click edit to select partitions and assign them to the Case form.
Working with Case Forms
To create or edit a form, select the Contact option from the root menu of Contact Center Administrator (Configuration > Forms > Case). The left pane will list the existing forms. Note that forms configured for your contact center are listed in this application, but they are built and edited in the Form Builder application.
For more information about creating forms, see the Form Builder Reference Guide.
Note: Some service configuration changes that affect agent behavior are not picked up dynamically by Agent Desktop. Thus, after making any changes to case forms, we recommend that all affected logged-in agents refresh their browser page.
How to Add a Form
- Click the Add new form (+) button.
- In the Form Builder application that opens, customize the form by dragging controls onto the form canvas and editing their properties.
How to Edit a Form
- Select a form in the list of forms that appears.
- Click the Edit
 button.
 - In the Form Builder application that opens, customize the form by dragging controls onto the form canvas and editing their properties.
How to Delete a Form
- In the list of forms that appears, select the form you wish to remove.
- Click the Delete button (X).
How to Clone a Form
- In the list of forms that appears, select the form you wish to duplicate.
- Click the Clone form
 button.
 - The duplicated form will appear in the list with name "Clone of <Name of Original Form>".
How to Import a Form
- Click the Import form
 button.
 - In the dialog that appears, enter the name and type of the form you wish to import, browse for the file, and click Upload.
- The imported form will appear in the list.
How to Export a Form
- In the list of forms that appears, select the form you wish to export.
- Click the Export form
 button.
 - The form will be downloaded immediately.
< Previous | Next >


