From Bright Pattern Documentation
< 5.2:Contact-center-administrator-guide
Revision as of 04:31, 29 May 2024 by BpDeeplTranslateMaintenance (talk | contribs) (Updated via BpDeleteTranslateTags script)
• 日本語
Chat Service Configuration
This article describes how to configure a general chat service within Bright Pattern’s Contact Center Administrator application.
Prerequisites
This article assumes that you have already completed initial configuration for your contact center.
Procedure
Step 1: Create and configure a chat service
- Log in to Contact Center Administrator, and go to Services and Campaigns.
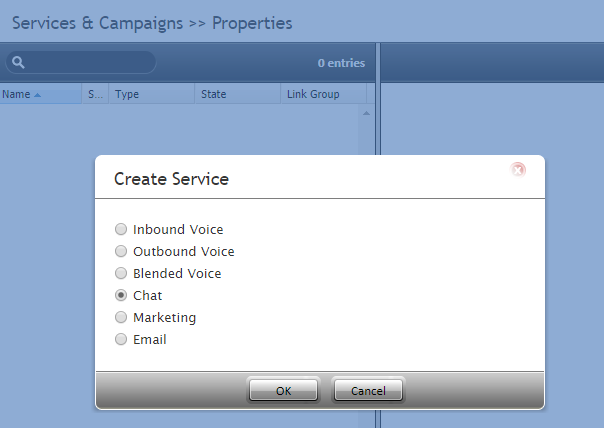
- Click the Add service (+) button to create a new chat service.
- Select chat as the type of service.
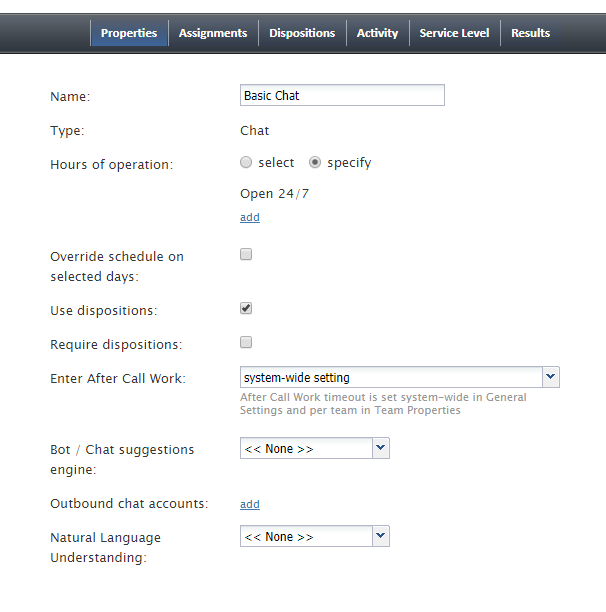
- In the Properties tab that appears, update the chat service properties, being sure to give the service a unique name (required). At this point, all other properties are optional. For the sake of this procedure, we are going to keep the properties simple, as shown.
- Click Apply to save your changes.
Step 2: Assign teams to the service
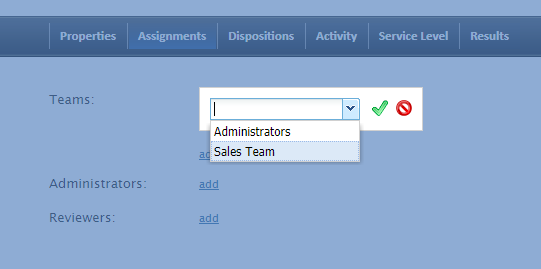
- In the Assignments tab, assign teams to this service. Note that the service will be created with a default service skill that can be assigned automatically to all members of the associated teams.
- Optionally assign administrators and reviewers to this service.
- Click Apply to save your changes.
Step 3: Create additional skills and assign them
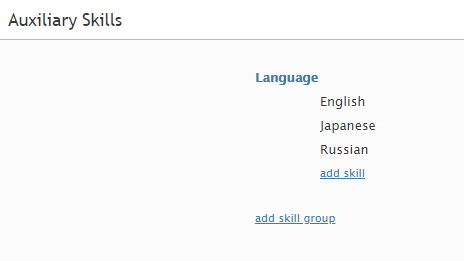
- Additional skills are called auxiliary skills. In Call Center Configuration > Auxiliary skills, add any other required agent skills for this chat service.
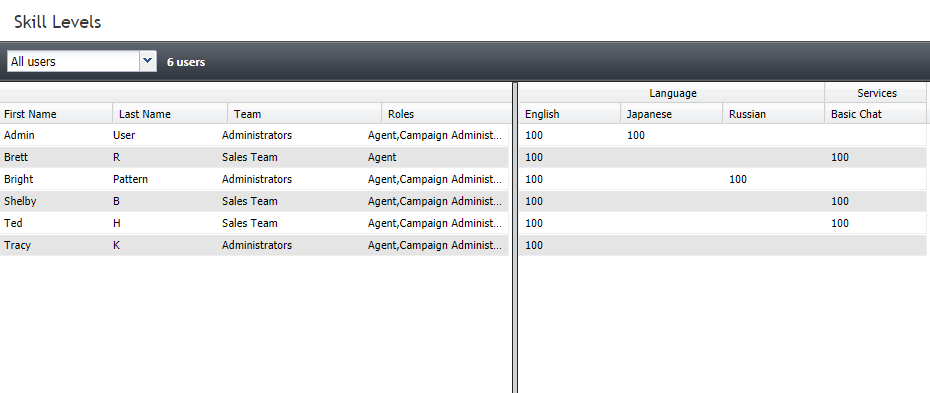
- In Users & Teams > Skill Levels, assign auxiliary skills to agents as required skill levels. The higher the numeric value, the more skilled that user is.
- Click Apply to save your changes.
Step 4: Specify service level thresholds
- Go back to Services & Campaigns and select the chat service you just created.
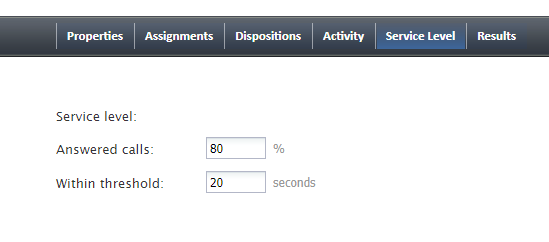
- In the Service Level tab, set the percentage of chats associated with this service that are expected to be answered within a certain amount of time.
Step 5: Create the scenario for the service
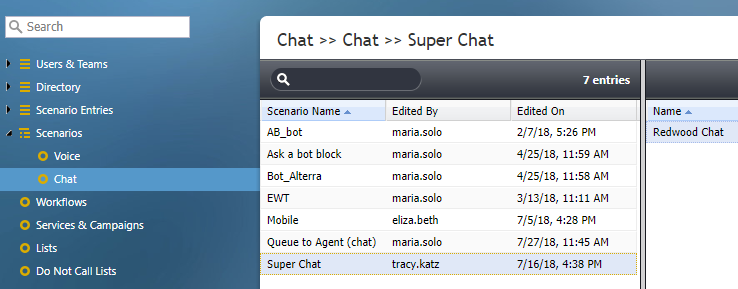
- Go to Configuration > Scenarios > Chat to create the chat scenario for this service.
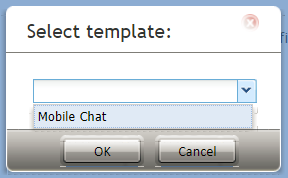
- Either select an existing chat scenario from the list, or click the Add from template
 button at the bottom of the screen to create a new chat scenario from the “Mobile Chat” template.
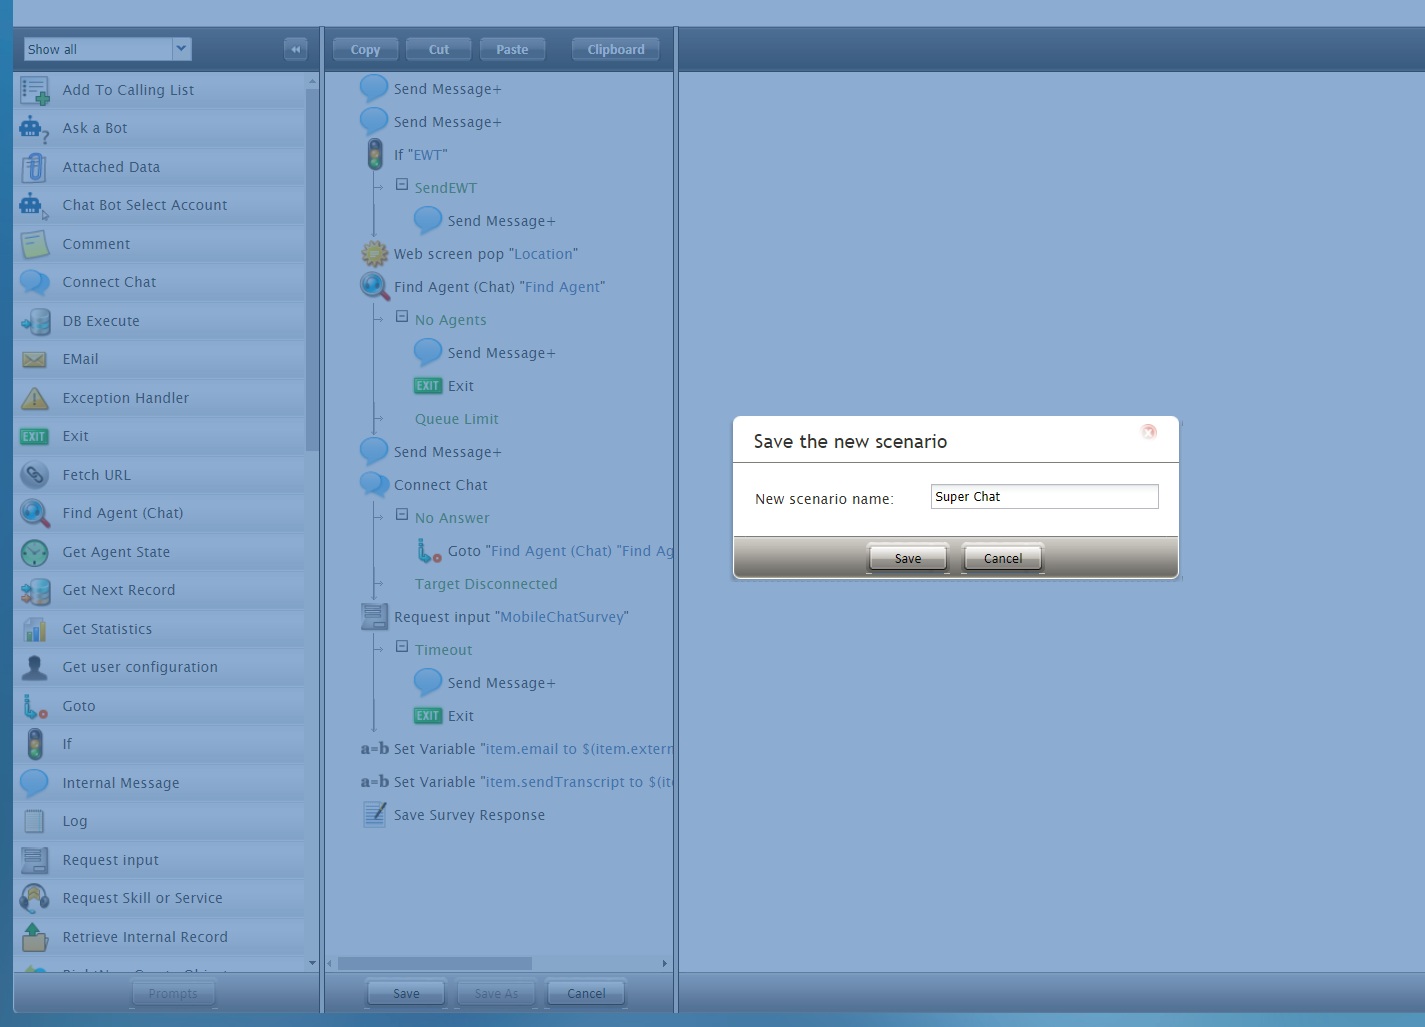
 - Creating a new chat scenario from a template will open the Scenario Builder application in a new browser tab or window. For the purpose of this simple setup, leave the scenario as-is and click Save.
- Give the scenario a unique name (e.g., "Sales Chat") and click Save again. Your new scenario will appear in the list of scenarios.
Step 6: Add a chat scenario entry to associate the scenario and service with chat
- Go to Scenario Entries > Messaging/Chat.
- Either select an existing chat scenario entry or click the Add chat scenario entry (+) button to create a new one.
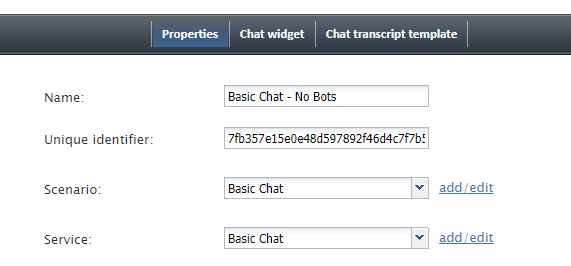
- If this entry is brand new, the following properties are required right now:
- Name - Give this entry a unique name.
- Scenario - Select the chat scenario you previously created.
- Service - Select the chat service you previously created.
- Name - Give this entry a unique name.
- Click Apply to save your changes.
Step 7: Configure SMS/MMS access numbers
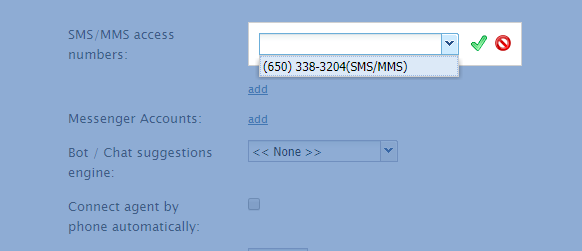
- Still in Scenario Entries > Messaging/Chat properties, scroll down to SMS/MMS access numbers.
- Click add.
- Select an SMS/MMS access number for inbound SMS/MMS communications. If you do not see any phone numbers, contact your service provider to get SMS enabled.
- Click the green checkmark.
- Again click Apply to save your changes.
Step 8: Update omnichannel routing settings
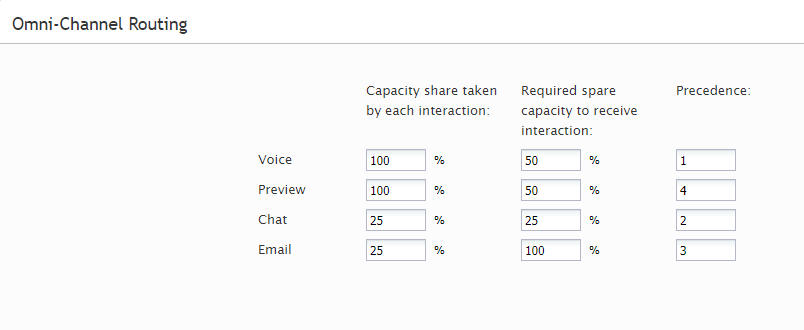
- Go to Call Center Configuration > Omnichannel Routing.
- Specify the number of sessions that agents can handle simultaneously. The default settings are shown.
This completes chat service configuration.

