イベントのスケジューリング
イベントをスケジュールするには、カレンダーをご利用ください。
ステップ 1: 日付と時間を指定します。
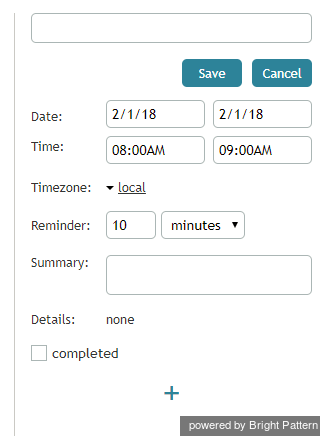
カレンダーのセルをクリックし、ご希望のタイムスロットを指定します。右側のパネルには、編集するイベントのプロパティが表示されます。
ステップ 2: イベント名を入力します。
イベント名を入力すると、それはカレンダー上で表示されます。
ステップ 3:イベント詳細を確認します。
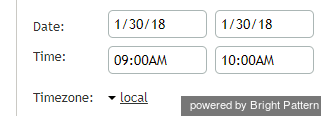
イベントの時間は、カレンダーグリッド上で選択されたタイムスロットの位置と長さに関連します。時間調整は、日付 と時間フィールドで手動で行われます。必要に応じて、タイムゾーンも調整します。
ステップ 4: リマインダーを設定します。
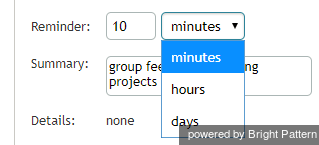
イベントに関する通知の開始日を指定します。リマインダーの頻度(日・時・分)も指定できます。
ステップ 5: イベントの内容を入力します。
必要に応じて、概要フィールドに イベントの概要を入力します。
Step 6: Assign contacts
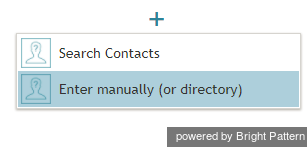
If your event is a scheduled call to a known contact, you can specify the contact’s name, phone number, and/or email address. To add or assign contacts to an event, click the + sign at the bottom of the event properties pane. You will have two options for looking up the contact.
Quick Contact Lookup
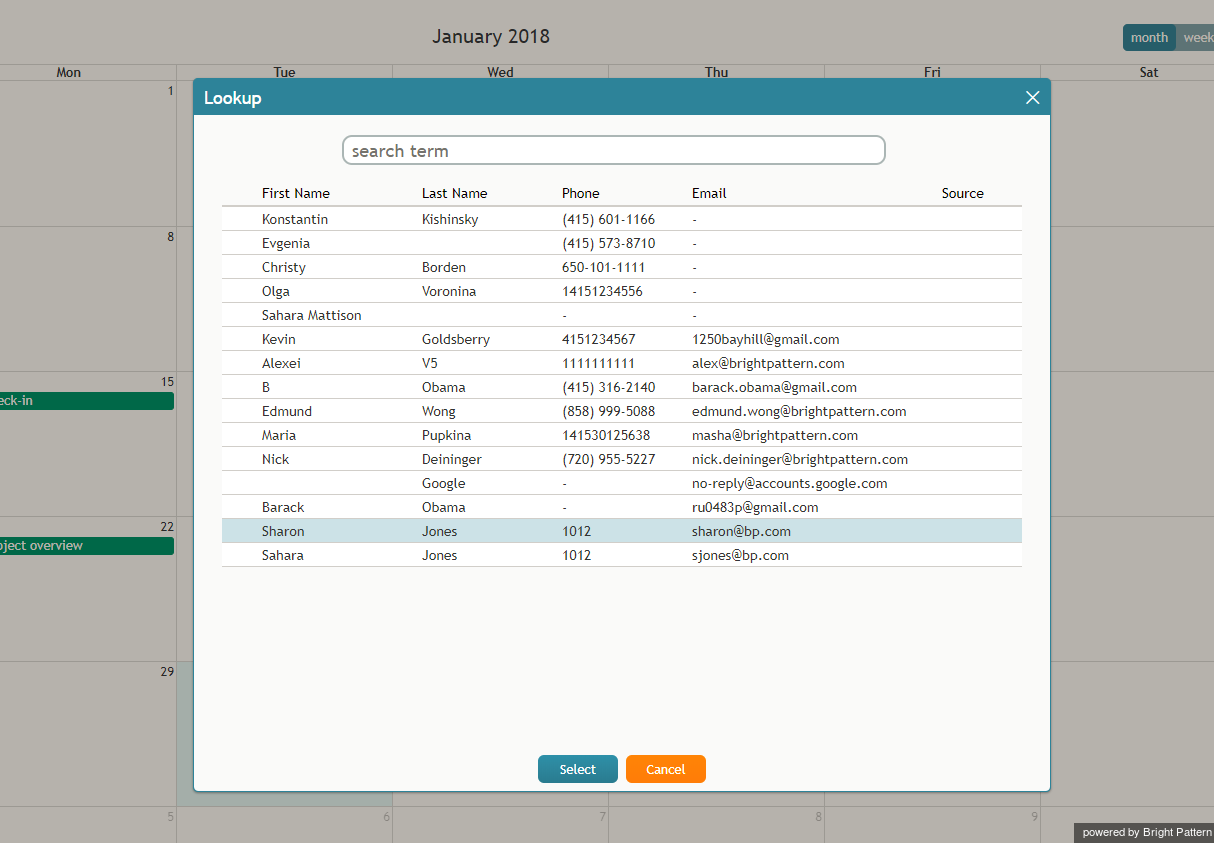
Click Search contacts to find a contact in the Lookup window that pops up.
To use Lookup, type any text into the search term field. Lookup will search through the list of the most recent manual name-address inputs first (the list maintained throughout the system, not just in calendar), and then it will search in directory. It searches for the text that was entered, in both the name and address fields of your system's data. The matches are highlighted in the search results list in bold.
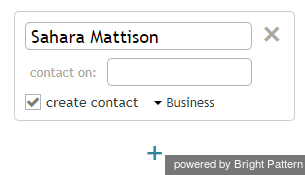
Enter Contact Details Manually
Click Enter manually (or directory) to type in a name on an empty contacts card. Clicking create contact will create a new contact record for this person.
When filling in an empty card, typing into the text field will displays a drop-down list of 10 entries pulled from recent address entries (i.e., entries from manual input, contacts, or the directory maintained in the system, not just in the calendar). If fewer than 10 entries are found, the rest are pulled from the directory.
If there are multiple addresses for a person, each name-address pair is shown as a separate item
Step 7: Save your event (the most important step)
Click the Save button. The new event will appear in the calendar highlighted in a blue color.
You may also use the calendar to schedule follow-up activities in the context of your present customer interactions directly from the Contact Info Panel. For more information, see section How to Schedule a Follow-up Activity.

