イベントのスケジューリング
イベントをスケジュールするには、カレンダーをご利用ください。
ステップ 1: 日付と時間を指定します。
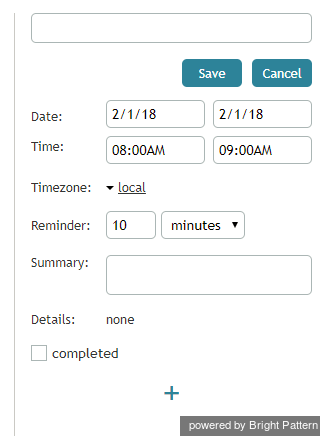
カレンダーのセルをクリックし、ご希望のタイムスロットを選択します。右側のパネルには、編集するイベントのプロパティが表示されます。
ステップ 2: イベント名を入力します。
イベント名を入力すると、それはカレンダー上で表示されます。
ステップ 3:イベント詳細を確認します。
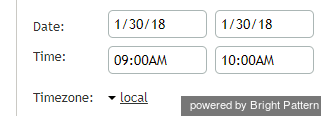
イベントの時間は、カレンダーグリッド上で選択されたタイムスロットの位置と長さに関連します。時間調整は、日付 と時間フィールドで手動で行われます。必要に応じて、タイムゾーンも調整します。
ステップ 4: リマインダーを設定します。
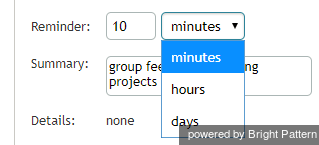
イベントのリマインダーをいつから起動させるか、指定します。イベントの何日前・何時間前・何分前を設定して、通知されるタイミングを指定します。
ステップ 5: イベントの概要を入力します。
必要に応じて、概要フィールドに イベントの概要を入力します。
ステップ 6:コンタクトの割り当てを行います。
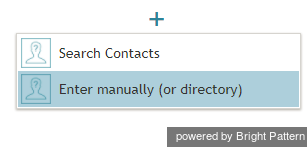
カレンダーのイベントとして、お客様への連絡がスケジュールされている場合、顧客名・電話番号・メールアドレスを指定することができます。コンタクトの追加またはイベントへの割り当てを行うには、イベントプロパティパネルの下にある+をクリックします。コンタクトの2つの検索方法は以下の通りです。
クイックルックアップ
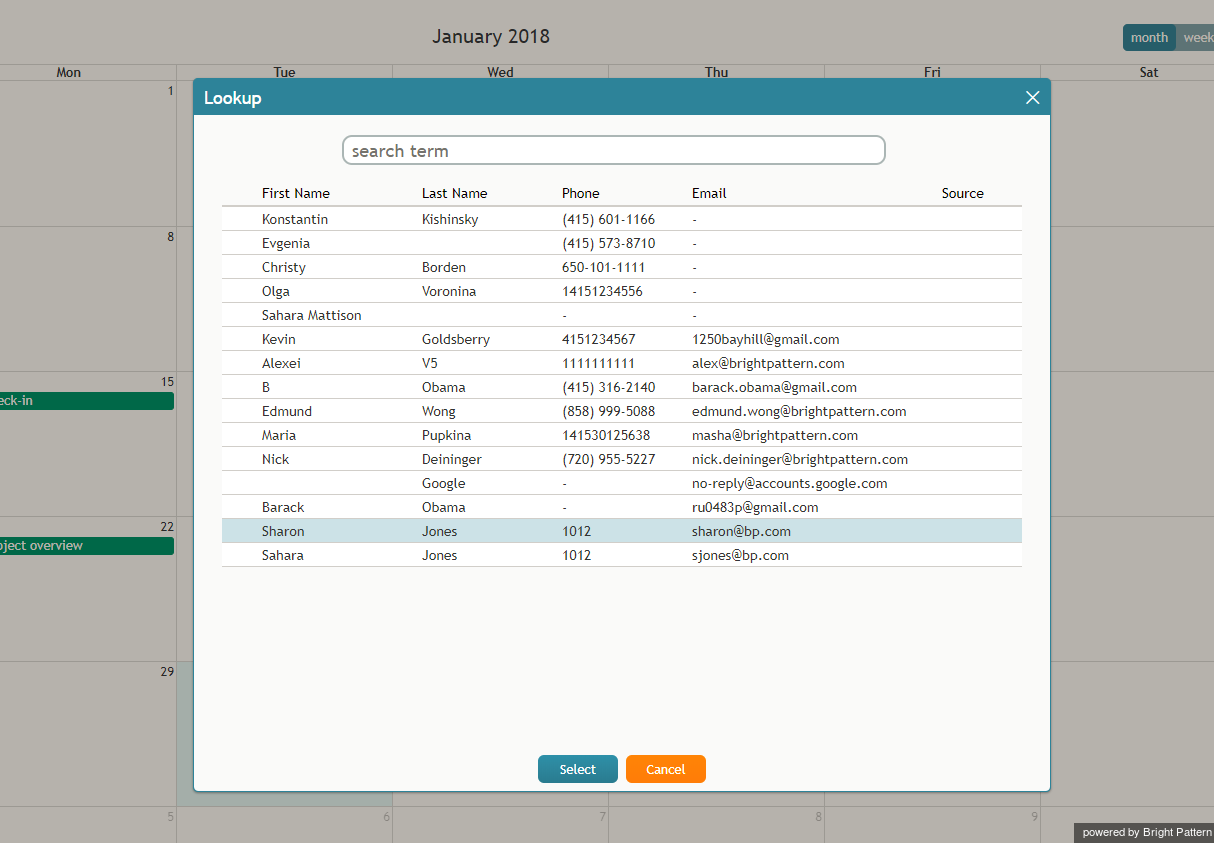
コンタクト検索をクリックし、表示される ルックアップ ウィンドウでコンタクトを検索します。
ルックアップを使用するには、 検索語フィールドにテキストを入力します。ルックアップは、最近手動で入力された顧客名・アドレスのリスト(カレンダーだけでなく、システム全体で保存されているリスト)、ディレクトリ内を検索します。システムのデータの名前とアドレスの両方のフィールドに、入力されたテキストが検索されます。一致した検索結果は、検索結果リストで太字で表示されます。
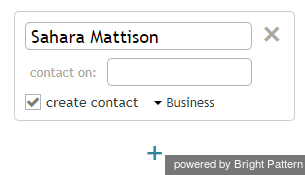
Enter Contact Details Manually
Click Enter manually (or directory) to type in a name on an empty contacts card. Clicking create contact will create a new contact record for this person.
When filling in an empty card, typing into the text field will displays a drop-down list of 10 entries pulled from recent address entries (i.e., entries from manual input, contacts, or the directory maintained in the system, not just in the calendar). If fewer than 10 entries are found, the rest are pulled from the directory.
If there are multiple addresses for a person, each name-address pair is shown as a separate item
Step 7: Save your event (the most important step)
Click the Save button. The new event will appear in the calendar highlighted in a blue color.
You may also use the calendar to schedule follow-up activities in the context of your present customer interactions directly from the Contact Info Panel. For more information, see section How to Schedule a Follow-up Activity.

