ケースを使ってフォローアップメールの送信
ご提供のサービスのタイプによっては、1回の返信がお客様のリクエストを満たすのに十分ではない場合もあります。例えば、エージェントは、1回目の返信メールによって、リクエストの受理および処理にかかる時間をお客様に通知し、リクエストの履行に関するやり取りを、後ほどの1つまたは複数のフォローアップメールを通じて行う場合があります。
複数のやり取りを必要とするリクエストに対応するには、各メールがケースおよび/またはスレッドに関連付けられています。詳しい情報は、電子メールケースとスレッドに関する説明をご覧ください。
ご注意: 最近返信したメールをフォローアップするのに、当該のメールを履歴タブから選択してください。
ステップ 1: リクエストに関連するケーづを検索します。
お客様のリクエストに対してフォローアップメールを作成するのに必要な情報が全て揃っている場合は、先ず、このリクエストに関連するケースを探さなければなりません。ケース番号またはお客様名のいずれかを使用してケースを検索します。
ケースを表示するには、 アクティブな対話リスト の横にあるメニューから マイケースを選択します。
Step 2: Search for the case.
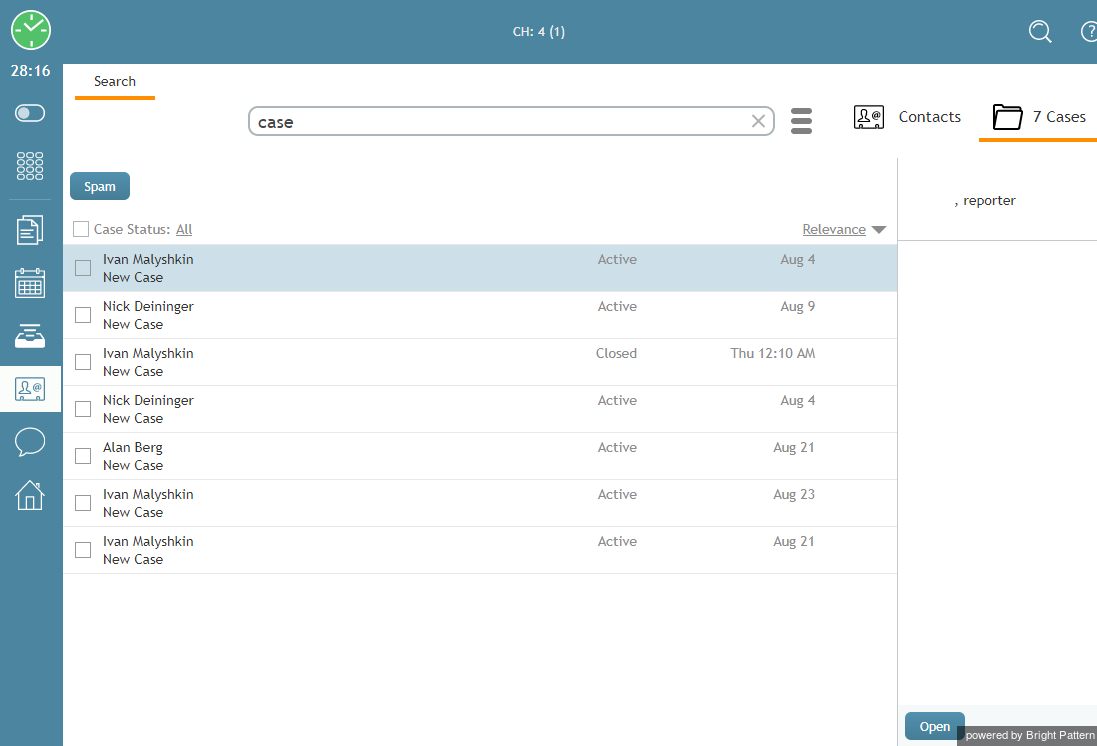
If the desired case is not shown in the Context Information Area, select Contacts from the main menu beside the Active Communications List. Then click Cases to display all cases; or, search for cases by typing "Case" or the customer’s name or a fragment of the subject. For each case, its number, the creation date, and the original email subject line will be displayed. Depending on their length, subjects may be shown truncated in the list view. Hover over truncated subjects to see the full content. Cases matching search criteria will be listed. Depending on your permissions, you will be able to see either only the cases that you have previously worked on, or all cases for the services that you are qualified to handle.
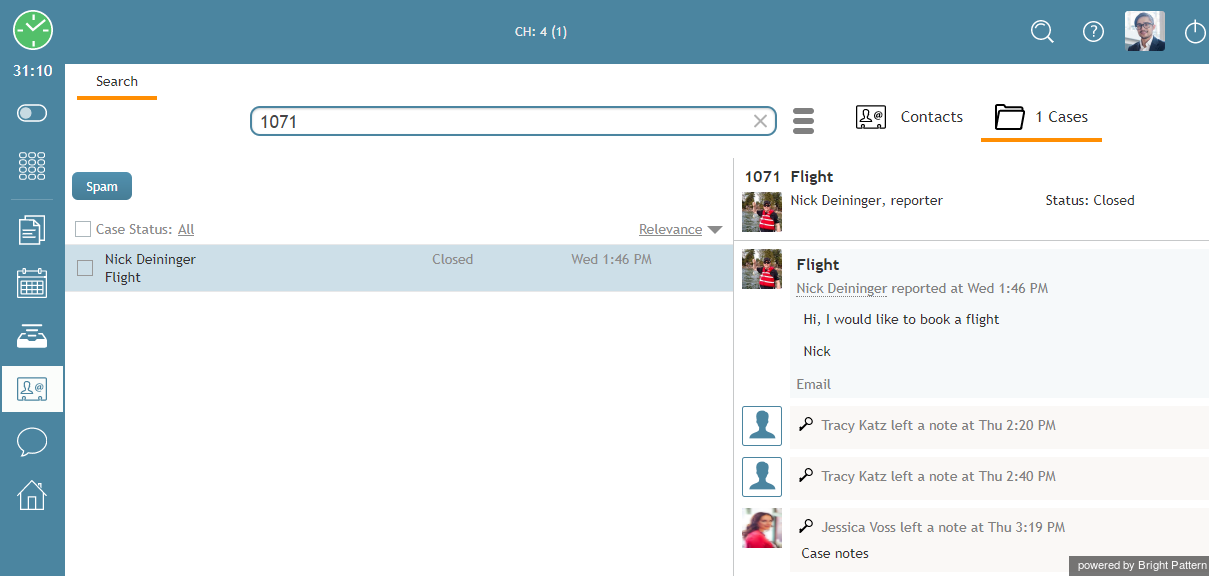
If you know the case number, enter it in the search field. Because case numbers are unique, only one case will be displayed in the list below.
You can sort listed cases by case number, creation date, and alphabetically by subject.
When you select a case in the list, all incoming, transferred, and outgoing email messages related to this case will be listed in the History tab in chronological order. Any notes that you or other agents provided with respect to this case will also be listed with the Notes icon ![]() . When you select any particular message, its content will be displayed in the message body area.
. When you select any particular message, its content will be displayed in the message body area.
Note: As mentioned, case structure reflects business processes of your organization and services that you handle. You will receive specific instructions about handling cases and composing follow-up messages from your system administrator. As a general recommendation, remember that it is usually important to study the entire case history, including all the notes and dispositions that were entered previously for this case, before sending any new emails related to it.
Step 3: Email the customer.
To send a follow-up email, double-click the customer email that this follow-up message will directly relate to or click the Reply button.
This email will appear in your Active Communications List. The Context Information Area will display the familiar email processing views and controls. For more information, see Overview of the Email Working Area. From this moment, composing your follow-up email will be no different from composing the first reply. For more information, see How to Compose a Reply.
If you do not see the Open button for the email you wish to follow up on, this means that another agent is working on this email already.


