提供: Bright Pattern Documentation
• English
• 5.19 • 5.2
既存コンタクトの情報編集
コンタクトの作成後、場合によって記載された情報への追加または編集をしなければなりません。 ご注意:コンタクトの情報を編集するには、コンタクトセンターの管理者により付与される権限が必要です。
既存コンタクトの情報を編集するには、以下の手順に従ってください:
- コンタクトセクションへ進みます。
- コンタクト タブにて、編集したいコンタクトを検索します。
- コンタクト情報を確認するには、コンタクト名をダブルクリックするか、それを反転表示させ、開く
ボタンをクリックします。
- コンタクト情報を開いてから、編集
をクリックし、情報の追加または削除を実行します。
- コンタクト情報の編集が終わり次第、保存
をクリックします。
- 編集箇所を保存したくない場合、キャンセル
をクリックします。
コンタクト情報の水増し
貴社のコンタクトセンターが外部データベース(例えば、NextCaller)へ接続されている場合、水増し機能を介して一致するコンタクト情報を統合させることが可能です。水増しを可能にする設定は、システム管理者が行わなければなりません。
To augment an existing contact's information, follow these steps:
- Go to the Contacts section.
- In the Contacts tab, find the contact that needs editing.
- To view the contact's information, either double-click on the contact name or highlight it and click the Open
button.
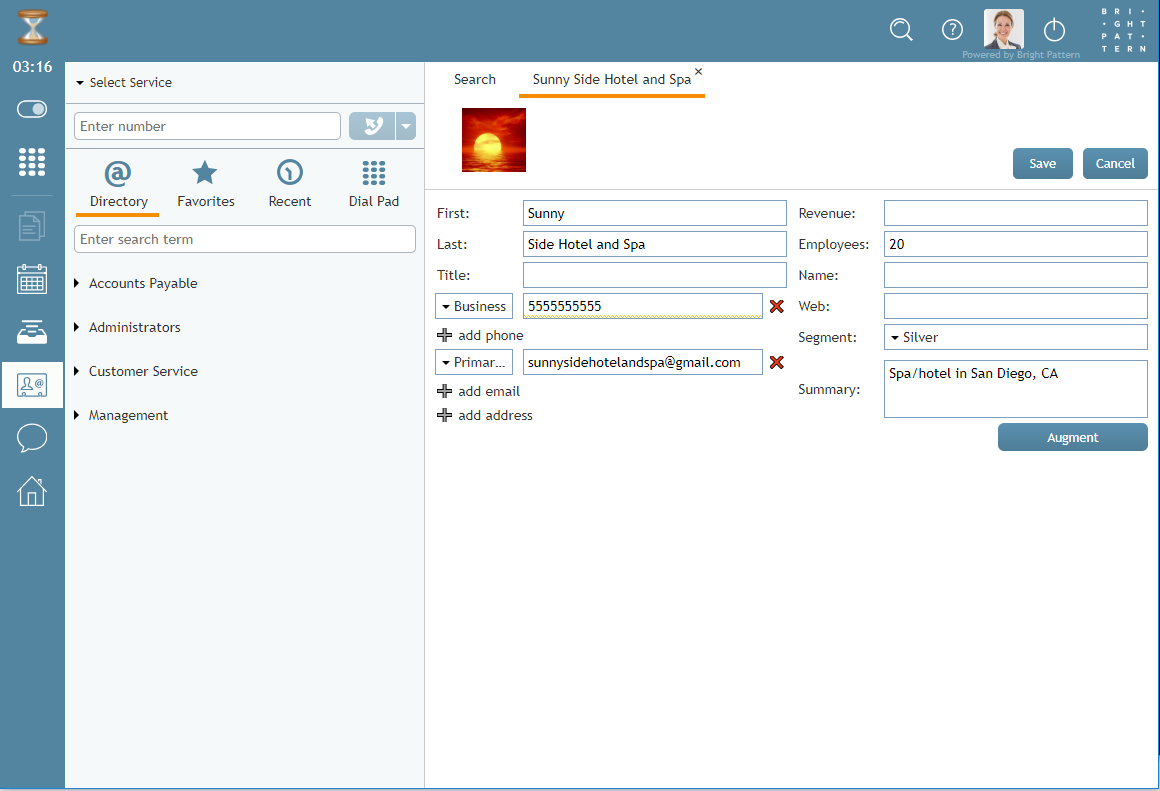
- After opening the contact's information, click Augment
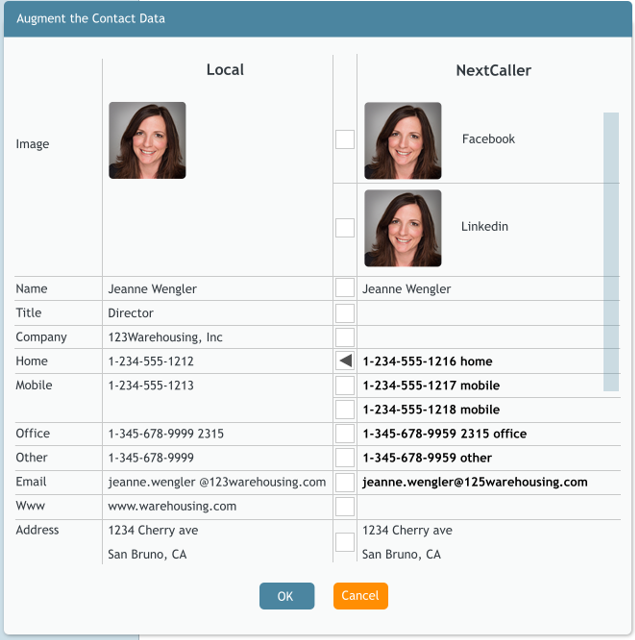
and a directory will open.
- Click the boxes next to the information you wish to merge into Agent Desktop; you may choose to import all contact information from another site (e.g., LinkedIn) or only specific fields (e.g., Name, Email, etc.).
- After selecting the information, click OK
.
- If you do not wish to proceed with the augmentation, click Cancel
.
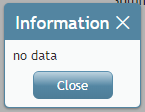
Note: If you do not have an integrated external database and click Augment, a small pop-up window will display the message, "No data."


